This post may contain affiliate links. Please read our disclosure policy.
Nothing compares to the richness of this homemade chicken broth recipe. It will elevate your soups to the next level in a way nothing else can! In this recipe, I will teach you how to make chicken broth perfect for chicken soup, sauces, and countless other delicious recipes.
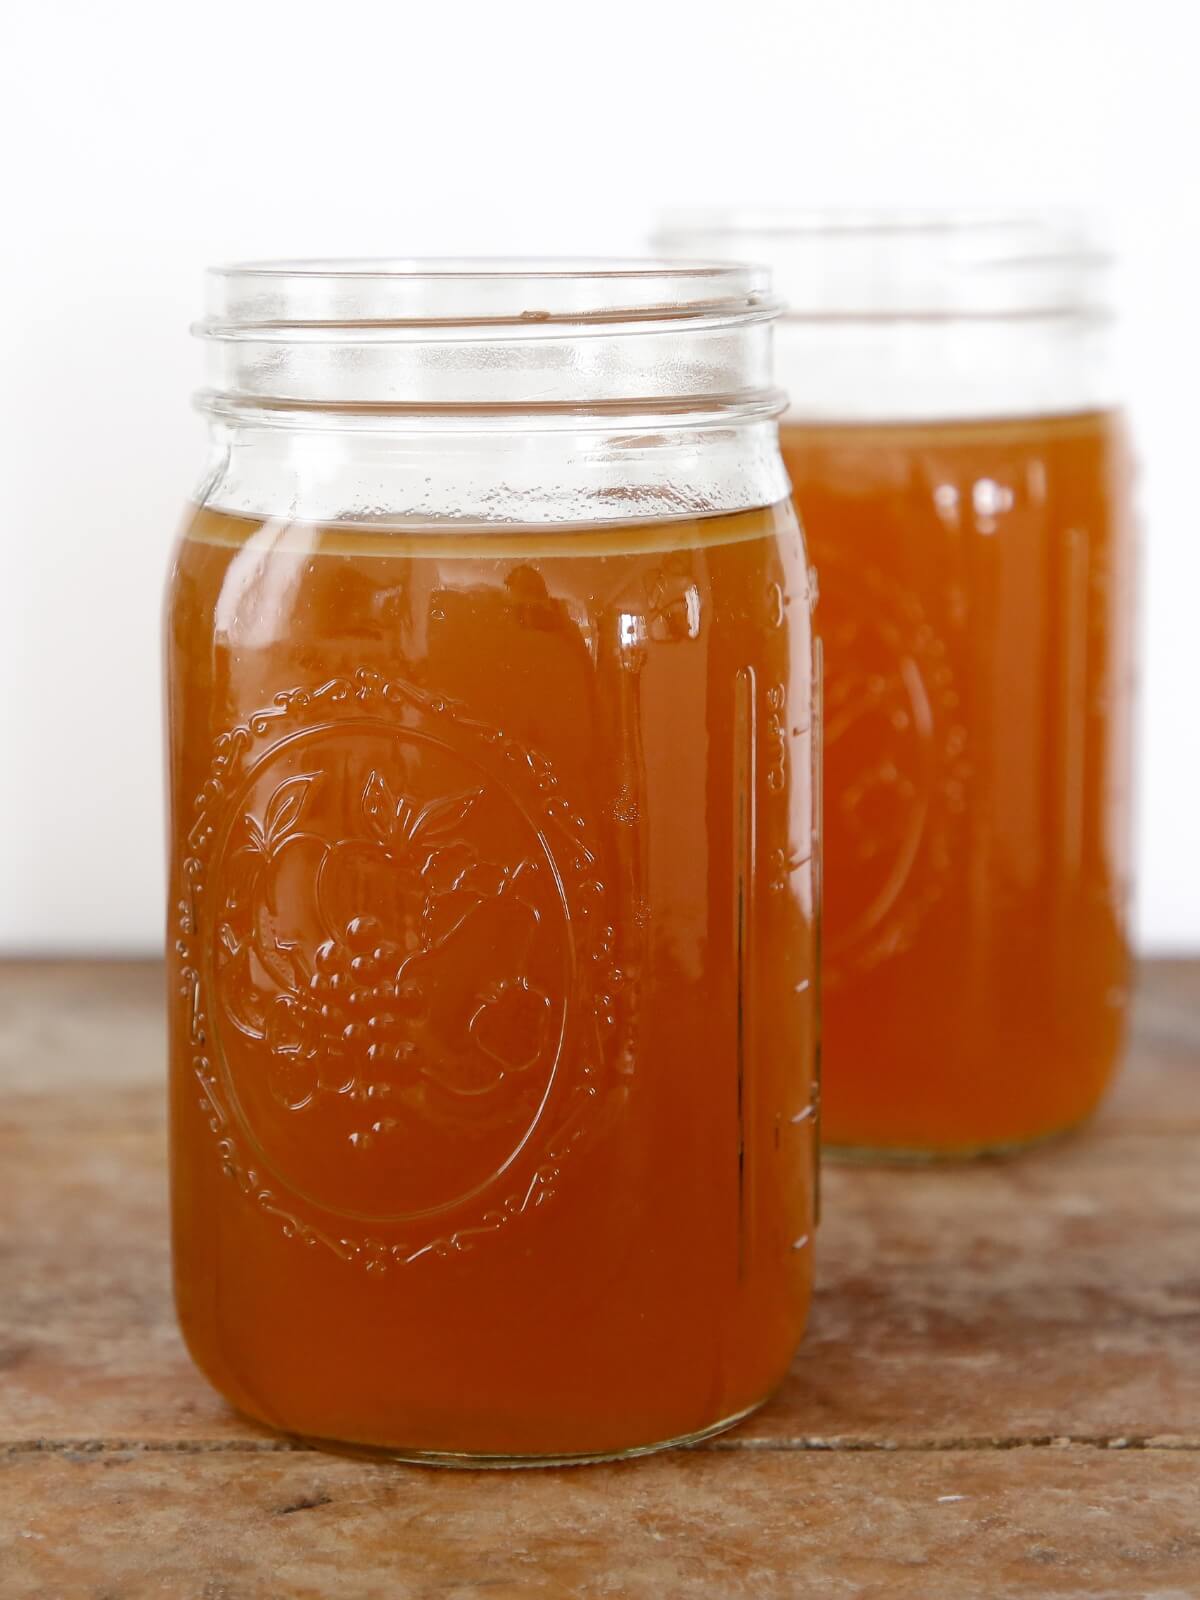
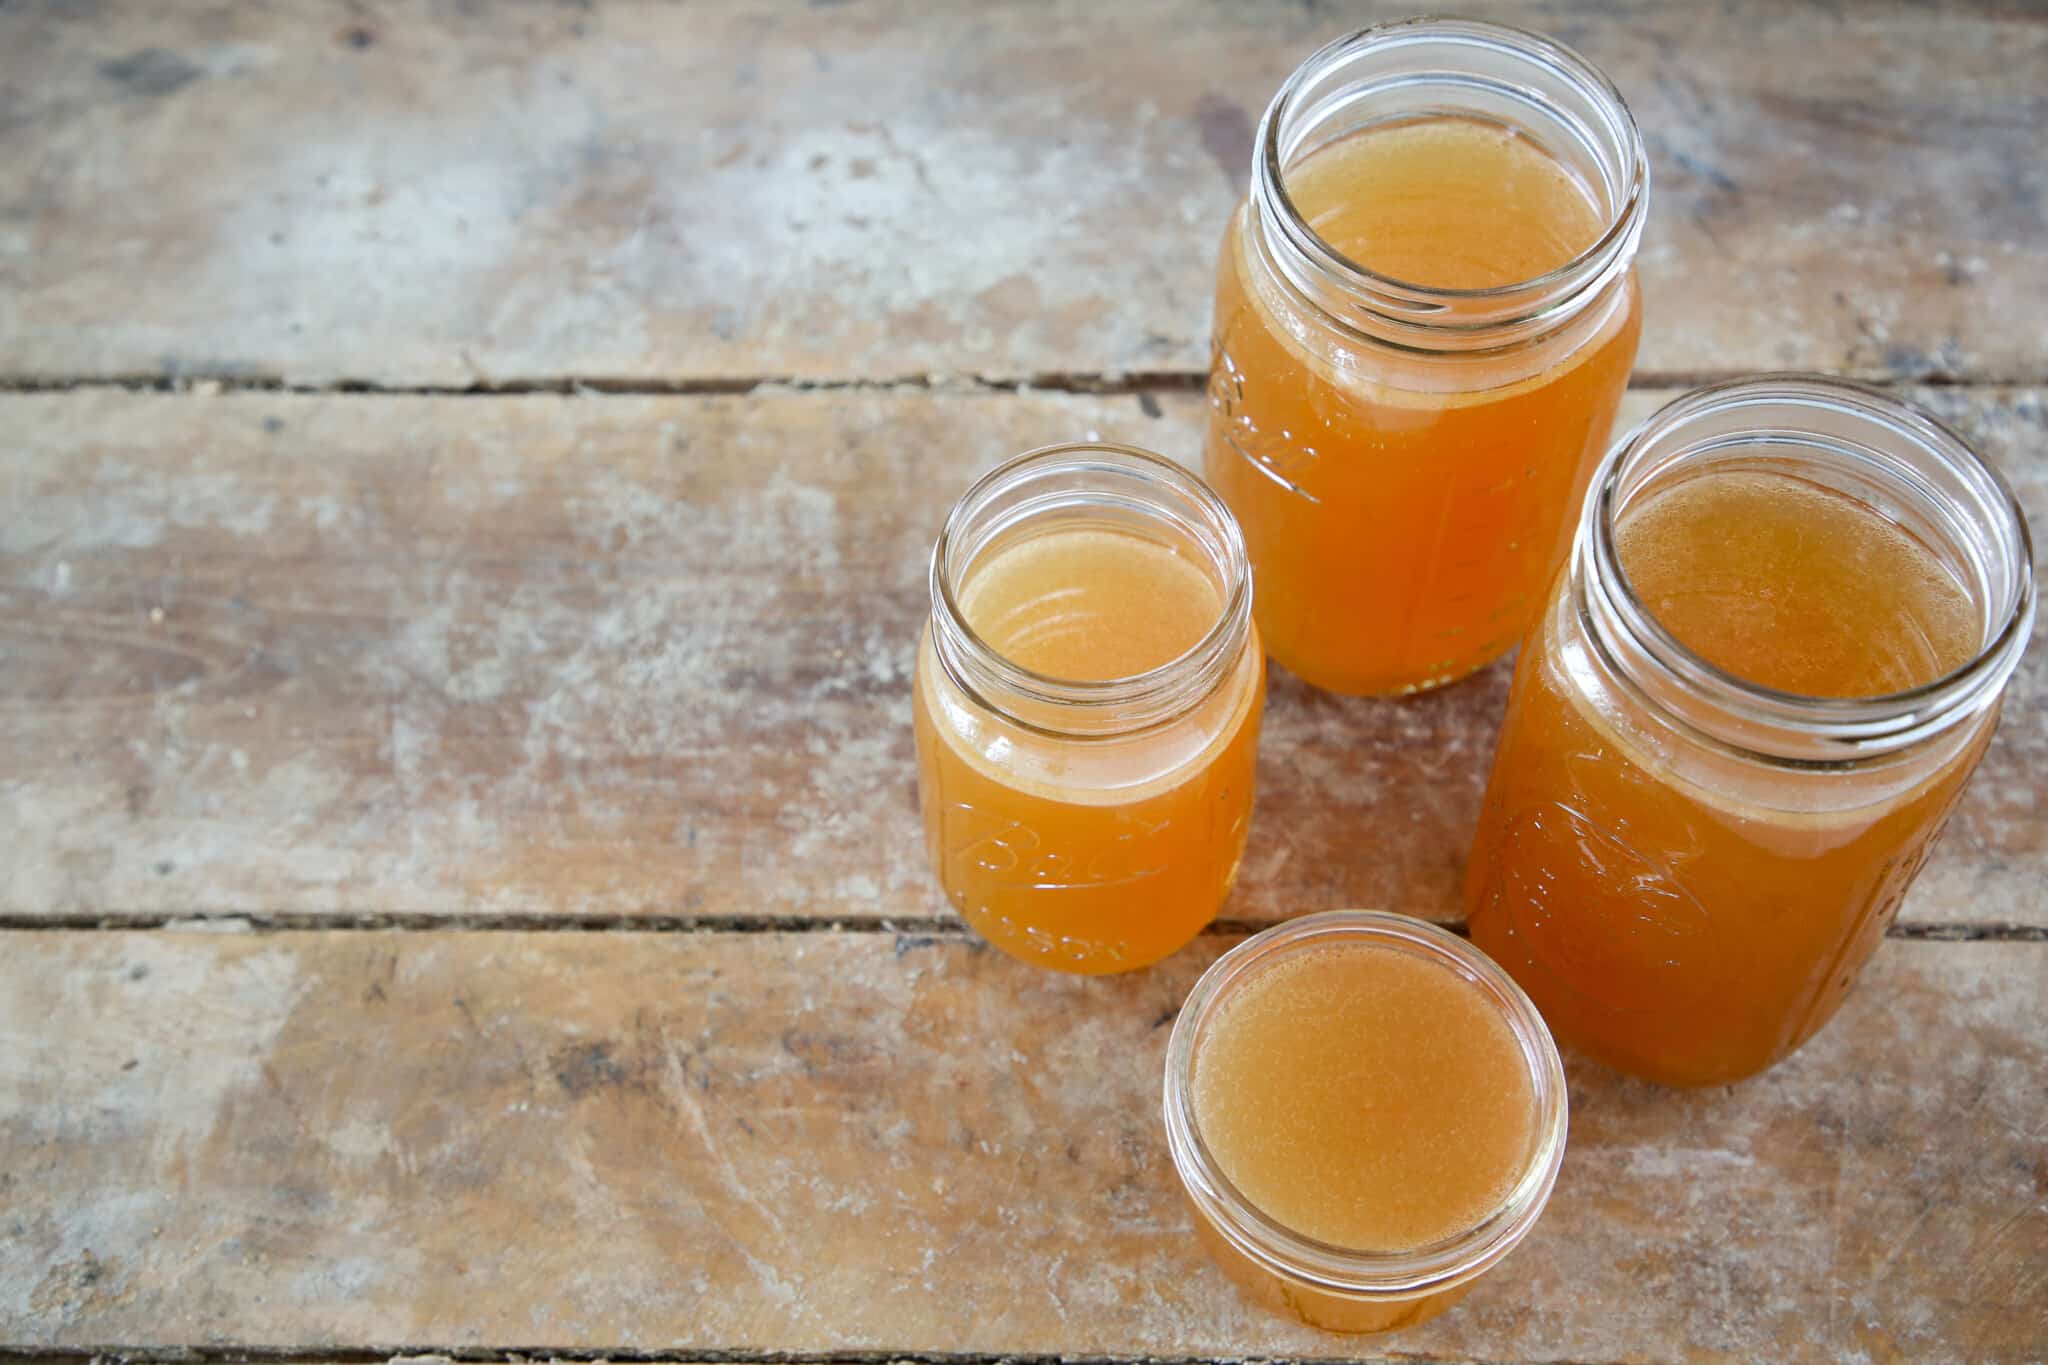
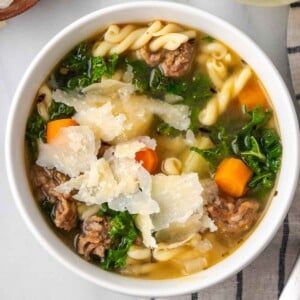
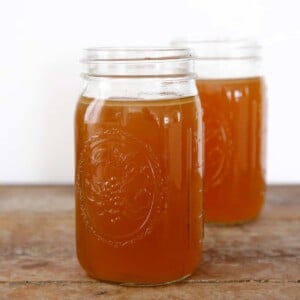
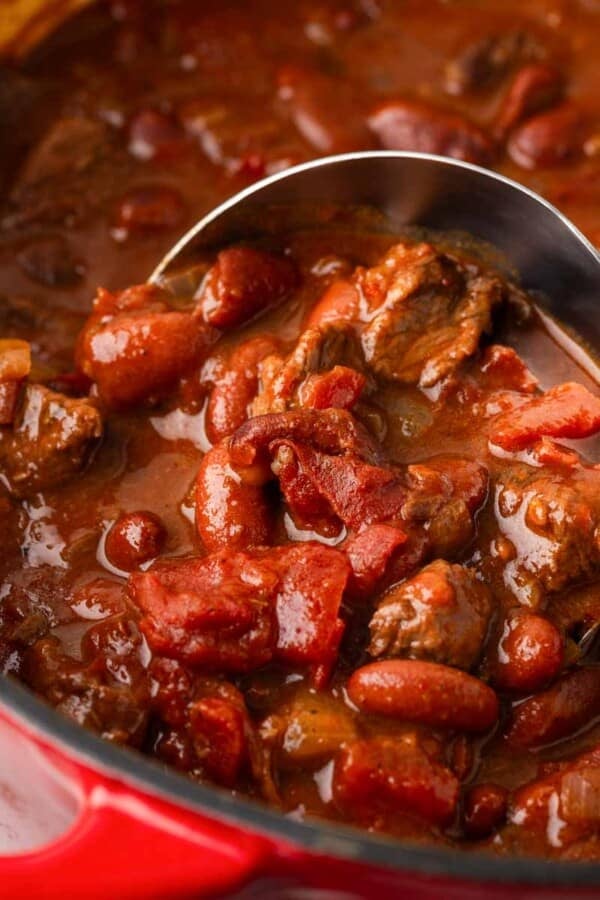
This is the best chicken broth I’ve ever made. I am talking about the cold-curing, hearty broth that can only be achieved at home. Use it in homemade chicken noodle soup, tomato pasta sauce, this one dish roasted chicken and vegetables, my ground turkey soup recipe, or even to make a quick pan sauce.
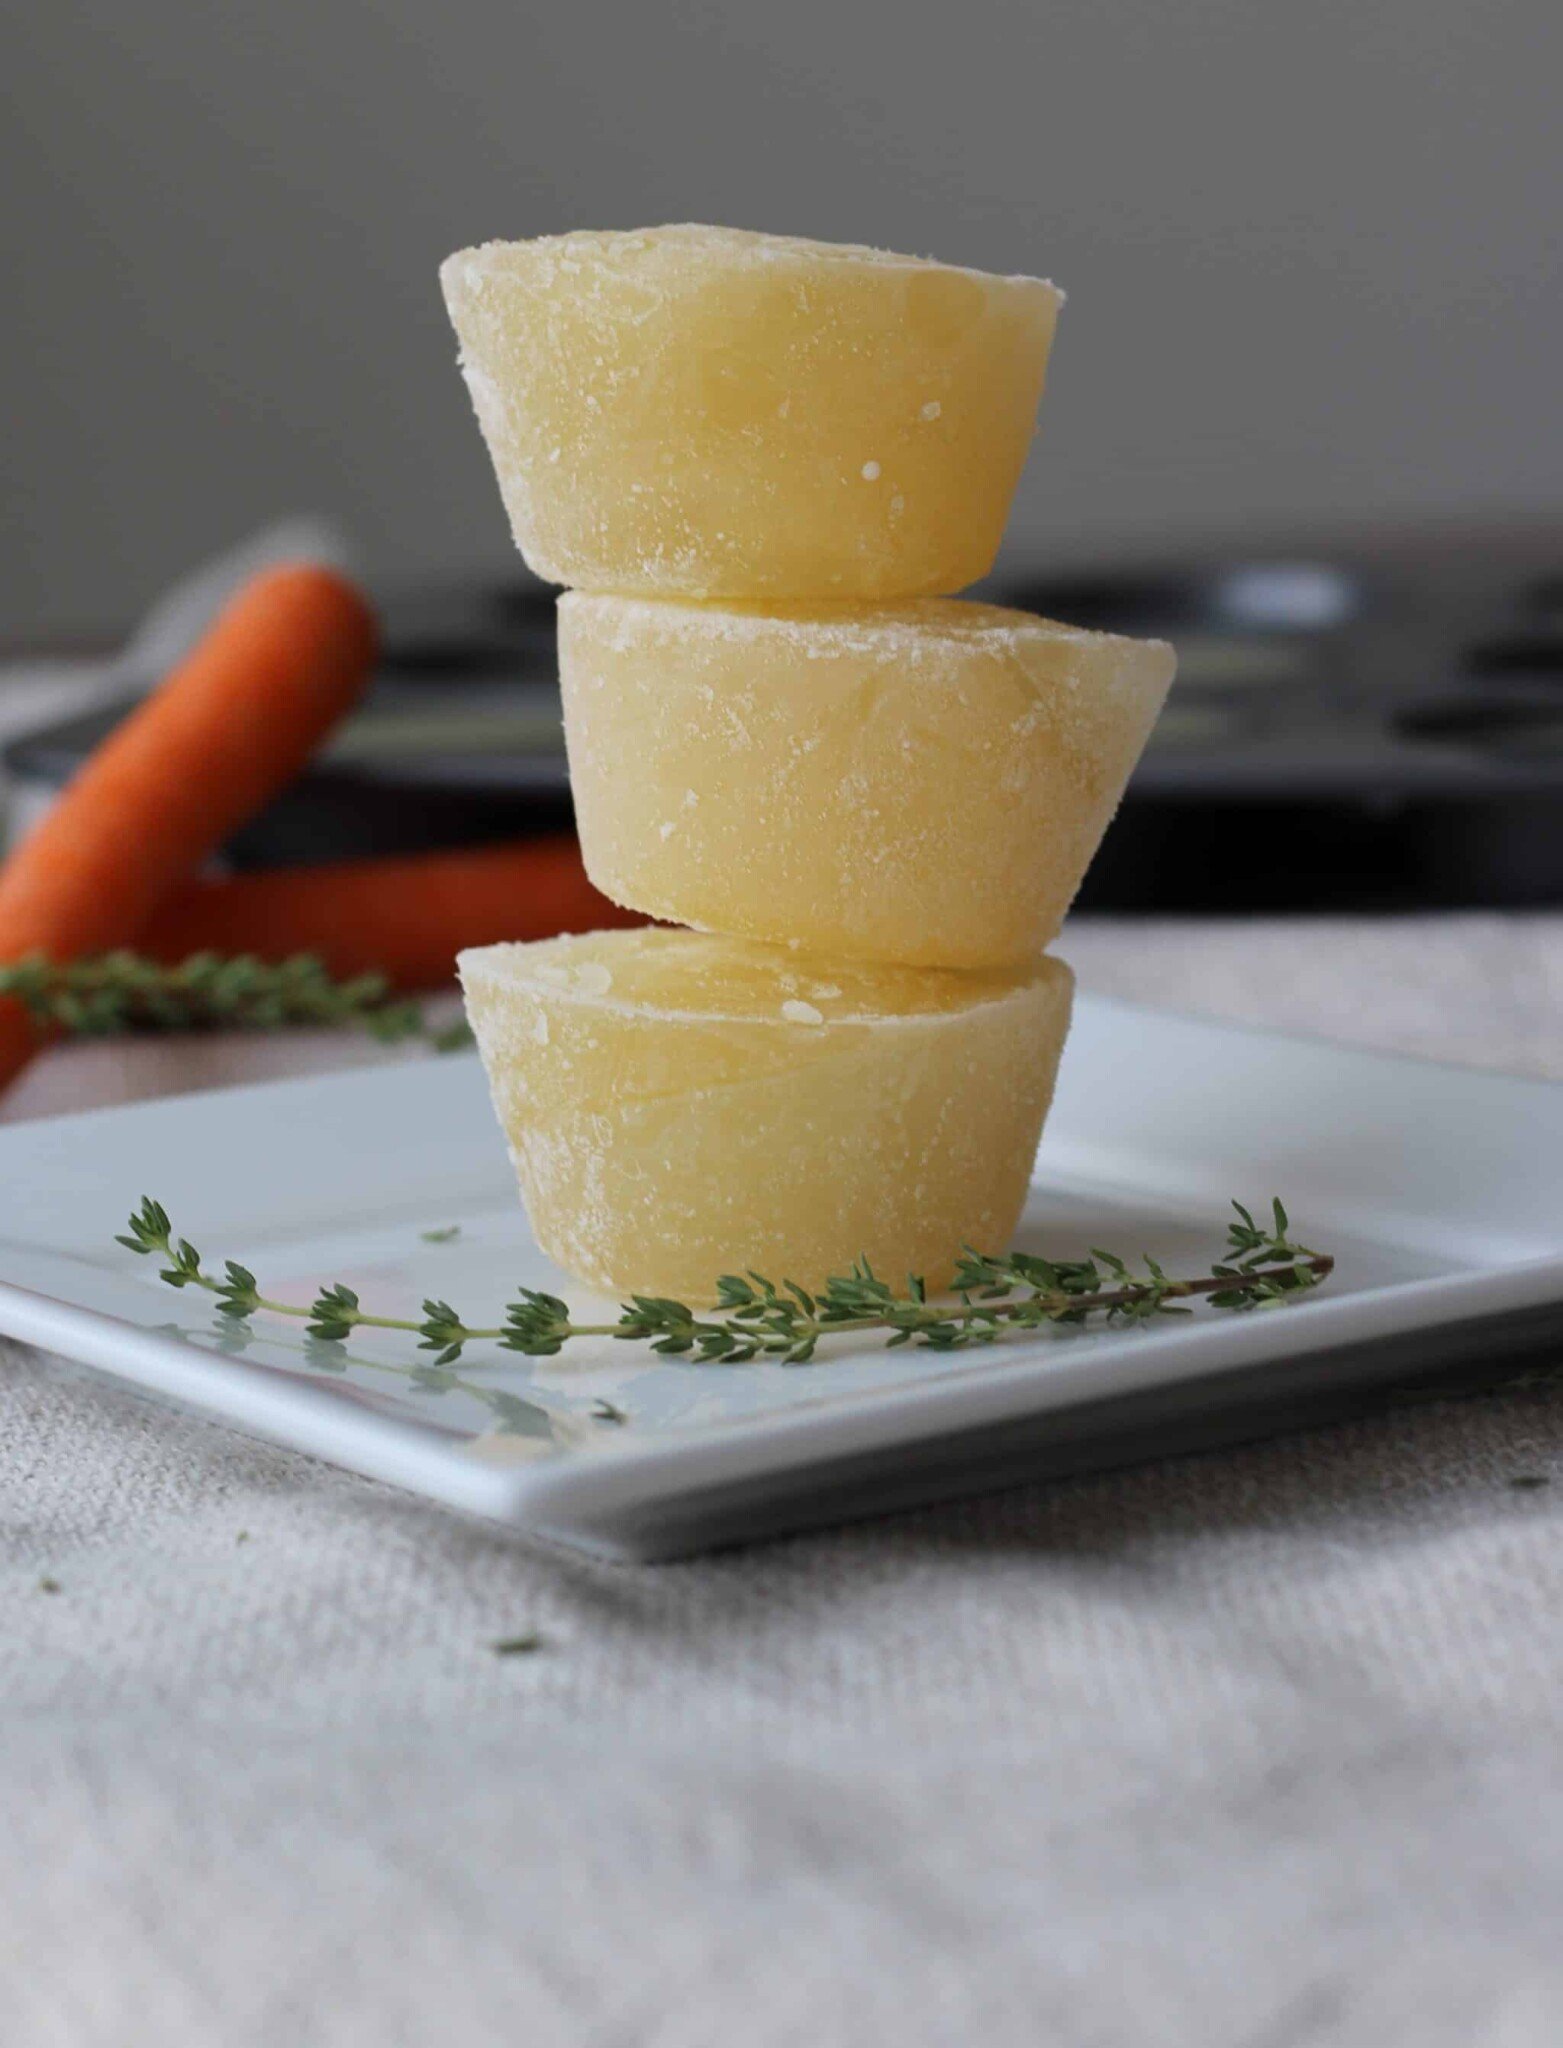
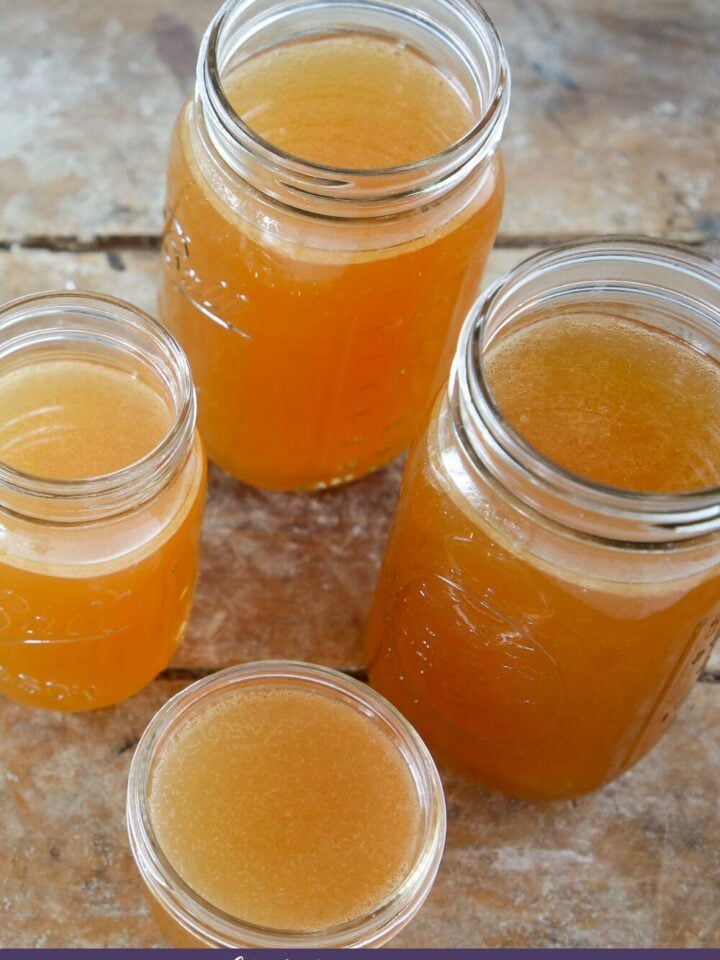
I’ve also devised a pretty genius way to freeze perfect portions of homemade chicken broth for any recipe: silicone ice cube trays. Freeze that beautiful, rich homemade broth in the trays, then thaw the exact amount needed for your recipe!
Table of Contents
Why you will love homemade chicken broth:
- It isn’t overly salted like commercial chicken broths. This easy homemade chicken broth relies on the flavor of the chicken, vegetables, and spices rather than tons of sodium.
- It’s incredibly flavorful. Slow-cooked for hours, this broth is packed with rich, savory flavor. The longer you cook the chicken and veggies, the more flavorful it gets!
- This recipe is so easy! Simply add the chicken bones and meat to the pot with the veggies and seasonings, let cook for several hours, then strain and serve.
Professional Tips for making chicken stock
- Double the recipe! I always double this recipe because this process is time-consuming and I am busy. This way, you’ll have plenty of broth you can freeze and use in recipes, like Chicken Paprikas with Homemade Spaetzle, in the future.
- Be patient. There is no need to babysit the broth while it cooks, so feel free to do something else while it cooks. Simmer the broth low and slow for the full time recommended in this recipe (or even longer) for the most flavorful broth.
- Freeze your chicken parts. Rather than tossing the bones from your chicken thighs and drumsticks, you can save them in a bag in the freezer and use the bones for your next broth or stock.
- Use enough water to cover the ingredients. You want to ensure that you’re using enough water to fully cover the chicken and vegetables, then another inch or so more as the broth will cook down.
Ingredients
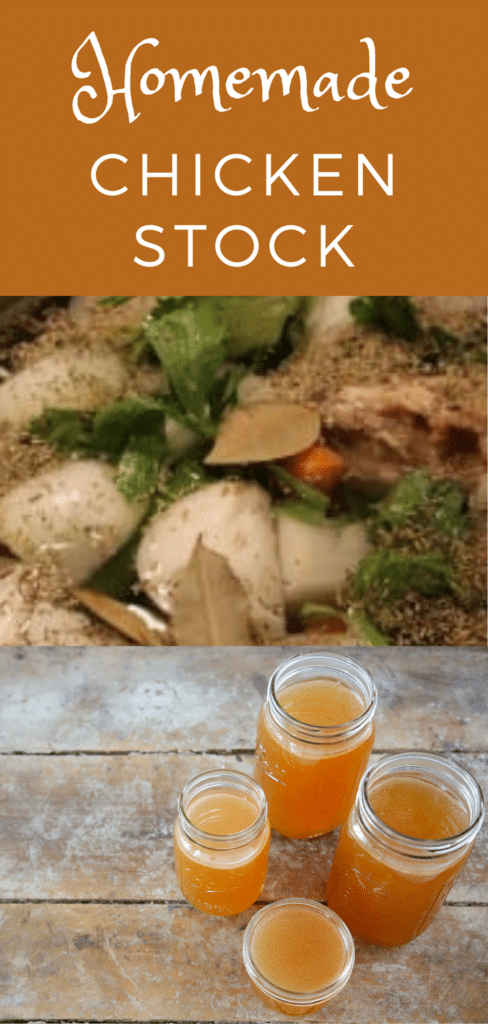
- Chicken Bones: Use chicken bones and any leftover chicken meat from 1 medium roast chicken. This can either be a store-bought rotisserie chicken or a home-cooked roasted chicken. You can also use the bones from a raw chicken that you have deboned yourself. Follow my YouTube tutorial on how to debone a whole chicken here!
- Celery: You’ll need about 3 celery ribs for this recipe, but you can use the whole celery stalk if you’d like. I also save the tops of my stalks to use in stock.
- Carrots: I prefer to use regular, orange carrots for this recipe. Those beautiful purple carrots that are often available at the store or farmer’s market can change the color of the broth and make it less visually appealing.
- Onions: Sweet, white, and yellow onions will work for this recipe, but I most commonly use yellow onions and sweet onions. Those are also my favorite onions to use in the Best French Onion Soup!
- Bay Leaves: Dried bay leaves will add herbal, earthy notes of thyme and oregano to the broth. I don’t recommend using fresh bay leaves as their flavor can be a bit more bitter.
- Rosemary: I like to crush dried rosemary to impart even more flavor to the broth. It’s possible to use fresh rosemary, but not necessary, especially in such a small amount.
- Thyme: As with the rosemary, I recommend using dried thyme, though you can use fresh thyme if you’d like.
- Peppercorns: Malabar peppercorns are the most commonly used black peppercorns. I use these most often. I don’t recommend using green or pink peppercorns.
- Salt: I like to use kosher salt for my recipes. It is less salty than sea salt or table salt by volume, making it easier to taste as you go.
Variations
- Chicken Feet: If you’re looking for a thicker broth, try adding chicken feet. The high collagen content creates a thicker final product.
- Different Seasonings: Experiment with different dried herbs to see what flavors you like best. You can try things like oregano, parsley, or savory.
- Electric Pressure Cooker: You can also make broth in your electric pressure cooker or Instant Pot. Add the ingredients to the pot, bring up to high pressure, cook for about 45 minutes, then use the natural release method.
How to Make Chicken Broth
Use these instructions to make the perfect chicken broth every time! Further details and measurements can be found in the recipe card below!
Step 1: Place all ingredients into a large pot or Dutch oven. Bring to a boil over medium-low heat. Cover and simmer for at least 3 hours and up to 6 hours.
Step 2: Strain the broth in a two-step process. First, scoop out all the large pieces of chicken and vegetables with a slotted spoon and place in a large colander over a bowl. Pour the rest of the broth through the colander. Set the colander aside over another bowl.
Step 3: Strain the broth through cheesecloth. Place cheesecloth over top of the original pot and secure with a rubber band. Pour broth slowly through cheesecloth. Pour all the broth that has drained from the colander through the cheesecloth. This step is optional but it will make a clearer stock.
Sure, there are easier ways to strain your broth, but this method ensures you get every drop! My grandmother always used to say, “Waste not, want not!”
Step 4: Remove cheesecloth, squeeze, and discard. Squeeze the liquid from the celery into the broth.
Step 5: Refrigerate overnight and skim off all fat.
Step 6: Heat and serve, or freeze for later!
Chef Lindsey’s Recipe Tip
To portion this chicken broth recipe for freezing, fill silicone ice cube trays with the cooled broth. I use varying sizes, some that are 2 tablespoons and some that are ½ cup. Freeze. You can store them in the freezer in the trays or pop them out and place the frozen broth in a freezer bag for perfectly portioned chicken broth!
Frequently Asked Questions
Store the broth in a jar or other airtight container in the fridge for up to 5 days. You can freeze chicken broth, too. Let the broth cool completely, then transfer to a freezer-safe container. Frozen chicken broth will last for up to 6 months.
Chicken stock and chicken broth are very similar, with a few nuanced differences. A chicken stock recipe is made by using primarily bones, while chicken broth is made by using both meat and bones. Stock is also more commonly referenced as an ingredient, whereas broth is a finished product.
Reheat chicken broth by placing it in a stock pot or saucepan. Bring it up to a boil and then down to a simmer before serving.
Absolutely! The depth of flavor you achieve from slowly simmering homemade chicken broth is definitely worth the time it takes. The recipe is actually quite easy, it just takes time to develop flavor.
If you tried this recipe and loved it please leave a 🌟 star rating and let me know how it goes in the comments below. I love hearing from you; your comments make my day!
How to Make Chicken Broth
Ingredients
- 1 lb chicken bones leftover from 1 chicken
- 3 celery ribs with leaves cut into 2” pieces
- 2 carrots cut into 2” pieces
- 2 onions quartered
- 2 bay leaves
- ½ teaspoon dried rosemary
- ½ teaspoon dried thyme heaping
- 8 whole peppercorns
- 2 quarts cold water
- pinch kosher salt
Instructions
- Place all ingredients into a large pot or Dutch oven. Bring to a boil over medium-low heat. Cover and simmer for at least 3 hours and up to 6 hours.
- Strain the broth in a two-step process. First, scoop out all the large pieces of chicken and vegetables with a slotted spoon and place in a large colander over a bowl. Pour the rest of the broth through the colander. Set the colander aside over another bowl.
- Strain the broth through cheesecloth. Place cheesecloth over top of the original pot and secure with a rubber band. Pour broth slowly through cheesecloth. Pour all the broth that has drained from the colander through the cheesecloth. This step is optional but it will make a clearer stock.
- Remove cheesecloth, squeeze, and discard. Squeeze the liquid from the celery into the broth.
- Refrigerate overnight and skim off all fat.
- Heat and serve, or freeze for later!
Freezing Perfect Portions
- Pour ½ cup of broth into each muffin cup. A standard muffin tin is almost exactly ½ cup. Place muffin tin in freezer. Mine take about 2 hours to freeze completely. You can wait longer – they won’t get freezer burn that quickly!
- Place muffin tin upside down over clean sink. Pour or spray warm water over the back of the tin to release the broth cups. Pick them up immediately as they fall into the sink and place them in a freezer bag. You want to avoid them melting more than they have to.
- Place bag in freezer. Repeat process until all broth has been frozen. I have a tiny freezer and I actually have to remove my icemaker to make these. Commitment.
- To thaw: I place however many cups needed in a Pyrex measuring cup and thaw in the microwave on half power until just melted.
Video
Notes
Nutrition
Before You Go
I hope you enjoyed this professional chef tested recipe. Check out our other delicious, chef-developed soup recipes!


I have been making my own broth this way for 3 decades and I never heard of squeezing out the celery. Nice. I’m going to try that!
Waste not, want not! 😉 Squeezing out every last drop. I hope you enjoy!
Your welcome! I know the feeling about freezer size limitations! I want to buy a freezer chest or perhaps another refrigerator with auto-defrosting freezer on the top.
Anyways a $1 bag of dry beans produces the same yield as like $4 in cans. If you eat a lot of beans like me (I’m diabetic), then it’s definitely a money saver!
I could definitely use a freezer chest! I’ll have to put that on my list for my dream home. I’ll have to give the beans a try!
What you are doing is the *only* NATURAL way to acquire broth. EVERYTHING one buys from the store–even the Kitchen Basics in the box–uses MSG or a variant to give it flavor; they are totally fake broths.
I buy whole chickens (for 99 cents/lb) and cut them up; learned how to properly cut up a chicken from youtube videos–very good at it now! I save the backs until I fill up a couple 1 gallon zip lock bags, then make stock from it. I pinch off the bits of chicken from the back and save for a chicken soup or salad.
I really enjoyed your cupcake tin idea for freezing the broth–that’s how I came across your blog (because I was looking for other people that have done this). I want to do this for beans as well. Cooking up a HUGE pot of beans and freezing the portions is MUCH MUCH more affordable than canned beans (which I seem to use a lot of each month). Beans are good for yoU! 🙂
Thanks again!
I’m so glad you stopped by Jennifer! I love always having homemade chicken broth on hand in reasonable portions. It would be so much easier to freeze them in 2 cup containers but not as versitile! I’ll have to try freezing portions of beans in tins as well, but I think I’m going to need a bigger freezer!
Love that you used cupcake tins for this – super fun idea!! Thanks for stopping by Cupcake Project and I’m so I’m glad that you told me you are from St. Louis. Any chance you are coming to Food Media Forum? Would be great to see you there.
I’m not, unfortunately. I don’t arrive in STL until August 12th for another round of wedding planning! I’m sorry I’ll miss you. :-/