This post may contain affiliate links. Please read our disclosure policy.
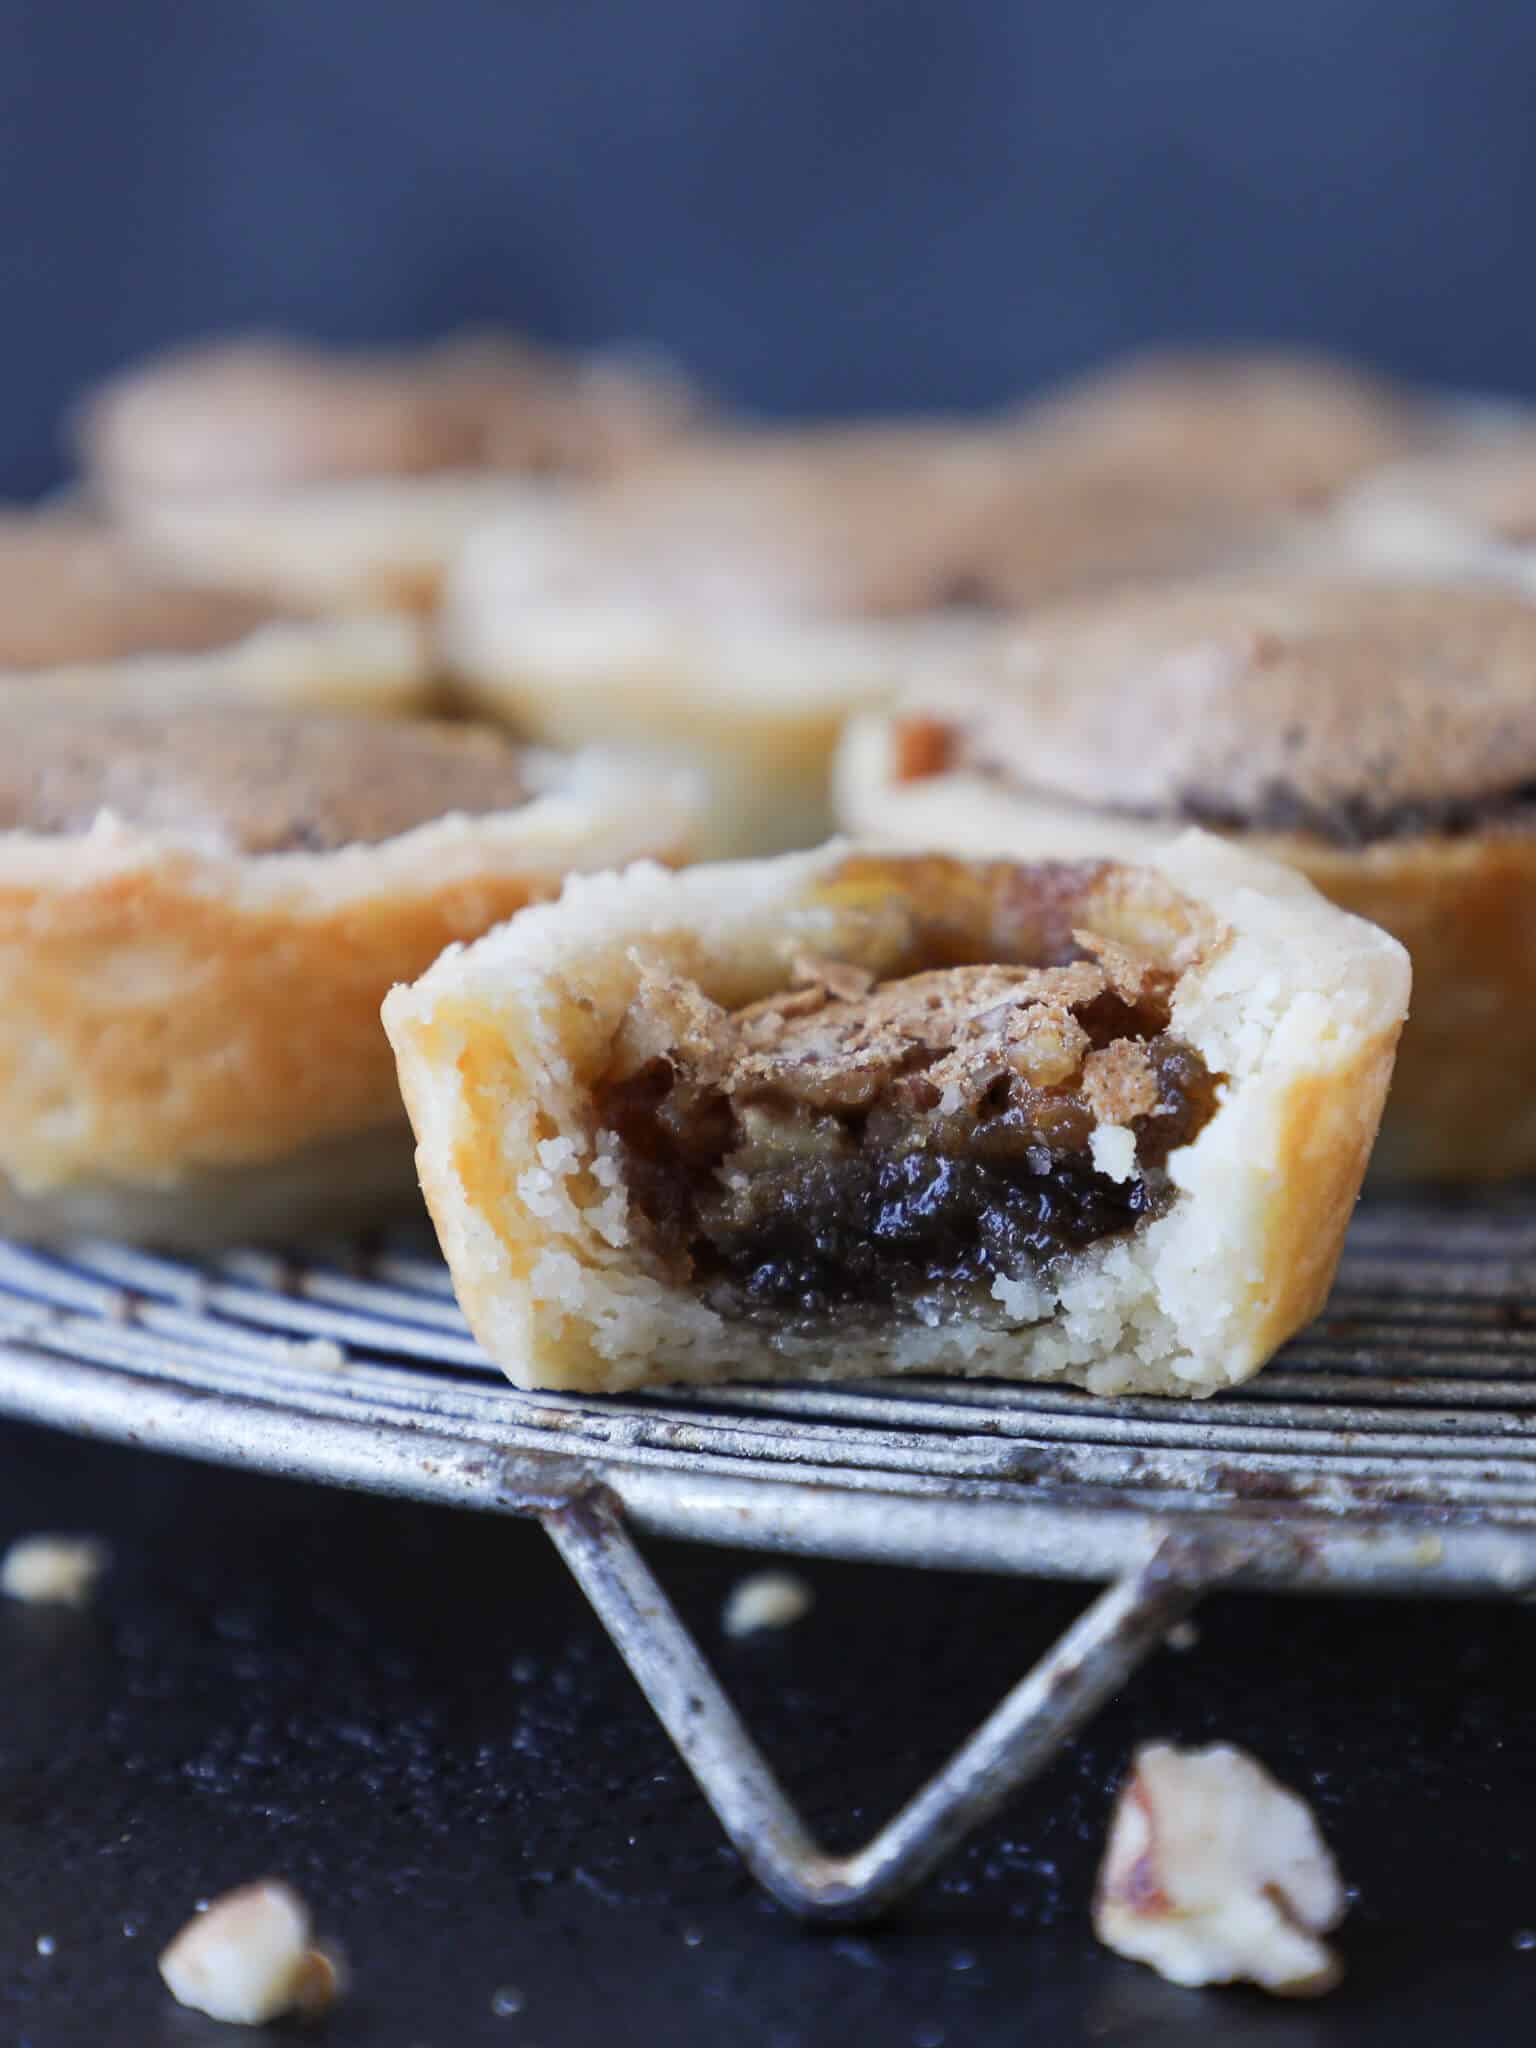
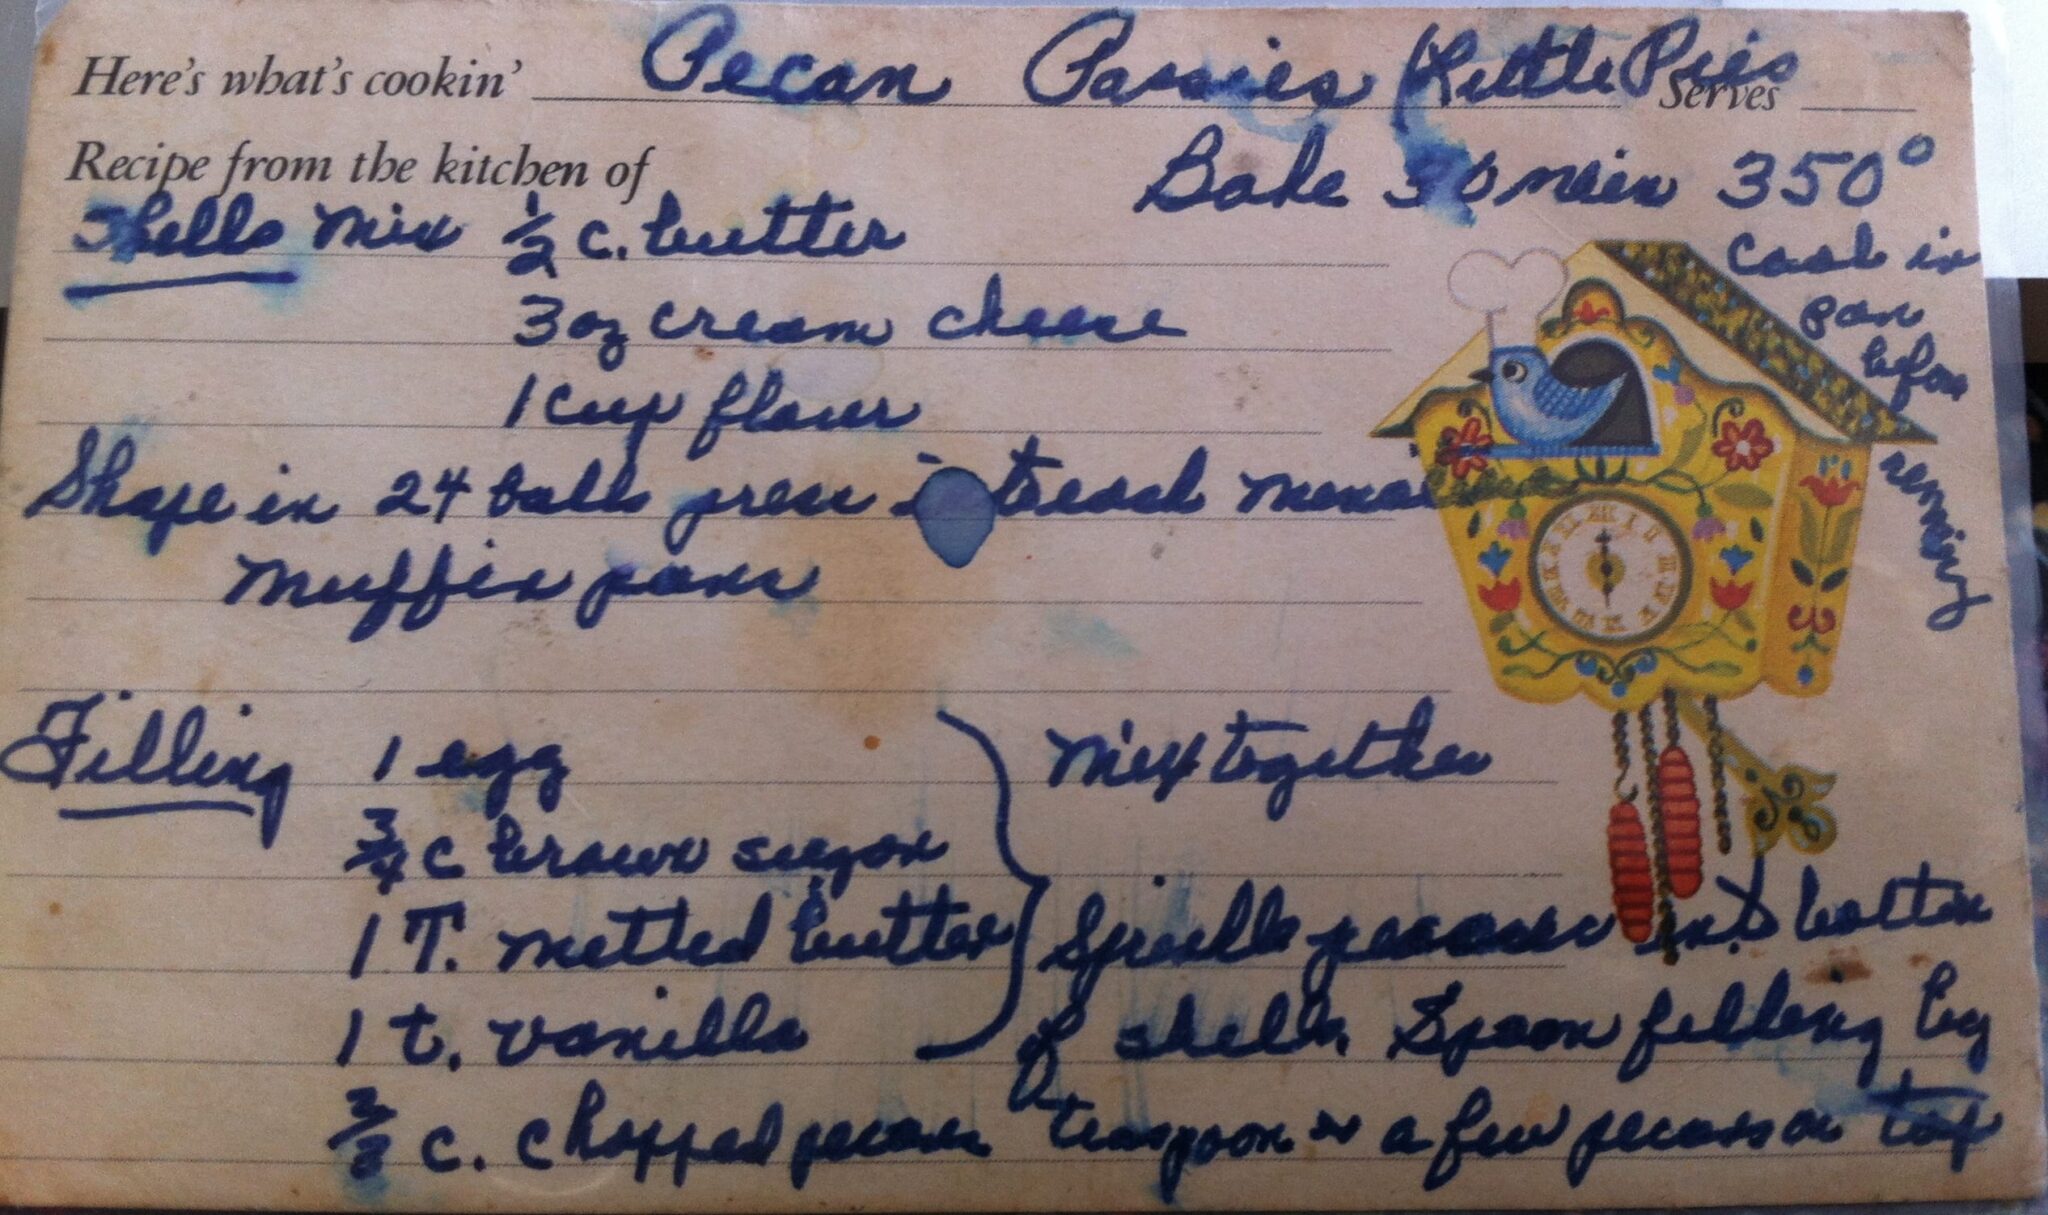
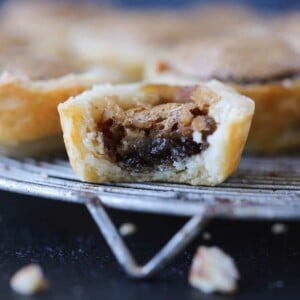
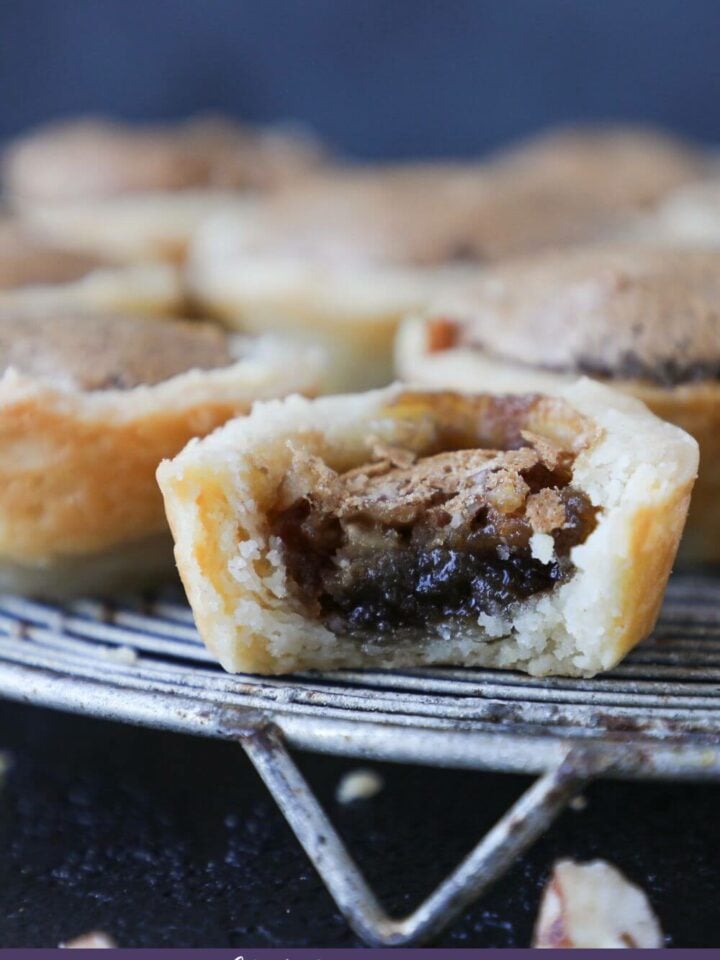
This is my Great-Grandmother’s recipe for pecan tassies. They taste like miniature pecan pies with a cream cheese crust. The crust presses easily into mini muffin tins and then bakes up soft and flakey! I’ll give you all my tips for getting the tassies out of the tins easily!
My great-grandmother Rosa, also known as RoRo, was a feeder. You know what I’m talking about — there is one in every family. In addition to making a huge feast whenever family came to visit her, RoRo would bake up dozens of everyone’s favorite treats to send home with them. She baked old fashioned peanut butter cookies for my dad and date pinwheels for my mom. But these pecan tassies were just for me.
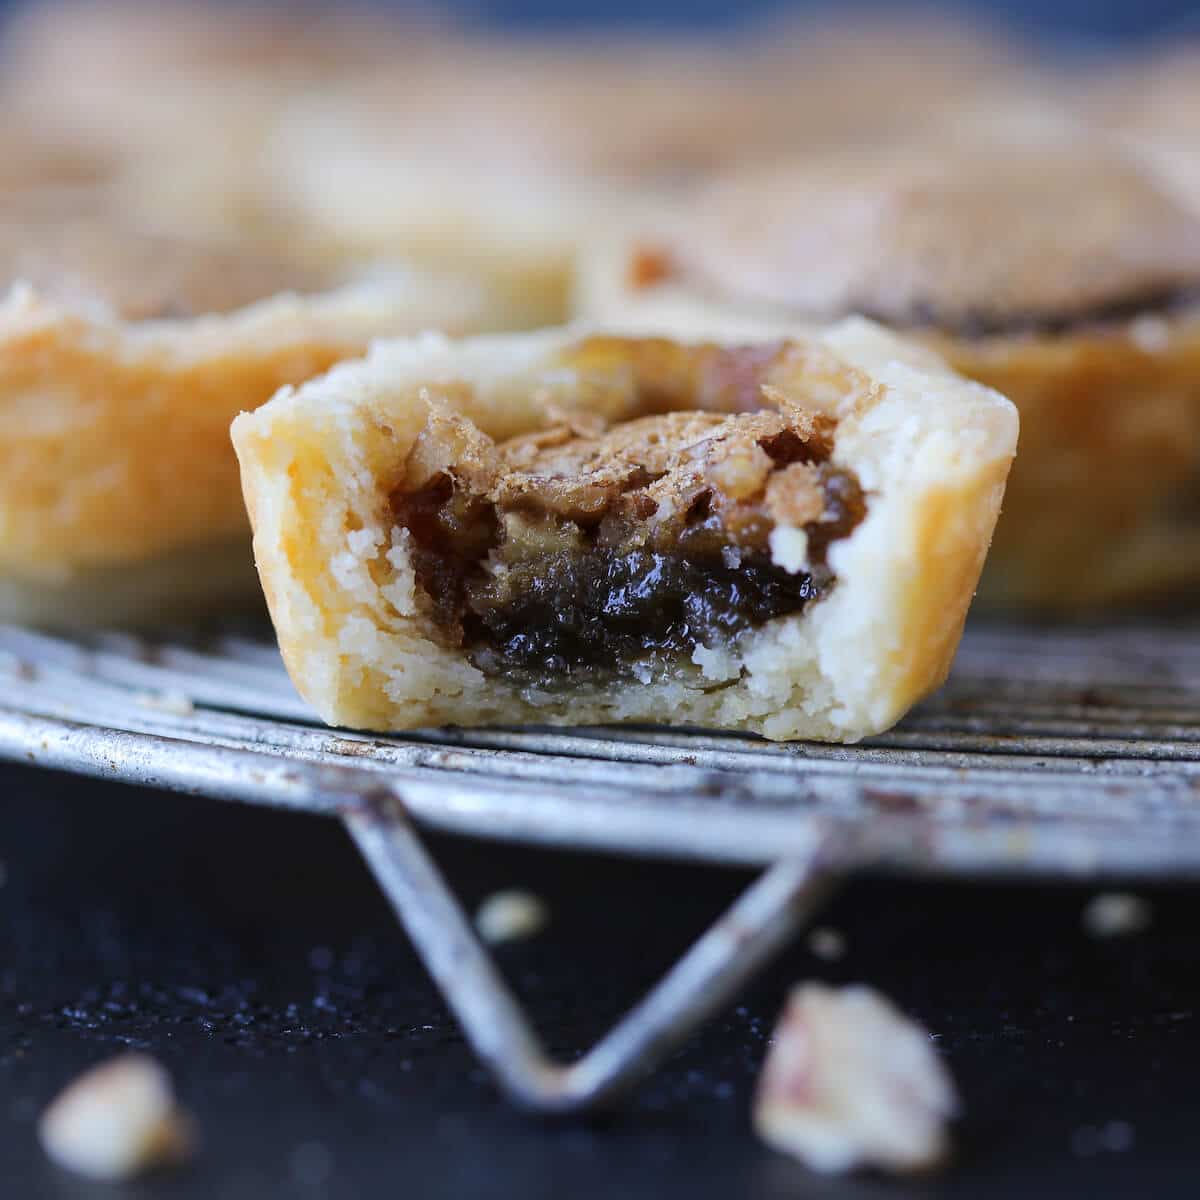
The cream cheese crust is a little tangy and the filling is the perfect amount of sweet and nutty! If you follow my tips below, they twist right out of the tins! These make a great addition to a Christmas cookie platter or box alongside Mexican wedding cookies and chocolate peppermint sugar cookies, but they are just as good all year round!
Why you will love these pecan tassies
- Easy: A press in crust with a filling that is mixed by hand in one bowl! It doesn’t get much easier than that!
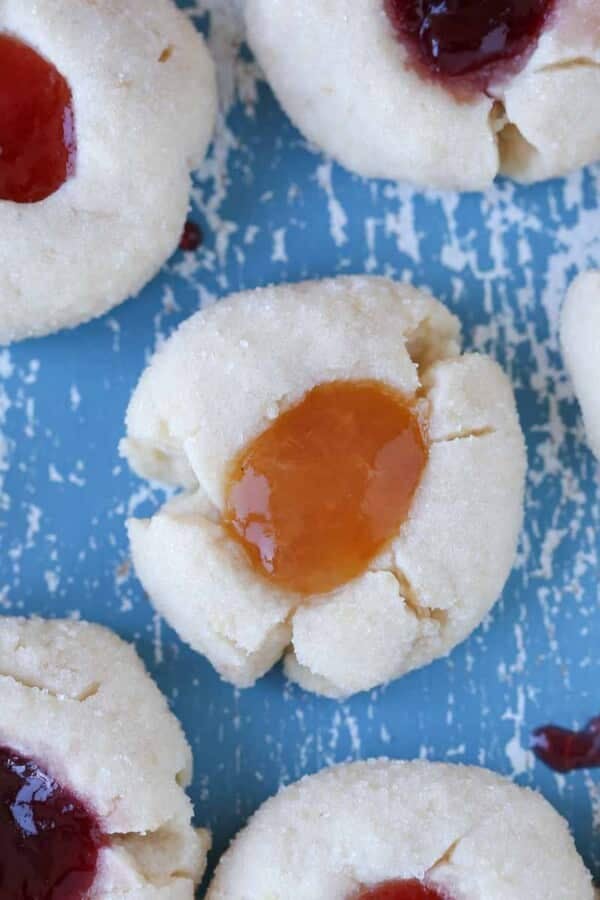
- Buttery, flakey crust: The cream cheese crust simply presses into the muffin tins but bakes up flakey and tender! Other people cream the crust ingredients like you would for apricot kolacky or Hungarian nut rolls, but I find that a traditional pie crust cut-in method makes the most tender crust.
- Balanced flavor: The tangy crust balances the sweetness of the pecan pie filling for the perfect bite. Don’t skip the kosher salt for the best flavor!
- Perfect for shipping: Add these tassies to your list of shippable Christmas cookies! Pair with linzer cookies and the best snickerdoodle cookies for the perfect cookie tin!

What are Pecan Tassies?
Pecan Tassies are miniature pecan pies baked in mini muffin tins. They have a sweet pecan filling and a tangy cream cheese crust. The crust is pressed into the tins for an easy, rustic cookie. This particular pecan tassie recipe is from my Great-Grandmother!
Tips to keep tassies from sticking to the pan
When made correctly, the tassies will just twist effortlessly out of the pan! There is no need to spray the tins or even stress. Follow these little tips for easy release every single time.
- No chill cream cheese dough: My great-grandmother didn’t chill her dough and neither do I. Simply make the dough, divide and then press into the tins. No spray, no chilling. Trust me, I’ve made thousands.
- Don’t press too thin: Be careful when pressing the dough into the tins not to press it too thin. If you can see the metal color through the dough, it’s too thin. The filling will work its way out and adhere itself to the muffin tin wall like concrete.
- Don’t over-fill: The second biggest reason tassies stick is they are overfilled. The filling will puff as it bakes and, if they are too full, the filling will come over the side of the crust and glue itself to the muffin tin.
- Allow to cool: Cooling the tassies completely before twisting to release will allow the gluten structure of the crust to set. This will give you the resistance you need to twist them out.
- If they do stick: Simply run the edge of a paring knife around the tin while they are warm. Allow them to cool and then twist to release. If a few crumble, more snacks for you!
Ingredients
- Butter: I typically use unsalted butter for baking, because you want to control the amount of salt you are adding. Every brand is different and it makes adjusting the recipe a challenge. Just be mindful that if you use unsalted in the filling (as opposed to salted butter), you’ll want to add a pinch of kosher salt!
- Cream cheese: I use original Philadelphia Cream Cheese for all my baked goods. Working the cream cheese into the dough adds fat and a little bit of tang. Cream cheese does not behave the same as butter when baked and will create a soft, tender shell for my Great-Grandmother’s pecan tassies.
- All-purpose flour: All-purpose flour has just the right amount of gluten to make a tender, flaky shell when handled properly.
- Whole Egg: The egg is here to add fat, moisture and leavening.
- Dark Brown Sugar: Using dark brown sugar adds sweetness along with a nice, rich molasses flavor.
- Vanilla Extract: Vanilla Extract adds a beautiful flavor itself but it also boosts the flavor of other ingredients around it.
- Pecans: I love to use Southern pecans in baking. Nothing beats fresh, plump pecans especially when they are the primary flavor in this old-fashioned pecan tassie recipe. But any pecan halves will do. If you keep them for longer than a month or your kitchen is consistently warm, store them in the freezer to preserve freshness.
Variations
- Pie Filling: Use any pie filling that you would like in the cream cheese crust! Buttermilk pie, mixed berry pie, chocolate pie or even mini shoofly pie!
- Nuts: Obviously these are made with chopped pecans but any nuts will be delightful. I have also made them with walnuts to rave reviews!
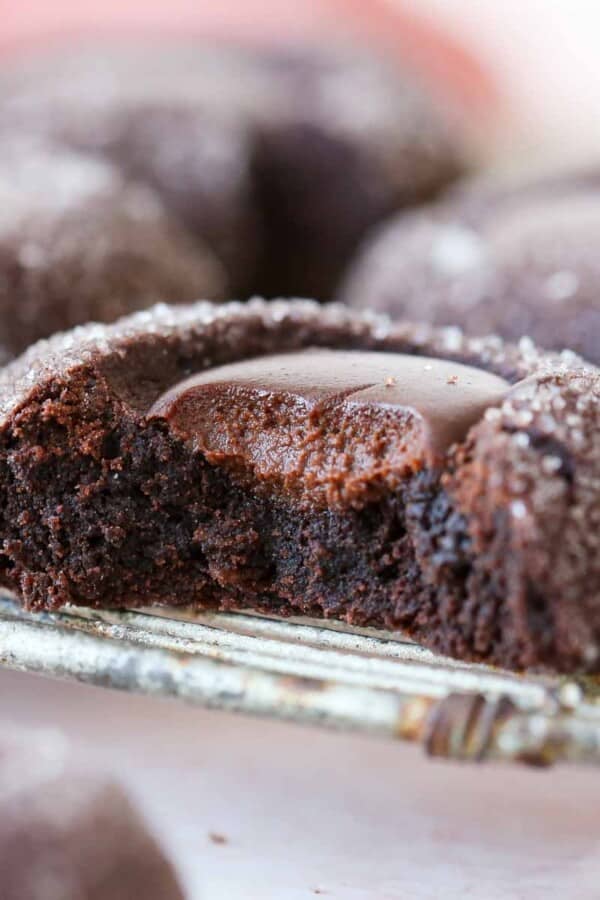
- Chocolate: You can use the filling from this salted caramel chocolate pecan pie or simply sprinkle in a few mini chocolate chips like I did for these chocolate pecan tassies!
How to make pecan tassies
Use these instructions to make the perfect pecan tassies every time! Further details and measurements can be found in the recipe card below!
Prepare the cream cheese crust:
Step 1: Preheat the oven to 350°F. I do not spray my muffin tins as long as they are nonstick.
Step 2: Place flour in the bowl of a stand mixer or in a large mixing bowl. Cut butter and cream cheese into cubes and add it to the flour. Either mix the flour mixture on low in the a stand mixer fitted with the paddle attachment or cut it in by hand using a pastry blender or two knives. Continue until the dough holds together. Since we aren’t adding any additional liquid, you’ll want to continue to blend way past the stage at which you would normally stop with a pie crust.
You can also make the tassie crust in a food processor like I did in the Pecan Tassie tutorial video. Simply add all the ingredients and pulse until a smooth dough forms. It will take less than a minute. If you have a food processor, I highly suggest this method!
Step 3: Gather the crust into a ball and divide into 24 little pieces. I used a kitchen scale and a bench scraper to speed up the task but I’m sure my great-grandmother tore little pieces off by sight.
Step 4: Roll each into a ball to make them a little more finished. For me, it’s a fine line between “rustic” and “a hot mess.” Press each piece into one cup of a miniature muffin tin to create a little crust.
Be careful that none of the sides or the bottom get too thin. This will cause the filling to escape and glue itself to the sides of the tin. If one needs a bit more dough, find a chubby ball and steal a bit of dough from that one. A classic robbing Peter to pay Paul scenario.
Prepare the filling:
Step 5: Whisk egg, vanilla, sugar, pinch of salt and melted butter together until no lumps remain. The more you whisk, the more air you will incorporate. This will create that crust on the top. If you don’t want it, then whisk less.
Assemble & bake the tassies:
Step 6: Sprinkle a few pecan pieces in the bottom of each shell. Pour the filling into each cup until the filling is just below the top rim of the shell. Be careful not to overfill, or they will overflow in the oven and stick like cement to the side of the muffin tin.
I found using a liquid measuring cup the easiest way to portion the filling. A piping bag or spoon can be used but I find those trickier to control.
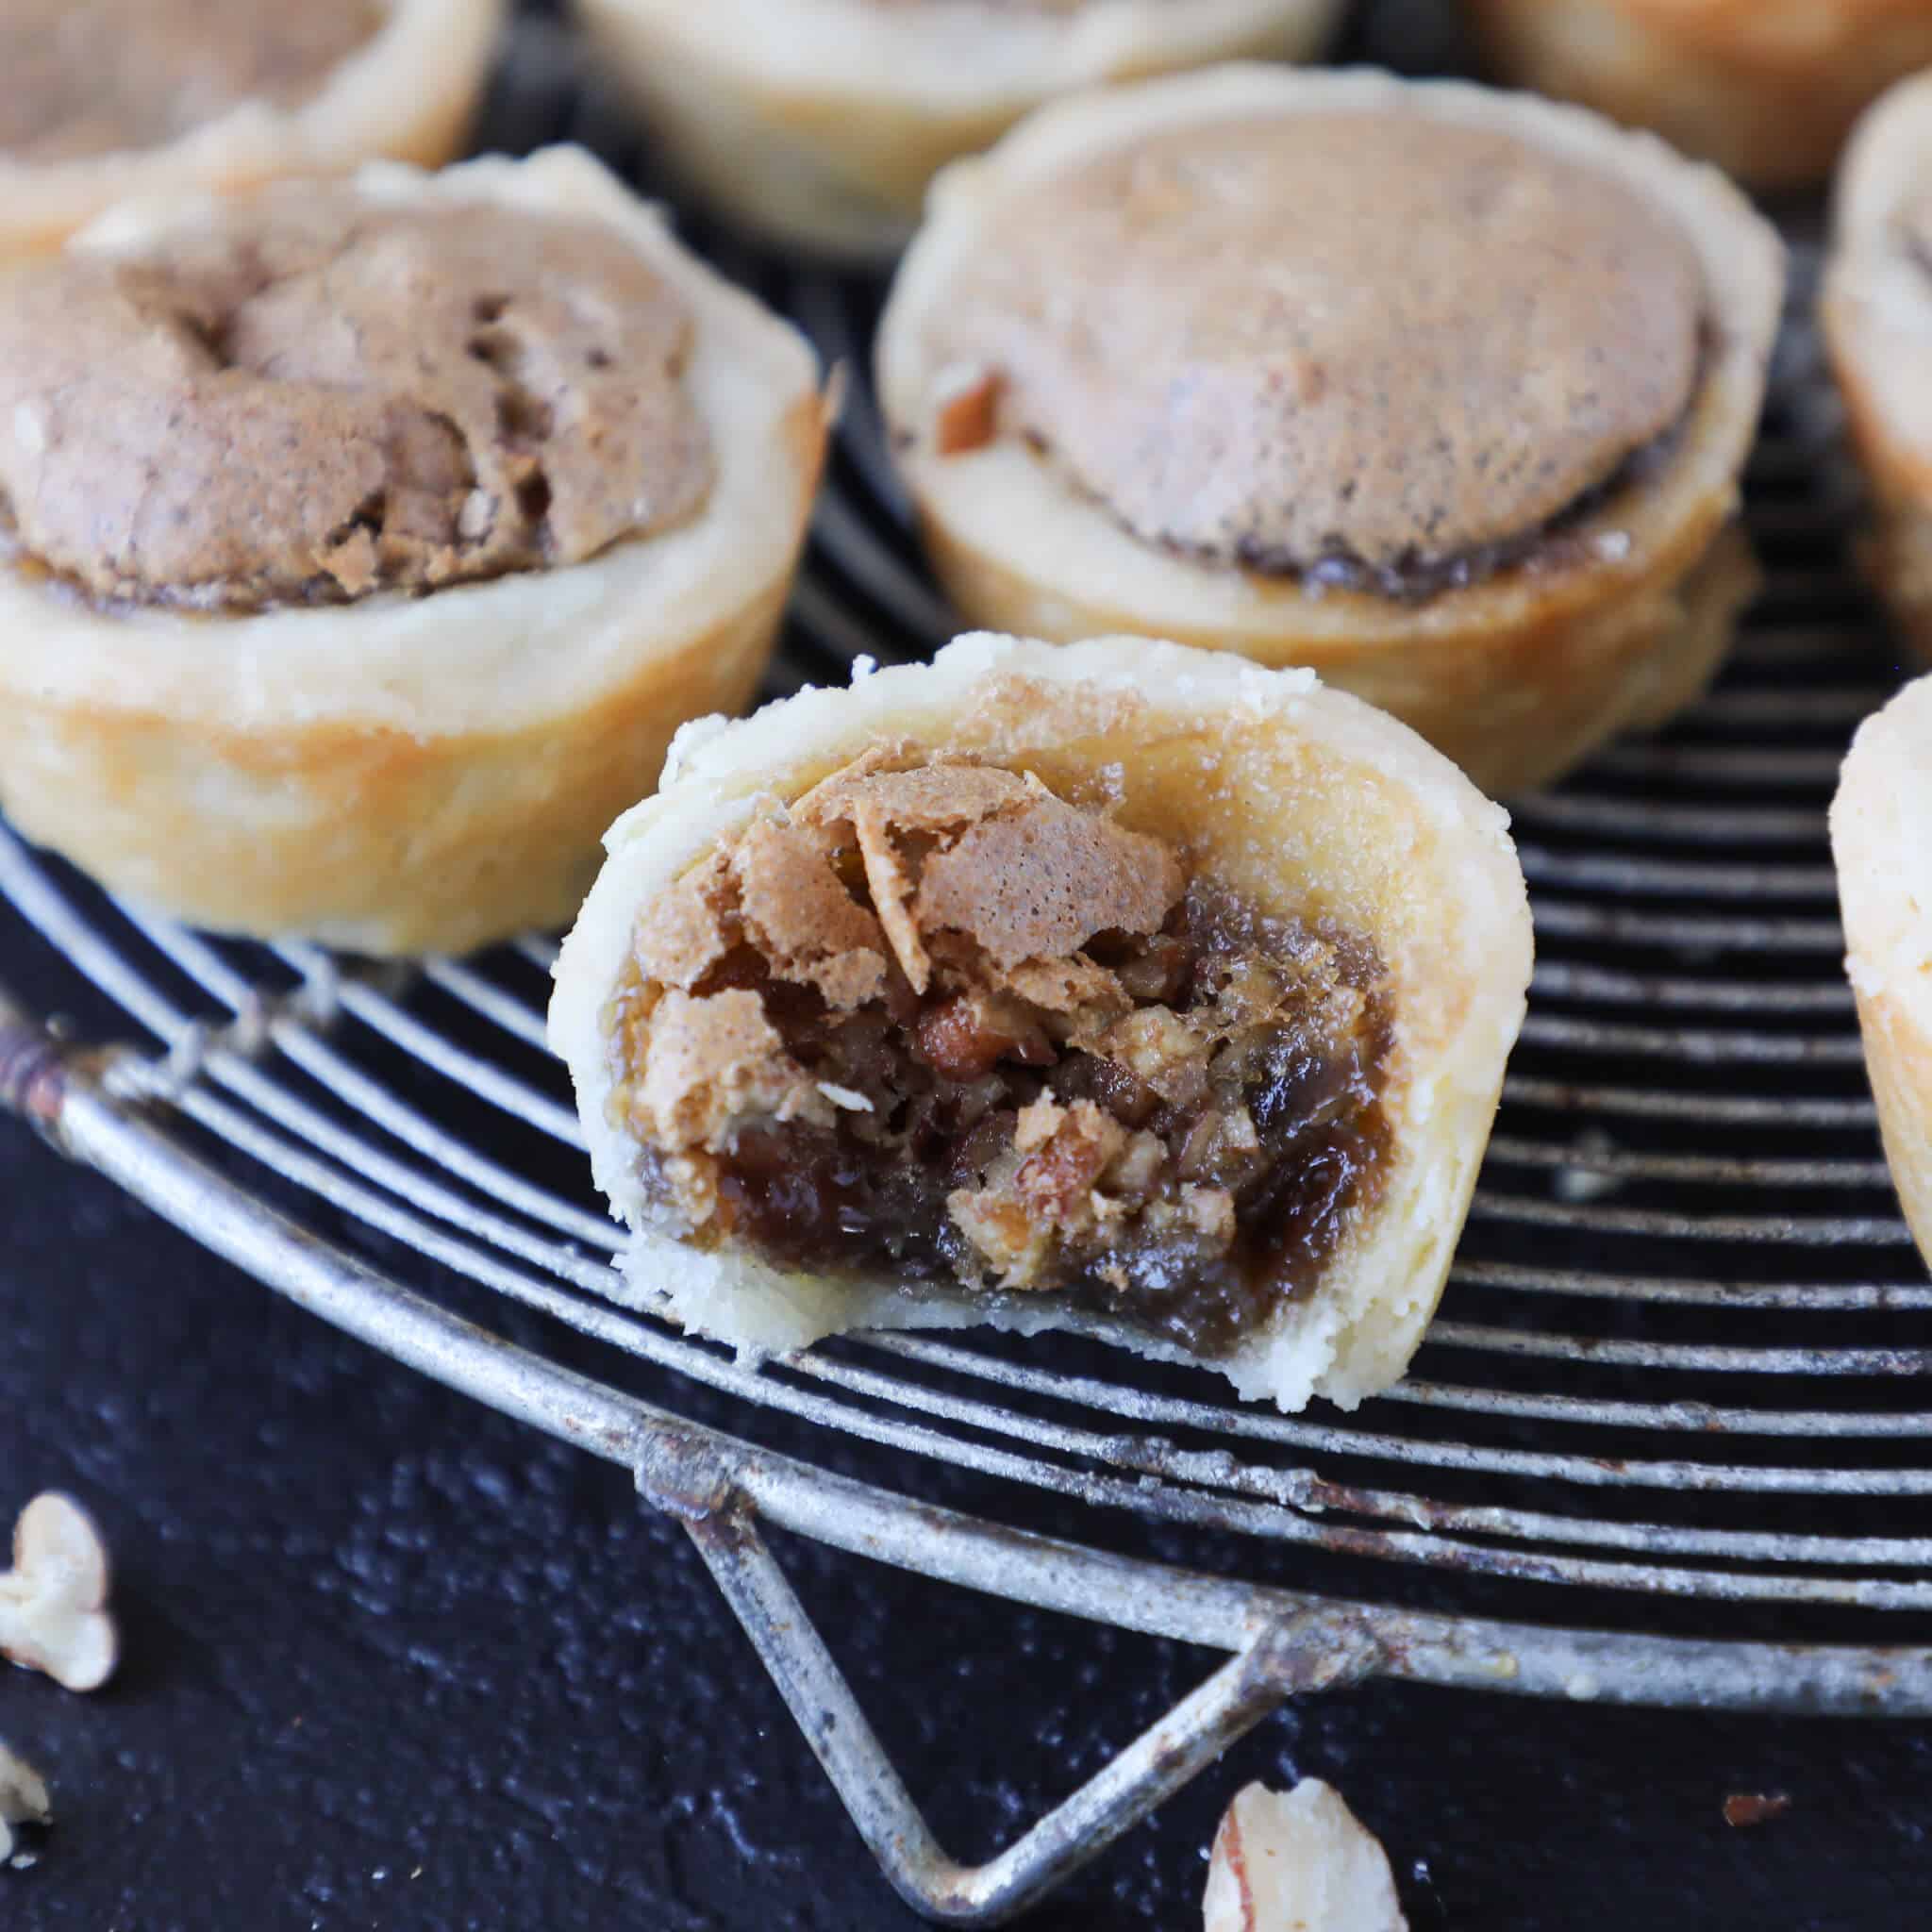
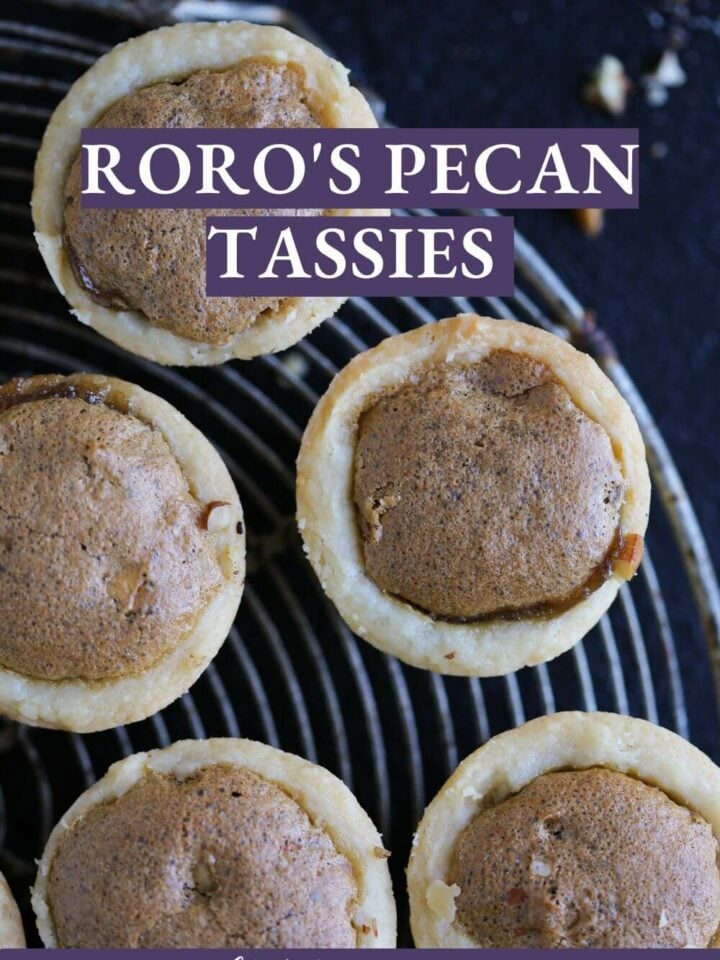
Step 7: Sprinkle pecan pieces over the top of each tassie. I forgot to do this in the video (I was pregnant, so we can forgive me!) and that is why there are zero visible pecans in the photos of these tassies.
Step 8: Bake in preheated oven for 24-25 minutes or until the tops have puffed and begun to crack and the crust has browned around the edges. Underbaking will also make them difficult to remove from the tin.
Let cool in the pan completely before removing. This allows the gluten structure to set in the crust, which will give you a little resistance when twisting to remove.
Step 9: Twist and lift to remove! If they do not come out easily, try running the edge of a paring knife around the edge before twisting. If all else fails, just pry them out with an offset spatula. Even the ugly ones taste delicious. That’s a pastry chef promise.
Chef Lindsey’s Recipe Tip
I do not chill this dough because chilling it causes it to puff excessively. This just means that less time stands between you and a tassie! It will be soft but not sticky. You can roll it out and cut circles for a more uniform and perfect look but the resulting tassies will be a little less tender and flakey. It’s your call. If you got that route, please chill the dough between each step.
Frequently Asked Questions
You can store tassies in an airtight container layered between parchment or wax paper. They store well at room temperature, in the refrigerator or frozen for longer term storage. They will keep 1 week at room temperature, 2 weeks in the refrigerator or frozen for 3 months. To thaw pecan tassies allow them to sit at room temperature in their container.
Tassies stick to the pan if they are even slightly overfilled or if the crust was pressed too thin. Usually you can still remove them by sliding a paring knife around the edges and then twisting. If not, that one is yours! I call those the Chef’s bonus.
Properly filled pecan tassies will just twist out of the pan. I find it easier to remove them when cooled to room temperature because the crust is a little more stable and less likely to crumble. If they are over-filled or the crust was pressed too thin and some filling leaked out, you can run a paring knife around the edges to loosen. Twist out or use a small offset spatula to pry them out!
You can make as a large a batch as you wish of these pecan tassies. The most I have made at a time is 500. I had to bake it in batches because I didn’t have enough pans. If making a large batch, I strongly suggest sprinkling the pecans into each crust before pouring in the filling. This ensures an even distribution.
If you tried this recipe and loved it please leave a 🌟 star rating and let me know how it goes in the comments below. I love hearing from you; your comments make my day!
Pecan Tassies
Ingredients
Shells:
- 1 cup all-purpose flour
- ½ cup unsalted butter
- 3 oz cream cheese
Filling:
- 1 egg
- 1 teaspoon vanilla
- ¾ cup dark brown sugar packed
- 1 tbsp unsalted butter melted
- 1 pinch kosher salt
- ⅔ cup chopped pecans
Instructions
To make the Shells:
- Preheat the oven to 350°F. I do not spray my muffin tins as long as they are nonstick.
- Place flour in the bowl of a stand mixer or in a large mixing bowl. Cut butter and cream cheese into cubes and add it to the flour. Either mix the flour mixture on low in the a stand mixer fitted with the paddle attachment or cut it in by hand using a pastry blender or two knives. Continue until the dough holds together. Since we aren’t adding any additional liquid, you’ll want to continue to blend way past the stage at which you would normally stop with a pie crust.
- You can also make the tassie crust in a food processor like I did in the YouTube video. Simply add all the ingredients and pulse until a smooth dough forms. It will take less than a minute. If you have a food processor, I highly suggest this method!
- Gather the crust into a ball and divide into 24 little pieces. I used a kitchen scale and a board scraper to speed up the task but I’m sure my great-grandmother tore little pieces off by sight. Roll each piece into a ball.
- Press each piece into one cup of a miniature muffin tin to create a little crust. Be careful that none of the sides or the bottom get too thin. This will cause the filling to escape and glue itself to the sides of the tin.
Prepare the Filling:
- Whisk egg, vanilla, sugar, pinch of salt and melted butter together until no lumps remain. The more you whisk, the more air you will incorporate.This will create that crust on the top. If you don’t want it, then whisk less.
Assemble & Bake the tassies:
- Sprinkle a few pecan pieces in the bottom of each shell (about a teaspoon according to RoRo's original recipe). Pour the filling into each cup until the filling is just below the top rim of the shell. I found using a liquid measuring cup the easiest way to do this.
- Sprinkle pecan pieces over the top of each tassie.
- Bake in preheated oven for 24-25 minutes or until the tops have puffed and begun to crack and the crust has browned around the edges. Underbaking will also make them difficult to remove from the tin.
- Let cool in the pan completely before removing. Twist and lift to remove! If they do not come out easily, try running the edge of a paring knife around the edge before twisting. If all else fails, just pry them out with an offset spatula. Even the ugly ones taste delicious. That’s a pastry chef promise.
Video
Notes
Nutrition
Before You Go!
Check out our other delicious, chef-developed cookie recipes!


Hi Lindsey…
OMG ! Just the inspiration I needed to bake today. YUM…
I loved hearing about your great grandmother RoRo-what a sweet,sweet lady❤️.
I only have a reg size muffin pan. Please tell me I can bake these off,but they’re just a bit larger. If I can bake these today,can you help me w/time adjustments?
Thank you
Thank you ahead of time
I hope you see this relatively soon. I’d like to bake these today.
Lisa
Hi Lisa! Sorry to catch you the following day, but thank you so much for your kind words! I hope you have some time to make these today, they’re just phenom. Some things to just keep in mind when using the regular sized muffin tin: Be careful that none of the sides or the bottom get too thin. This will cause the filling to escape and glue itself to the sides of the tin. If one needs a bit more dough, find a chubby ball and steal a bit of dough from that one. As far as adjusting bake time, it will depend on your oven, but bake until the tops have puffed and begun to crack and the crust has browned around the edges. I would say it will take about 30 minutes, but keep an eye on them so they don’t overbake! Can’t wait to hear how they turn out, and happy baking!
Best, easiest recipe for Pecan Tassies ever! I couldn’t be happier with your methods.
Hi Janet! That’s what I love to hear! Thank you so much for taking the time to comment 🙂
You had me at pecan pie hehe the gooey inside of these pecan tassies was sheer bliss and perfectly sweetened. Love the bite-size form too!
Hi Shelby! Sheer bliss is right! Thank you for commenting 🙂
These were soooooo amazing!!!! Made them for a work potluck and everyone was obsessed with how delicious they were – thank you!!!
Hi Ali! These are the perfect potluck contribution, I’m so glad you enjoyed!
My parents live near a large pecan orchard in Southern New Mexico, and my mom always brings the most amazing pecans when she comes to visit. I’m always on the lookout for new ways to use this buttery ingredient, and these pecan tassies were next on my list. They feature the flavors of pecan pie, but in a cute, bite-sized package.
Hi Sage! Amazing, you’ll have to let me know how your mom’s pecans are in this dessert, it’s one of my favorites!
This recipe was so delicious and addicting! It kept me wanting for more. Even my kids loved it. I love how it turns out so perfectly every time! This recipe is a must-try!
Hi Janice! I love that you and your kids enjoyed! Addicting is spot on!
I have to say, wow! These were absolutely spot-on. Really easy to make, buttery and so, so tasty.
Hi Katrin! Thank you so much!