This post may contain affiliate links. Please read our disclosure policy.
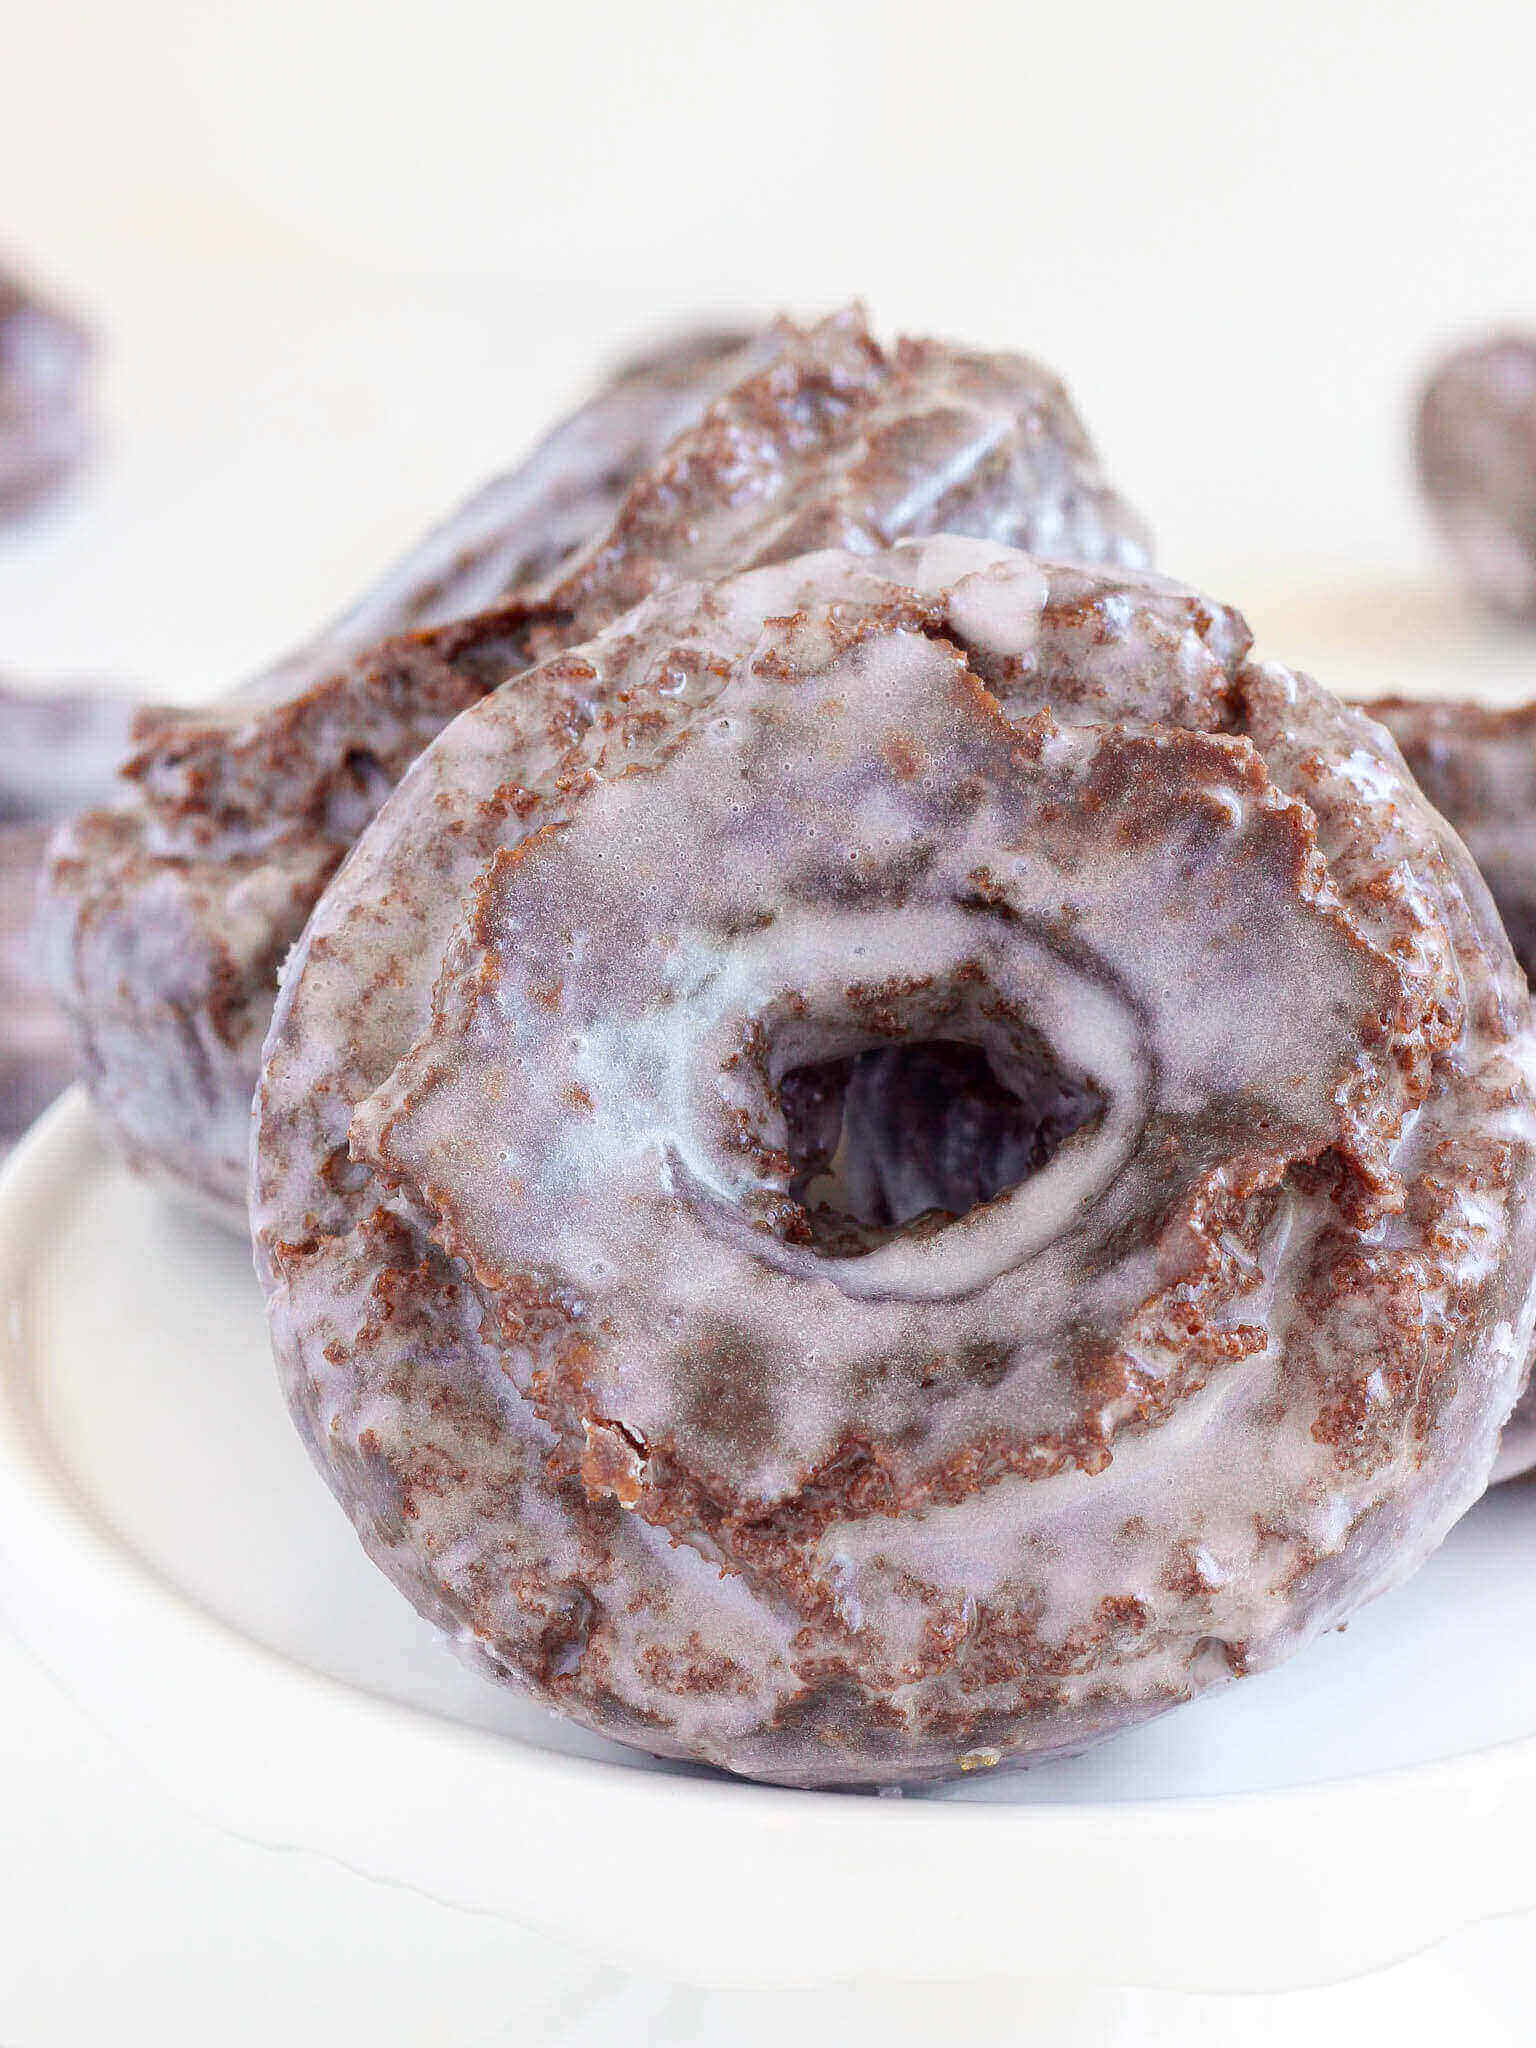
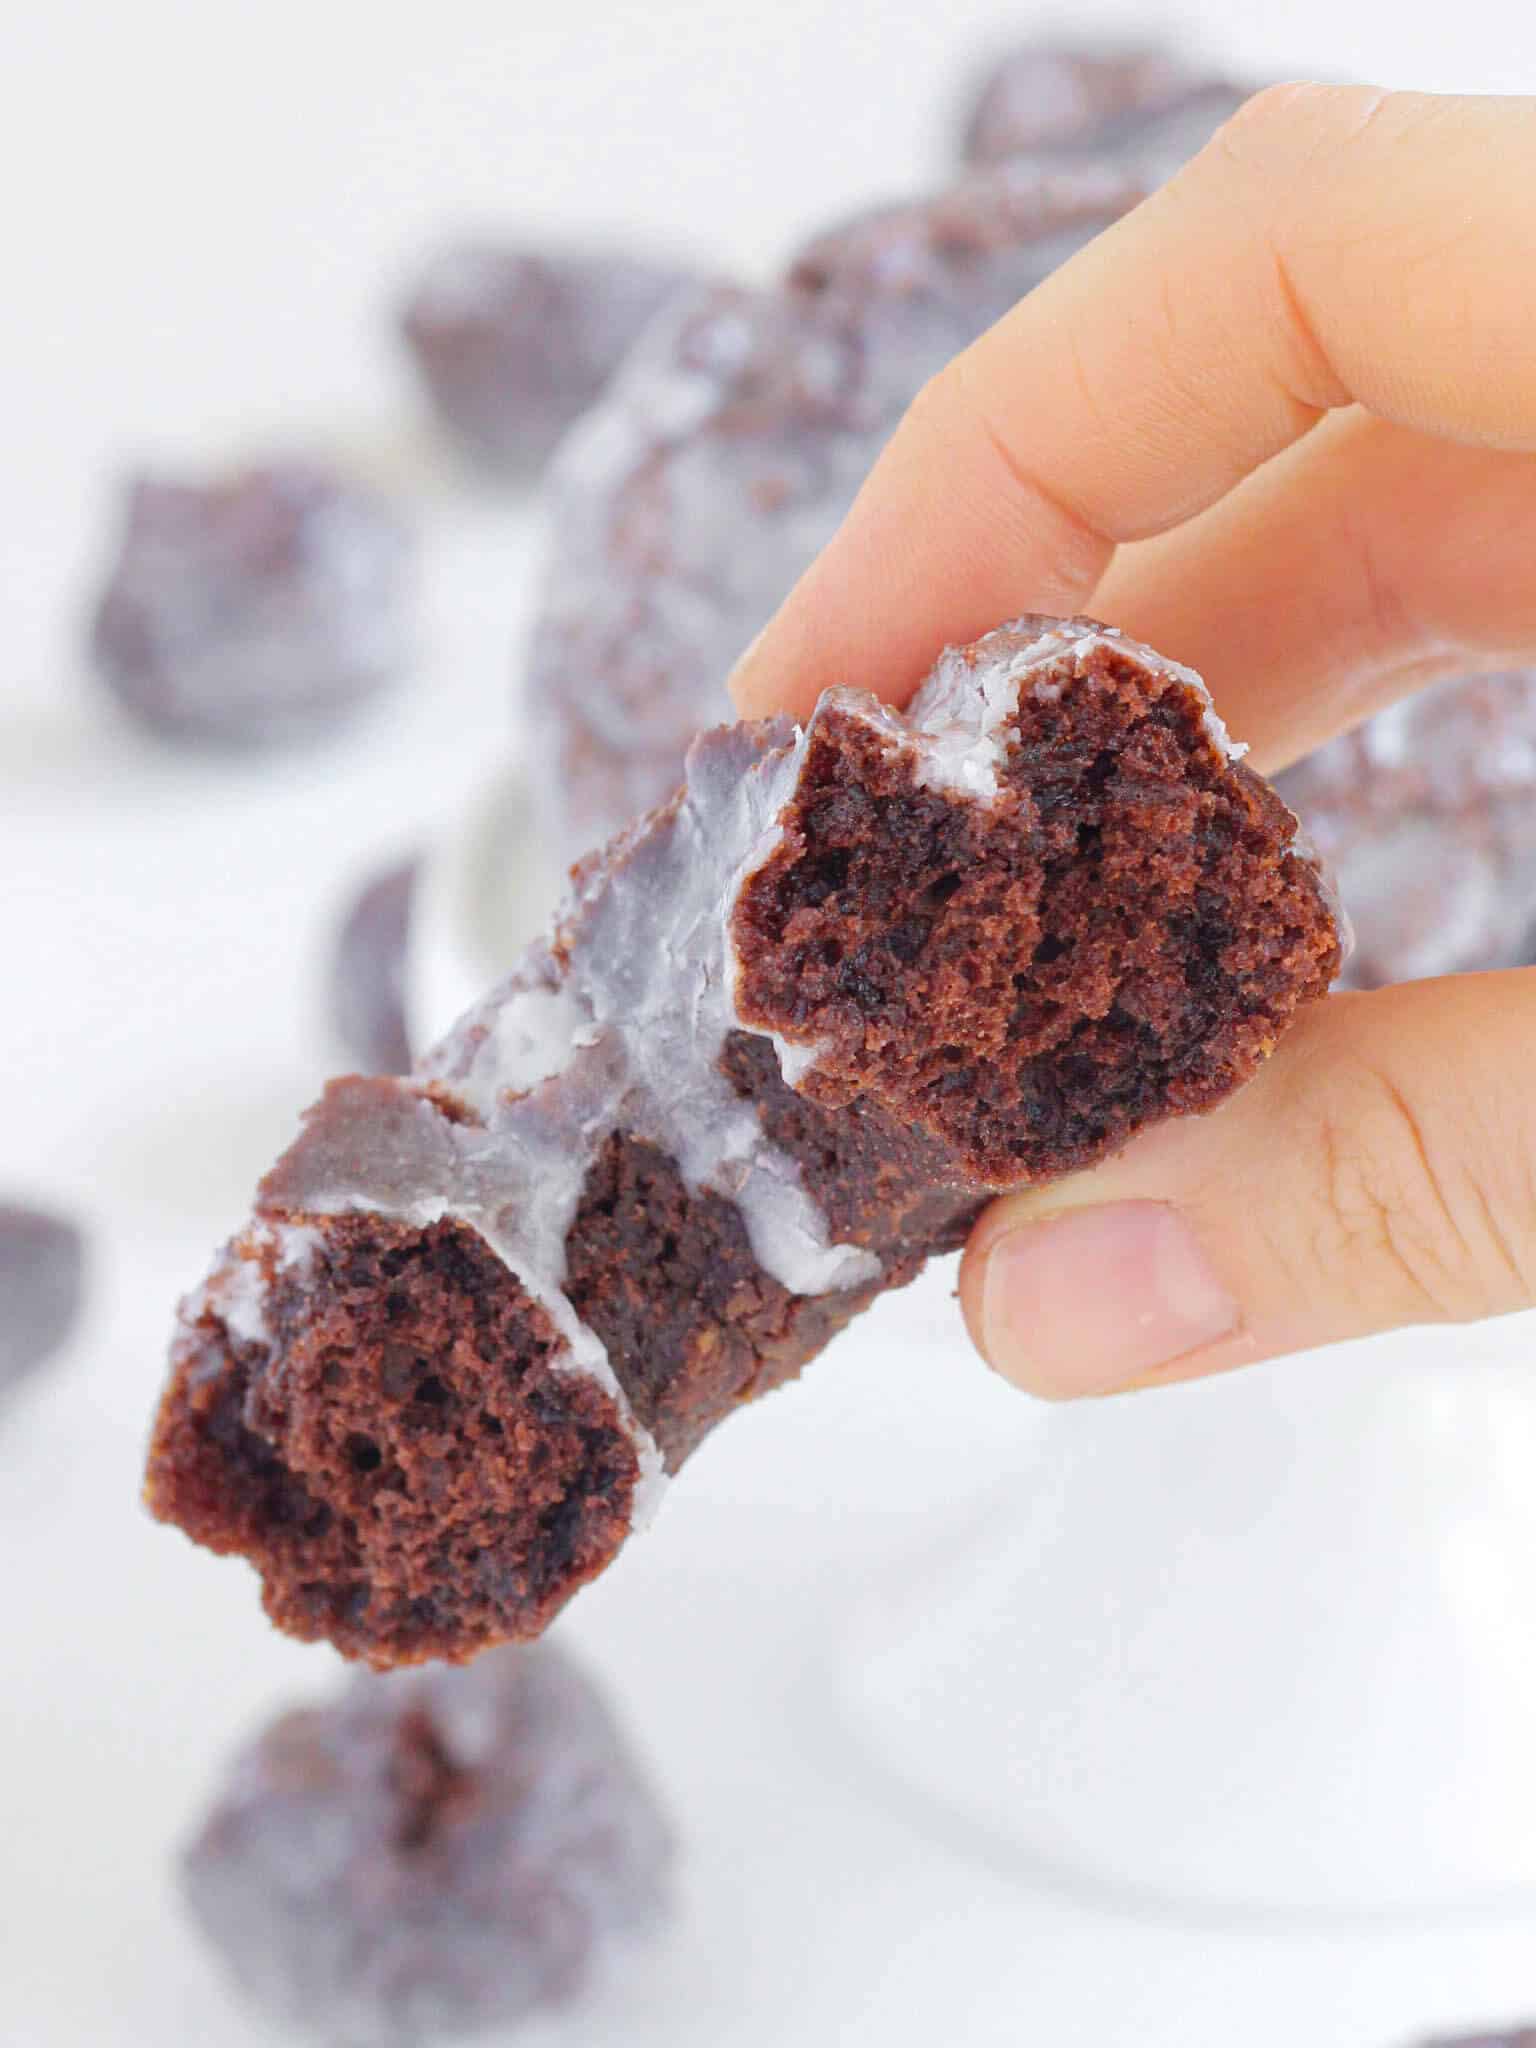
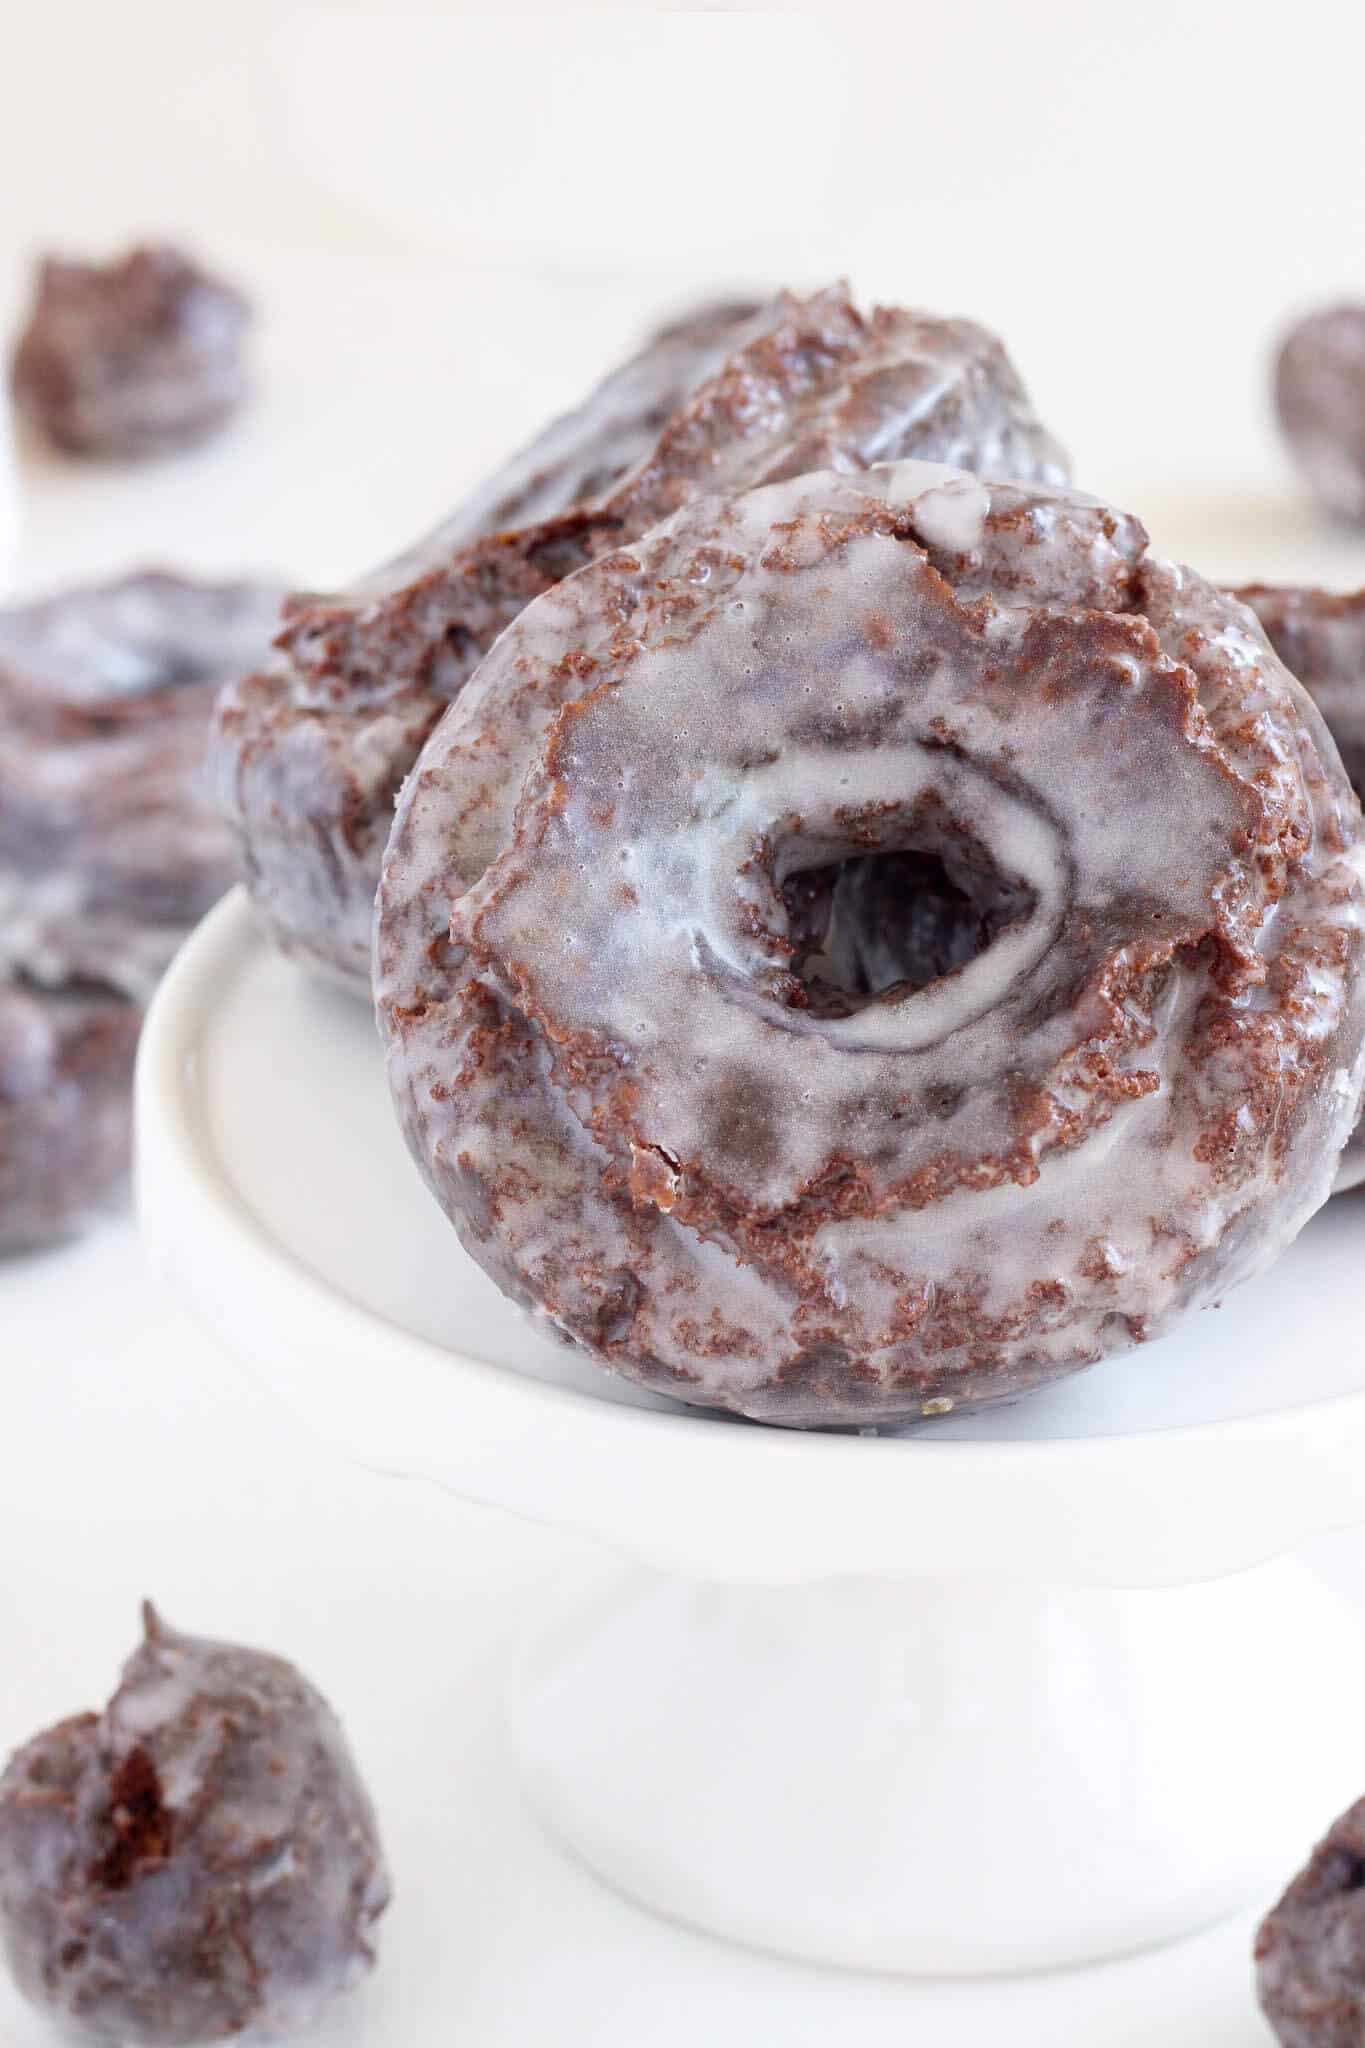
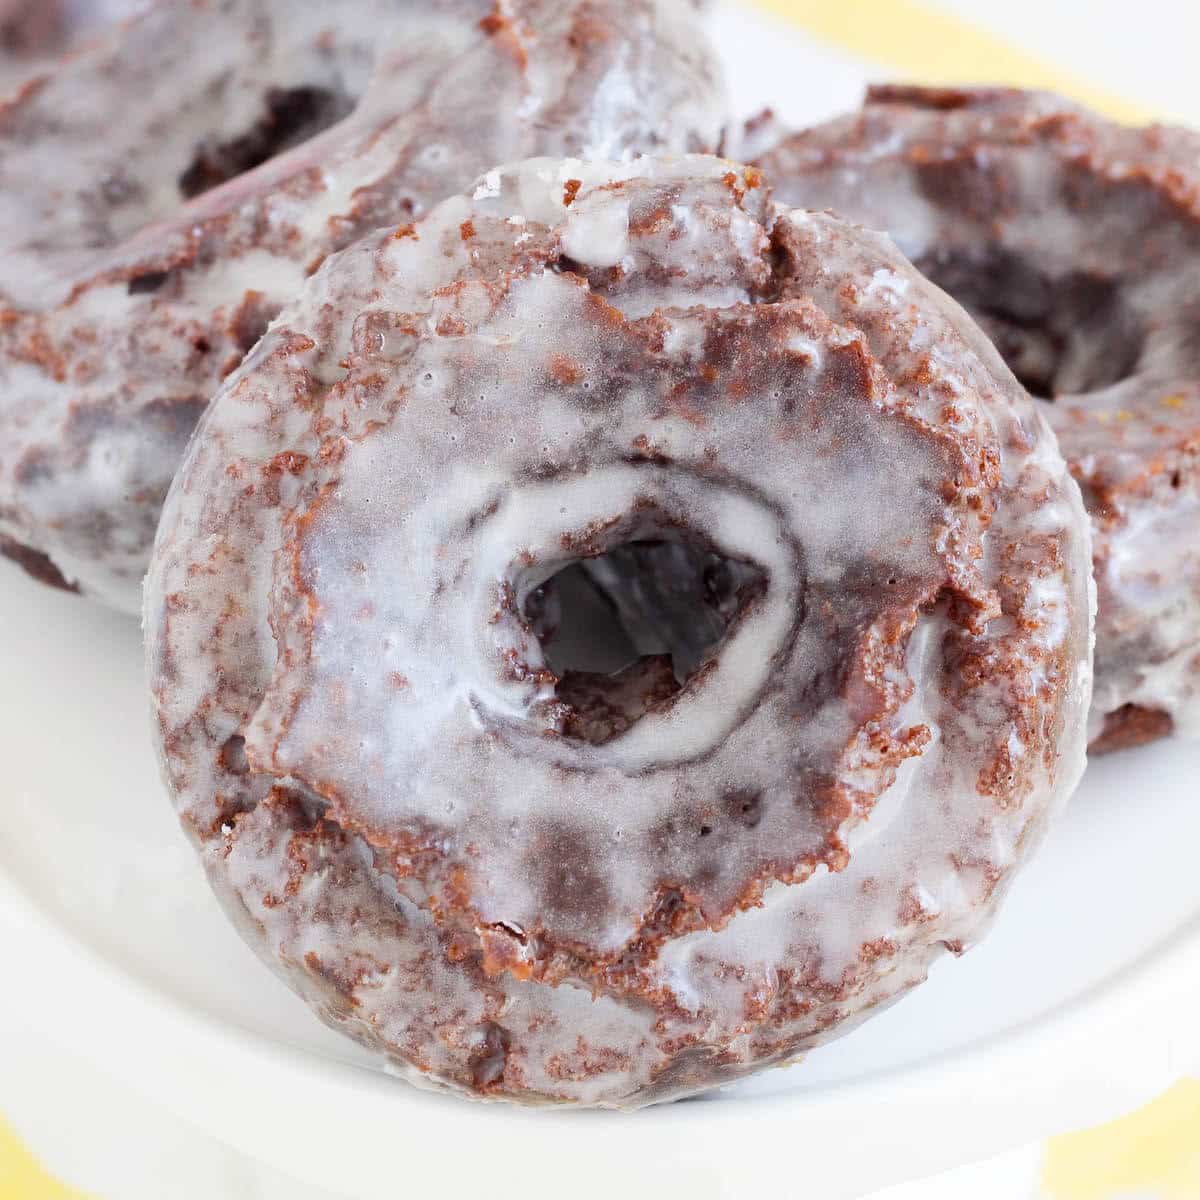
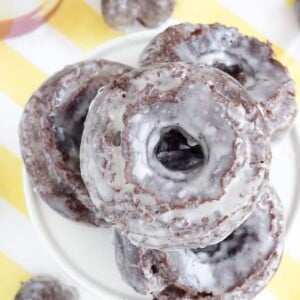
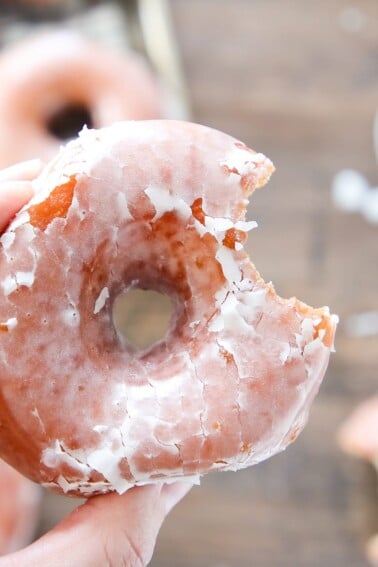
These Glazed Chocolate Donuts are light and perfectly cakey with an explosion of chocolate flavor! The glaze gives them a little extra sweetness and a nice, beautiful finish.
Chocolate is my love language, and these are my favorite Glazed Chocolate Donuts of all time. Please understand, this is a big deal.
These perfect chocolate donuts are in good company. I love to recreate my favorite chocolate desserts and make them the BEST versions of themselves: chocolate ice cream, hot chocolate, death by chocolate cupcakes, quadruple chocolate pudding cookies, and on and on.
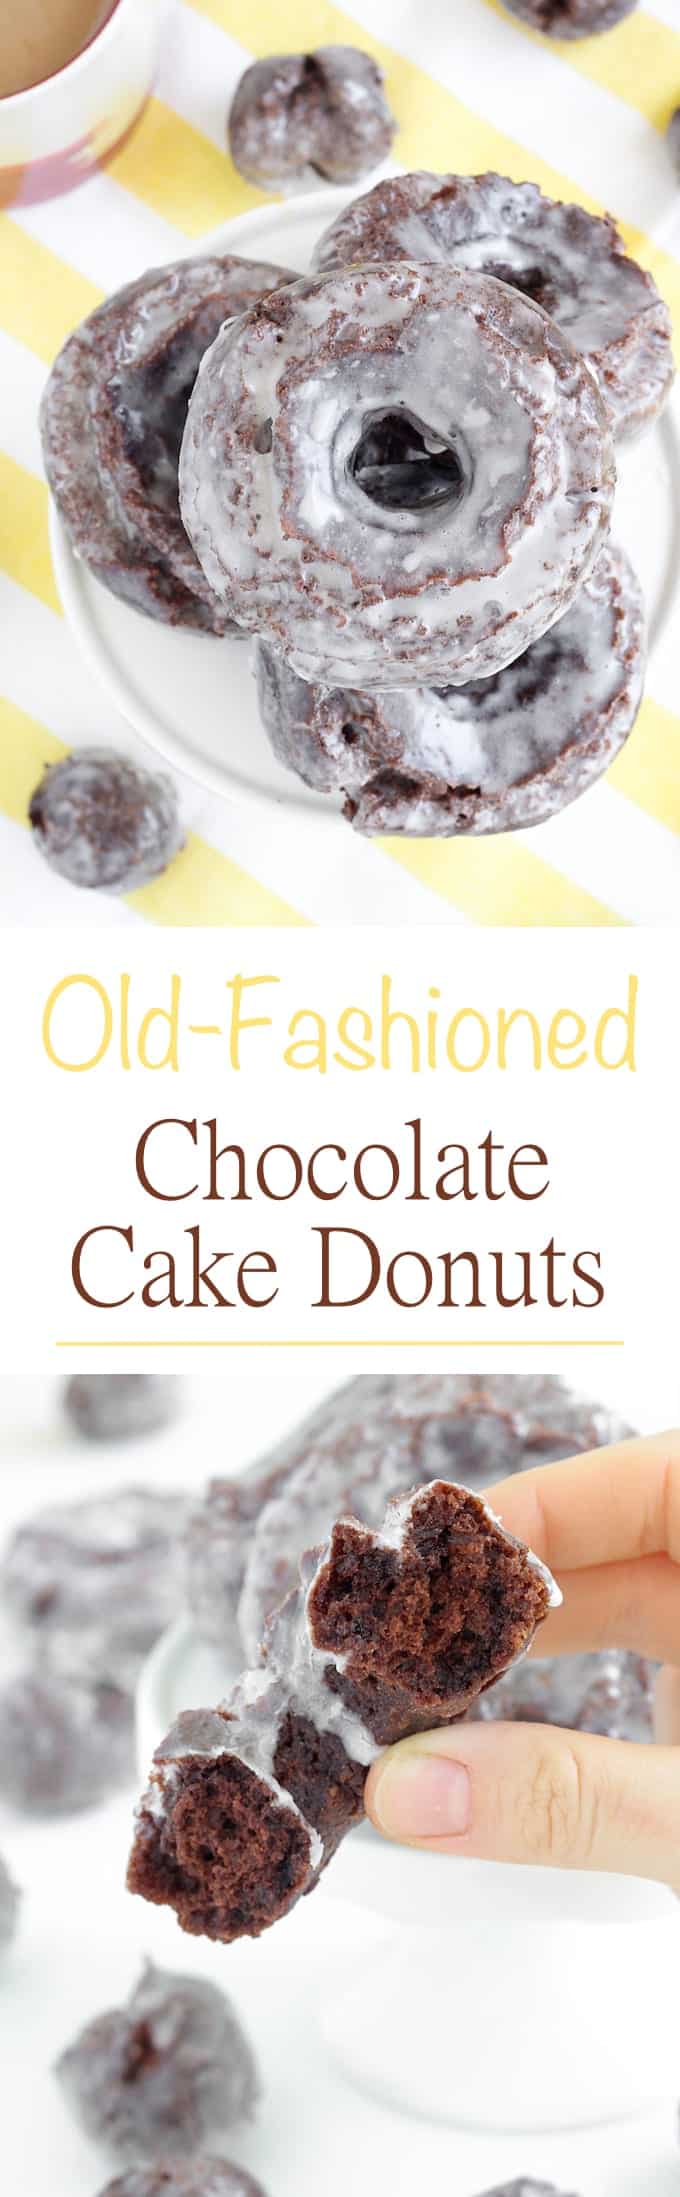
So, you understand that the moment I got over my fear of frying with sour cream donuts, it was time to make an old fashioned chocolate donut. These are better than Krispy Kreme’s chocolate glazed donuts and they are better than Dunkin’ Donuts. They are light, yet cakey; chocolaty, yet perfectly sweet. They melt in your mouth like your favorite yeasted filled donut, and have substance like your favorite cake donut. Finish it off with my classic donut glaze, and you’ve made it to donut heaven.
Table of Contents
Why you will love these glazed chocolate donuts:
- Fresh from the fryer: There is nothing better than a homemade fried chocolate cake donut! This recipe makes soft, moist doughnuts with a little crisp on the outside from the glaze. Perfection! Plus the added benefit of homemade is that you can customize them to your taste! Pile on as many of your favorite sprinkles as you want. Make them a little crispier. The power is all yours!
- Big chocolate flavor: I tested and perfected this recipe back when I was a pastry chef in a Manhattan restaurant. It has the ideal ratio of cocoa powder to all-purpose flour for maximum chocolate flavor with zero bitterness. The kosher salt is also crucial for making the chocolate pop.
- Knowledge is power: I give you all the tips and tricks to control the timing of your donut prep, so that they are ready when you are! Happy frying!

Professional Tips for making fried donuts:
- Keep the dough cold. Roll and cut your dough quickly to keep the baking powder from starting to react with the sour cream. It’s true that double-acting baking powder will react again when fried, but if we want the most leavening it’s best to keep it from reacting too early. Keeping the dough cold will also inhibit gluten formation (read: the softest, most tender donuts).
- Put bench flour on your counter. This dough can be sticky, and a generously floured surface will work wonders for your ability to manipulate the dough.
- Use canola oil or some other neutral tasting oil that has a high smoke point. Some people swear by shortening or safflower oil, but that is up to you.
- Have the right tools. The tools you need to fry donuts are as follows: a clip/candy thermometer, a spider or slotted spoon, and a fryer or a Dutch oven that can hold at least 2 inches of oil. The best thermometer to use is a candy thermometer with a pot clip because you need to constantly watch the oil temperature. It is also useful to have a baking sheet and a wire cooling rack. {You don’t need a donut pan this round because we aren’t making baked donuts!}
Before you fry all your donuts for a set length of time, it’s helpful to test one by poking it with a cake tester or skewer to make sure it’s cooked. It should come out clean like a cake!
- Monitor your oil temperature. 350°-360°F is your target range. Adjust your heat as it approaches the boundaries of this temperature range. Unlike other flavors, chocolate donuts tend to get a bitter taste if you aren’t careful with your fryer temperature.
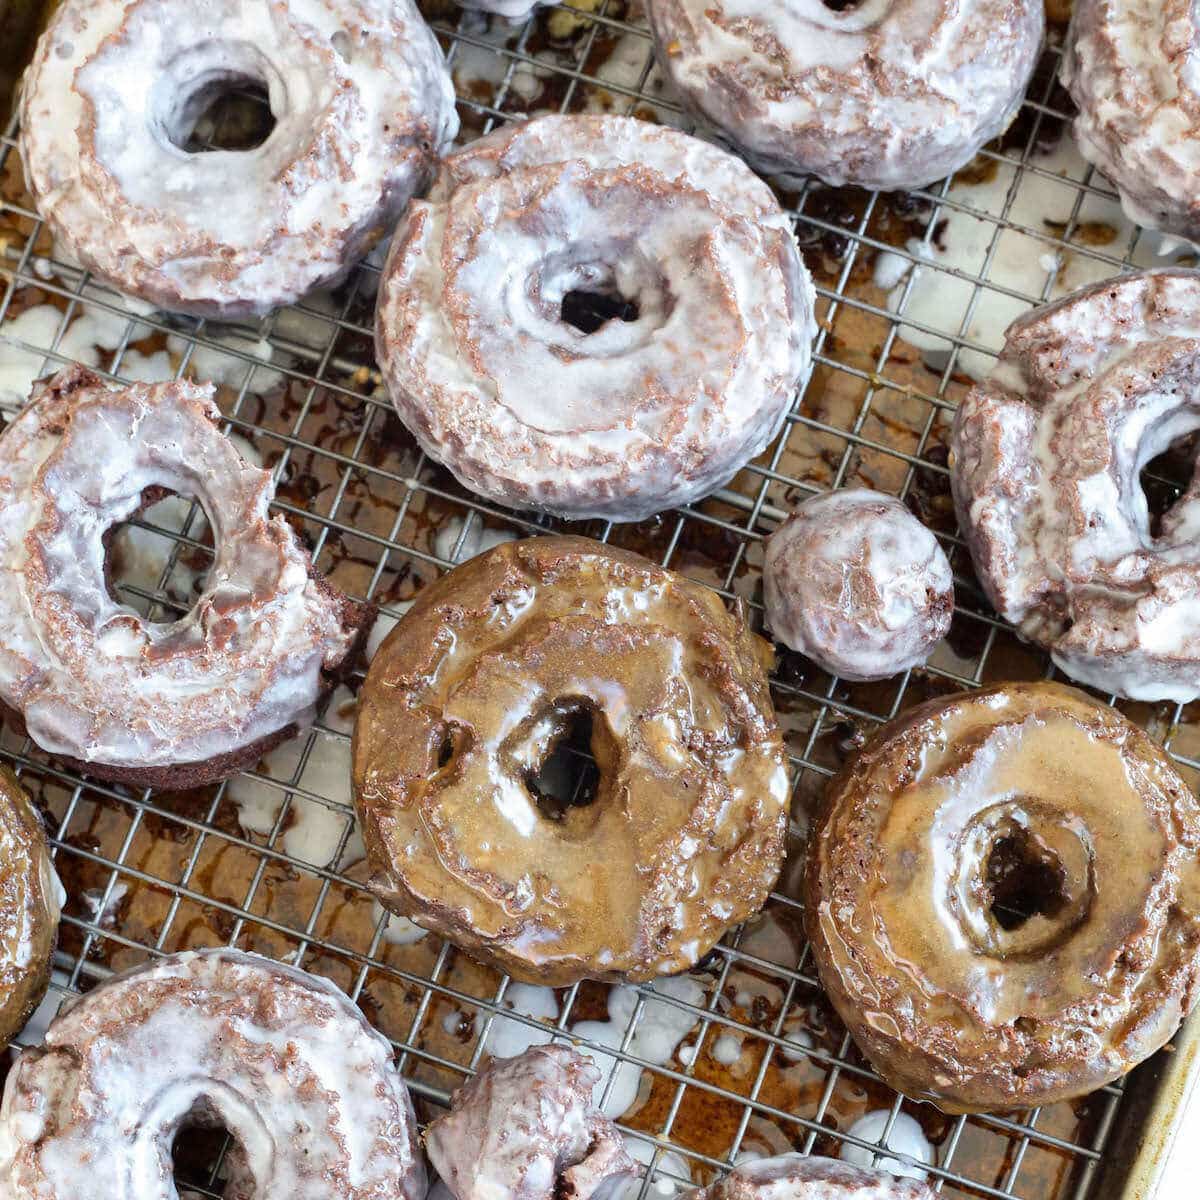
- Place your fried donuts on a cooling rack over a baking sheet or towels to catch the extra oil. This will keep the bottoms crispy.
- Dip the donuts in the glaze while they are still warm. Some people use chopsticks for this step, but I use my fingers. Either way works! I just find it easier to use my hands, and they have toughened up through the years in a professional kitchen.
Ingredients
- Cocoa Powder: Droste cocoa powder is my cocoa powder of choice. It is darker than a lot of other Dutch processed cocoa powders, which gives my donuts that rich chocolate color AND flavor.
The secret to the intense chocolate flavor, without the weight of adding liquid chocolate, is using the best Dutch processed cocoa powder you can lay your hands on.
- All Purpose Flour: I prefer to use all-purpose flour in the majority of my donut recipes because it has the perfect amount of gluten for developing a strong network while keeping a tender crumb.
- Granulated Sugar: Sugar is here for sweetness but also to add leavening. When beaten with the eggs, it helps to create a soft, tender, light texture.
- Butter: Unsalted butter allows you to control the saltiness of the dough while still adding all the buttery goodness!
- Egg Yolks: The egg yolks are here to add fat, moisture and leavening. The fat from the yolk adds richness and shortens some of the gluten strands to keep the donuts cakey and tender. Eggs also emulsify the batter and keep everything texturally perfect.
- Sour Cream: Sour cream is a lot of the moisture in the donuts and is what will hold the dough together. It also keeps the dough from being too wet, which would make them tough.
- Baking Powder: Double acting baking powder will react instantly when it is mixed with an acid, and then again when it is heated.
- Kosher Salt: Kosher salt is less salty than table salt and a teaspoon weighs less than other finer ground varieties. It heightens the flavor of the cocoa and will keep your donuts from tasting dull or flat.
- Espresso Powder: Espresso powder amplifies the chocolate flavor in this recipe. You can omit it, if desired. I only use Medaglia D’Oro instant espresso. Flavor and quality varies greatly between brands and I prefer this one. It isn’t bitter and it dissolves easily even in cold liquid.
- Canola Oil: I use canola oil for frying but another neutral flavored oil with a high smoke point would also work, like crisco shortening.
How to Make
Use these instructions to make the perfect Glazed Chocolate Donuts every time! Further details and measurements can be found in the recipe card below!
Make the donut dough:
Step 1: In a large bowl, whisk together the flour, cocoa powder and baking powder. Whisk in the kosher salt and espresso powder to distribute. Set aside.
Step 2: Either line a baking sheet with plastic wrap and then sprinkle the surface of the plastic wrap with all-purpose flour or spray the inside of a large mixing bowl with nonstick spray. Set this aside too.
Step 3: In the bowl of a stand mixer fitted with the paddle attachment, beat together the granulated sugar and butter on high speed until the butter has completely incorporated. There is too much sugar in proportion to butter in doughnut dough for it to look as “light and fluffy” as cake batter might.
Step 4: Add the egg yolks and continue to beat on high until the mixture lightens and the volume increases. This will take about 2 minutes. Stop and scrape down the mixture a few times to be sure it is all evenly incorporated.
Step 5: With the stand mixer on low, gradually add the dry ingredients to the bowl a large spoonful at a time, alternating with spoonfuls of sour cream. Add the next spoonful when you only see a few large streaks of flour left in the bowl. I alternate almost nonstop between the two. Stop the mixer to scrape in the last bit of sour cream. Only mix until the dry ingredients are fully incorporated. You want to do this as quickly as possible so that not too much gluten develops, which will make tunnels in your donuts and also make them tough.
Step 6: Transfer the dough to the prepared bowl or plastic wrap lined baking sheet. Sprinkle the top of the dough with all-purpose flour and then fold the edges of the plastic over the top to cover it. Refrigerate it for 60 minutes. At this point, the dough can be held in the fridge for up to 2 days.
Portion and cut dough:
Step 1: Line a half-sheet baking pan with parchment paper and spray the paper with nonstick spray. Set this aside.
Keep the dough cold. The faster, more gently you work, the more tender the donuts will be!
Step 2: Lightly dust a work surface with flour. Turn the dough out onto your floured work surface, floured side down. Lightly dust the top with more flour if you didn’t flour the plastic wrap.
Step 3: Working quickly to keep the dough cool, roll out the dough to ½ inch thick.
Step 4: Brush any excess flour from the top of the dough. Use 3-inch and 1 ¼ – inch ring cutters to cut the donuts and holes. You can use a donut cutter, biscuit cutter, cookie cutter, or even the rim of a glass! Lightly tap the cutters in flour before cutting each donut. Brush off any excess flour with a dry pastry brush. Place the donuts and donut holes on the prepared sheet pan.
Step 5: Cover the sheet pan with plastic wrap, but be sure not to let the plastic touch the top of the donuts. Chill in the refrigerator for at least 30 minutes up to overnight at this step.
In order to put plastic wrap on touch without touching the dough, place the donuts on a rimmed baking sheet and then wrap them so that the plastic is pulled tight across the top. Check that it is only resting on the metal rims of the sheet and not the dough. However, as long as the dough is properly floured, the plastic wrap will not stick egregiously.
Make the glaze:
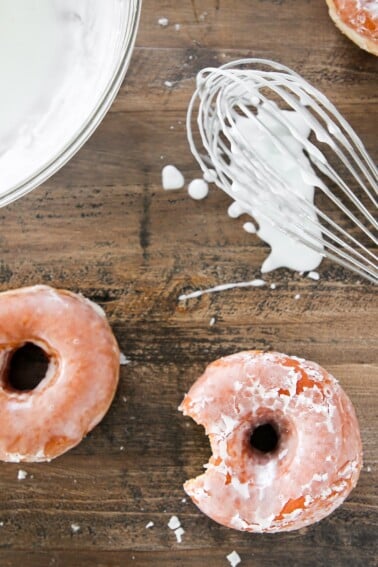
Step 1: In a medium bowl, whisk together the milk, powdered sugar and salt. Cover the glaze with plastic wrap directly on the surface to prevent it from getting a skin. You can heat up the glaze over a pot of simmering water on the stove if you want it to be warm when the donuts are ready to be dipped. I typically dip my donuts while they are still very hot, so I don’t need to do this.
Fry the donuts:
Step 1: Pour oil into a fryer or a Dutch oven, making sure the oil is at least 2 inches deep. Heat your oil to 350°F. Adjust your heat to keep the temperature between 350°- 360°F while frying. You will need a clip-on fry/candy thermometer for this. I heat my oil up to 360°F before adding a batch of donuts, because the cold dough will lower the temperature of the fryer oil.
Step 2: Gently place 3 donuts in the fryer, while keeping the remaining donuts in the fridge. The number you can fry at once depends on the size of your pot. You want the donuts to have room to move around and space to puff. Once they rise to the surface, cook for 30 seconds and then flip them with a slotted spoon. Fry until they start to puff and split a little, about 80 seconds. Flip it again and then fry for another 80 seconds or until the color is nice and even. I usually test mine with a cake tester. Pull it out of the oil, poke it and then pull the cake tester out. It should not have any streaks of dough or crumbs. Transfer to a wire rack set over a sheet pan or paper towels. Donut holes fry for 30 seconds then flip, then another 60 seconds, then flip, then another 40-60 seconds. They will puff up and be golden brown all over.
Step 3: Once the donut is just barely cool enough to handle, dip the donut in the glaze and place it back on the wire rack. Dipping a hot donut will give you a nice, even glaze that isn’t too thick or too thin!
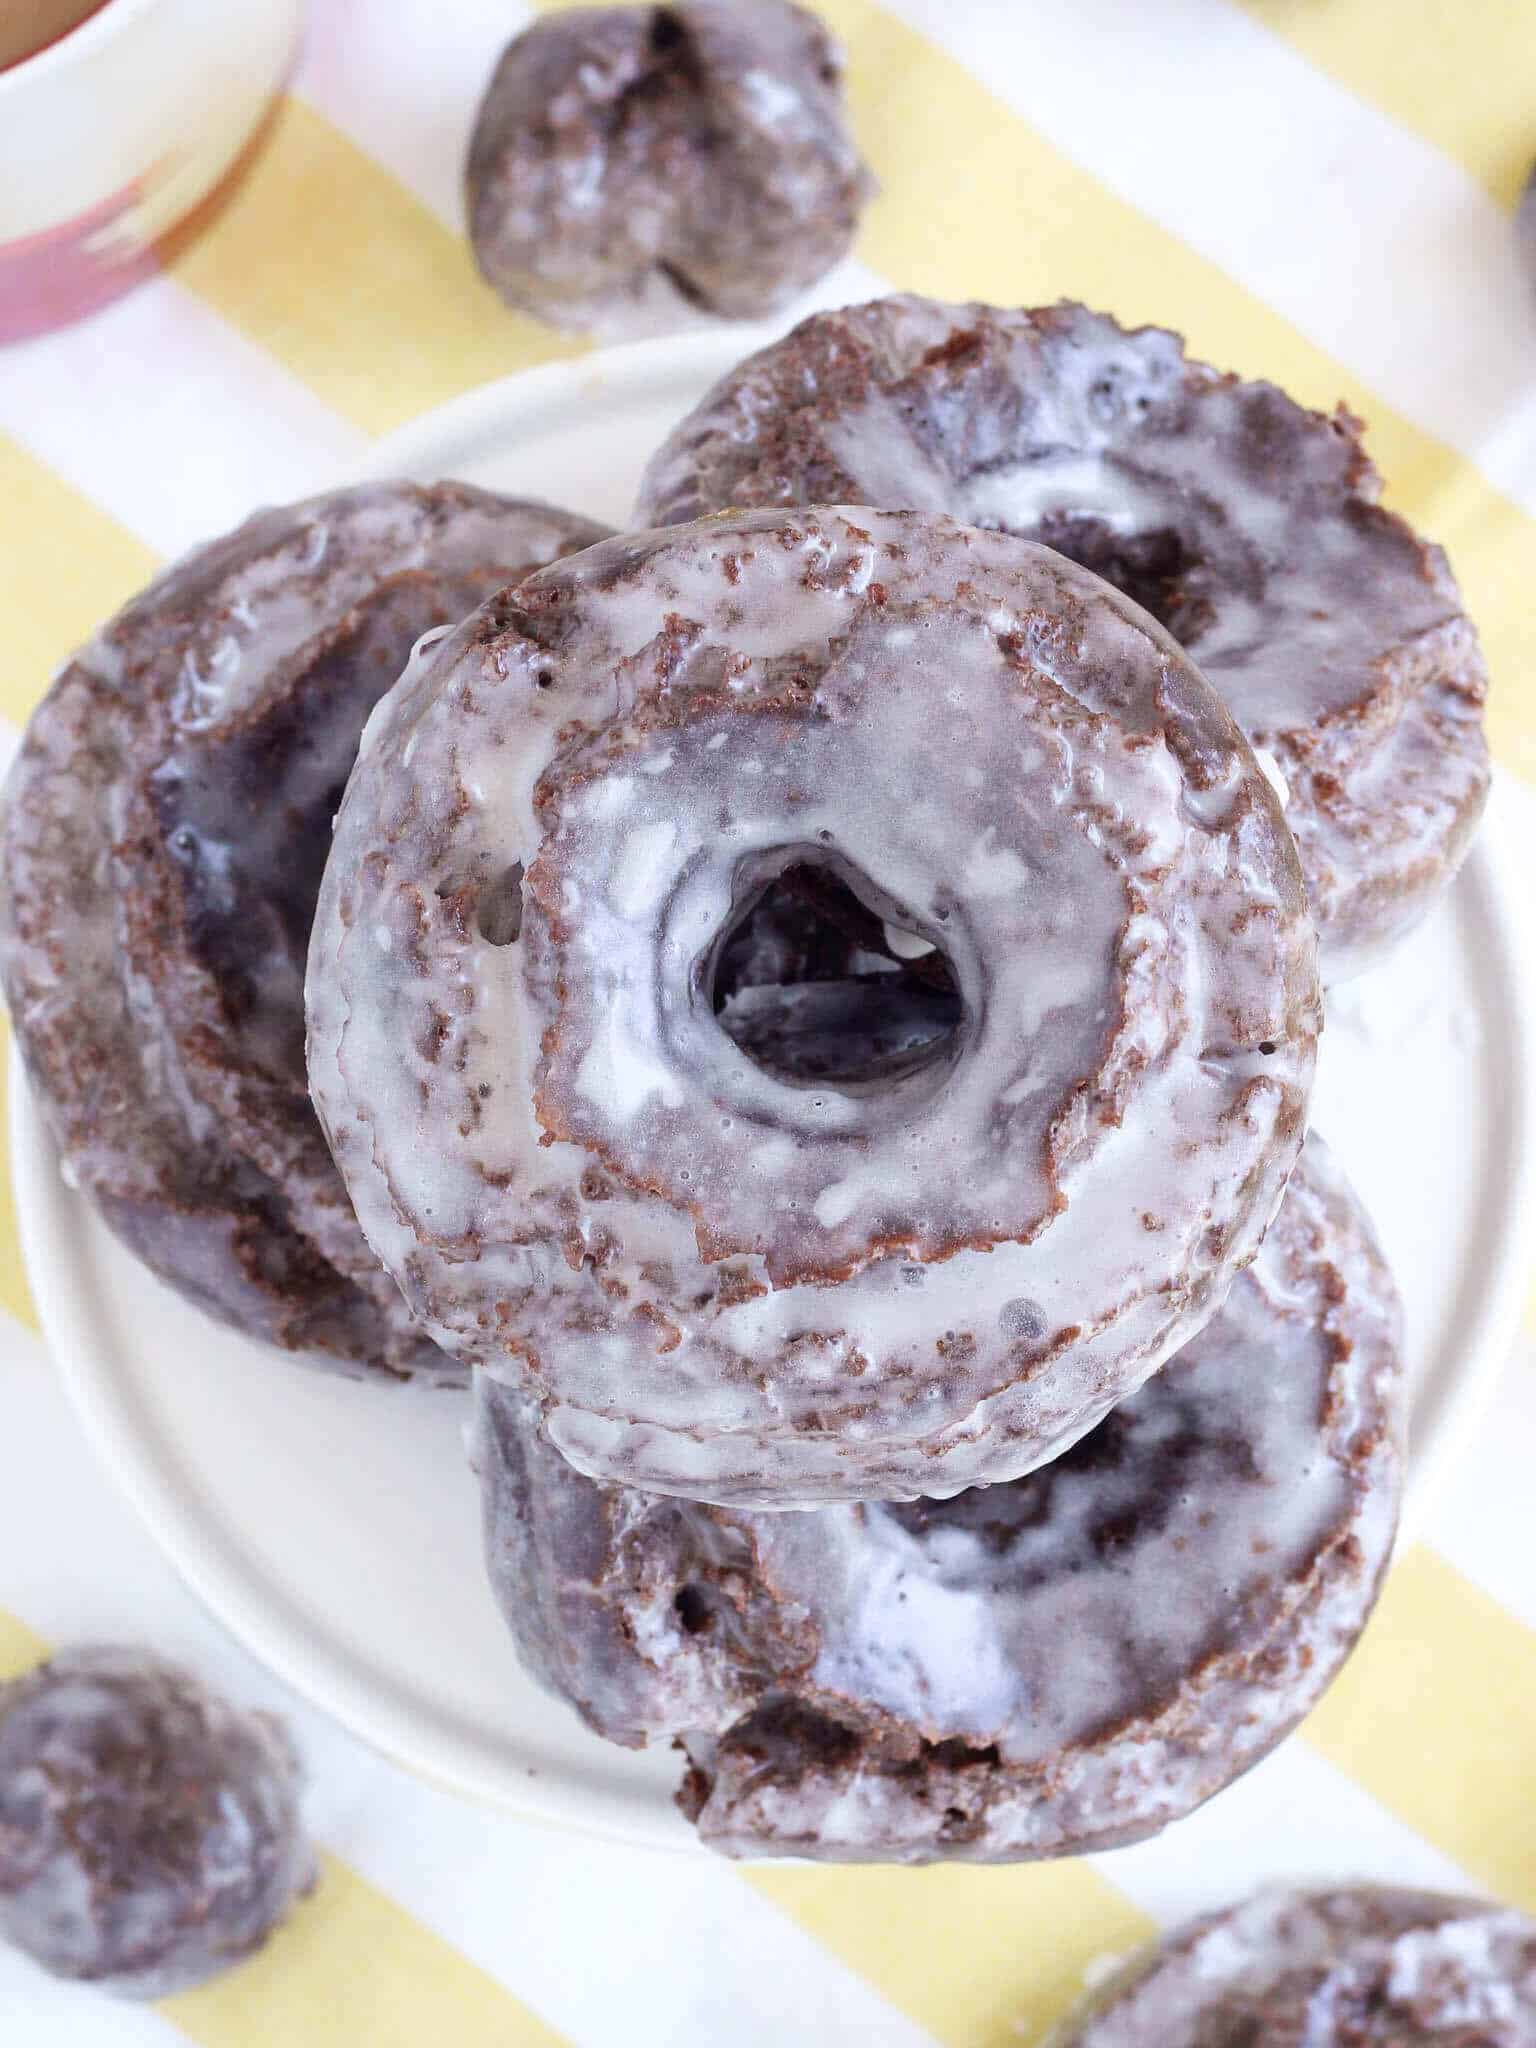
Step 4: You can store your donuts at room temperature in a container with the corner cracked overnight, but they are best consumed the day they are fried…with coffee.
Why do donuts have holes?
Fried cake donuts have holes to allow for even cooking. It increases the surface area touching the hot oil and allows the outsides and insides to cook at the same rate. Don’t be tempted to omit cutting the hole in the center of a cake donut. They will be doughy in the center and overcooked on the outside! Trust me, I’ve tried.
Variations
- Glaze: Switch up the glaze, and make chocolate covered chocolate donuts? I’m listening. You can absolutely dip these in a chocolate fudge glaze. The first donut I used my easy chocolate glaze for was a Brooklyn Blackout Donut, which was a chocolate yeasted donut stuffed with chocolate pudding! To get a clean glaze coating, dip your donuts while they are still warm!
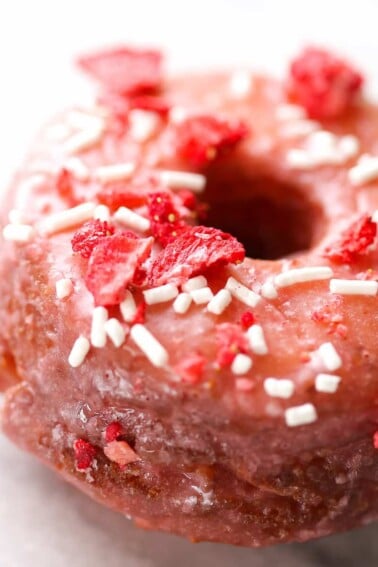
- Go Classic: Want a vanilla on vanilla experience? Or chocolate on vanilla? Head over to my plain sour cream donuts, I’ve got you covered!
- Mix it up: Add a little bit of cinnamon to the mix! You could even garnish the tops with some fleur de sel or sea salt for a classy salted-chocolate batch. Let me know what fancy combination you make in the comments!
Substitutions
- Sour Cream: I use a high-quality, full-fat sour cream because it is thicker and has a more tangy flavor. The fat in the sour cream helps keep these fried cake doughnuts soft and tender. You cannot decrease the fat and expect the same results.
- Baking Powder: Double acting baking powder will react instantly when it is mixed with an acid, which is sour cream here, and then again when it is heated. I don’t recommend using baking soda instead of baking powder unless it is a donut emergency. Baking soda will not leaven these as well, especially if making the dough a day or two in advance. It will react once and then it won’t have much leavening power left once it hits the oil.
- Egg Yolks: While you could use whole eggs instead of the egg yolks in this old fashioned chocolate cake donut recipe, the texture of the donuts will be impacted. You are adding moisture from the whites without fat and that is just going to make a tougher donut. Take the moment to separate them and then make a Lemon Berry Pavlova Cake with your spare egg whites for dessert.
- Flour: Pastry flour or all-purpose flour are best for cake donuts. They provide just enough gluten development to give the donuts structure when fried but not too much to make them tough or chewy. Pastry flour will make more delicate, tender cake donuts, but donuts made with all-purpose flour are almost identical!
Storage
Ideally, store glazed chocolate donuts unwrapped at room temperature for up to 24 hours. The glaze will lock in the moisture. After a day they will begin to dry out. Storing fried, glazed donuts in an airtight container will cause the doughnuts to lose the crisp outside and they will begin to taste more like oil. However, they can be stored in an airtight container for extended freshness up to 3 days at room temperature. I would not suggest refrigerating fried donuts.
Frequently Asked Questions
These are a few commonly asked questions about fried chocolate donuts. For more troubleshooting and other questions, visit our donut recipes page.
The donut dough is sticky to ensure soft, tender cake doughnuts. If you are finding it too sticky to work with, use more bench flour. Try not to work the flour into the dough, just use it on top and underneath. Brush off any excess flour after rolling and cutting. Also remember that dough sticks to dough, so if there is dough on your hands or the counter then it will stick even more.
These cake donuts will fry beautifully after 3 days in the refrigerator, so yes you can make donut dough ahead. You can put them in the refrigerator at any stage of the process. However, eventually, the donuts will not puff as much in the fryer due to making them too far in advance.
I would not recommend baking these chocolate cake donuts. They will be a bit dry and denser than when the same dough is fried. The dough is delicious, so the baked version will have a nice flavor, but the texture will not be the same as a fried cake donut.
The salt is vital to brightening the chocolate flavor, as it is the ultimate flavor enhancer. Less salt yields a less chocolatey chocolate donut. Be sure to use kosher salt for proper measurements.
I have tested this donut recipe in a professional bakery setting. You are only limited by the capacity of your particular mixer. I would strongly suggest measuring by weight when multiplying this recipe. Doughnut doughs are particularly sensitive to minute adjustments of flour and hydration. I scale all my recipes, but it is extra important when making a larger batch.
The fried donuts can be frozen for up to a month but that is not ideal. It would be better to freeze the dough. This dough will keep for one month frozen. Gradually, over time the baking powder will lose its potency and they will not puff as much as when the dough was freshly made. Allow it to thaw a few hours in the refrigerator and then fry away! I do not recommend frying cake donuts from frozen.
Chef Lindsey’s Recipe Tip
After I cut all my donuts, I go back and cut more “holes” with the small cutter from the scraps of dough. Waste not, want not, more donuts for me! You can also re-roll your scraps one time with ample refrigeration time.
Glazed Chocolate Donuts
Ingredients
For the Donuts:
- 260 g granulated sugar
- 42 g unsalted butter room temperature
- 90 g egg yolks
- 453 g sour cream 1, 16oz container
- 480 g pastry flour All-Purpose flour is fine
- 120 g cocoa powder Dutch processed
- 2 g espresso powder
- 15 g baking powder
- 4 teaspoon kosher salt
- 96 oz oil for frying, I used canola
For the Plain Glaze:
- 100 g whole milk
- 4 g kosher salt
- 400 g powdered sugar
Instructions
Make the donut dough:
- In a large bowl, whisk together the flour, cocoa powder and baking powder. Whisk in the kosher salt and espresso powder to distribute. Set aside.
- Either line a baking sheet with plastic wrap and then sprinkle the surface of the plastic wrap with all-purpose flour or spray the inside of a large mixing bowl with nonstick spray. Set this aside too.
- In the bowl of a stand mixer fitted with the paddle attachment, beat together the granulated sugar and butter on high speed until the butter has completely incorporated. There is too much sugar in proportion to butter in doughnut dough for it to look as “light and fluffy” as cake batter might.
- Add the egg yolks and continue to beat on high until the mixture lightens and the volume increases. This will take about 2 minutes. Stop and scrape down the mixture a few times to be sure it is all evenly incorporated.
- With the stand mixer on low, gradually add the dry ingredients to the bowl a large spoonful at a time, alternating with spoonfuls of sour cream. Add the next spoonful when you only see a few large streaks of flour left in the bowl. I alternate almost nonstop between the two. Stop the mixer to scrape in the last bit of sour cream. Only mix until the dry ingredients are fully incorporated. You want to do this as quickly as possible so that not too much gluten develops, which will make tunnels in your donuts and also make them tough.
- Transfer the dough to the prepared bowl or plastic wrap lined baking sheet. Sprinkle the top of the dough with all-purpose flour and then fold the edges of the plastic over the top to cover it. Refrigerate it for 60 minutes. At this point, the dough can be held in the fridge for up to 2 days.
Portion and cut dough:
- Line a half-sheet baking pan with parchment paper and spray the paper with nonstick spray. Set this aside.
- Lightly dust a work surface with flour. Turn the dough out onto your floured work surface, floured side down. Lightly dust the top with more flour if you didn’t flour the plastic wrap.
- Working quickly to keep the dough cool, roll out the dough to ½ inch thick.
- Brush any excess flour from the top of the dough. Use 3-inch and 1 ¼ – inch ring cutters to cut the donuts and holes. You can use a donut cutter, biscuit cutter, cookie cutter, or even the rim of a glass! Lightly tap the cutters in flour before cutting each donut. Brush off any excess flour with a dry pastry brush. Place the donuts and donut holes on the prepared sheet pan.
- Cover the sheet pan with plastic wrap, but be sure not to let the plastic touch the top of the donuts. Chill in the refrigerator for at least 30 minutes up to overnight at this step.
Make the glaze:
- In a medium bowl, whisk together the milk, powdered sugar and salt. Cover the glaze with plastic wrap directly on the surface to prevent it from getting a skin. You can heat up the glaze over a pot of simmering water on the stove if you want it to be warm when the donuts are ready to be dipped. I typically dip my donuts while they are still very hot, so I don’t need to do this.
Fry the donuts:
- Pour oil into a fryer or a Dutch oven, making sure the oil is at least 2 inches deep. Heat your oil to 350°F. Adjust your heat to keep the temperature between 350°- 360°F while frying. You will need a clip-on fry/candy thermometer for this. I heat my oil up to 360°F before adding a batch of donuts, because the cold dough will lower the temperature of the fryer oil.
- Gently place 3 donuts in the fryer, while keeping the remaining donuts in the fridge. The number you can fry at once depends on the size of your pot. You want the donuts to have room to move around and space to puff. Once they rise to the surface, cook for 30 seconds and then flip them with a slotted spoon. Fry until they start to puff and split a little, about 80 seconds. Flip it again and then fry for another 80 seconds or until the color is nice and even. I usually test mine with a cake tester. Pull it out of the oil, poke it and then pull the cake tester out. It should not have any streaks of dough or crumbs. Transfer to a wire rack set over a sheet pan or paper towels. Donut holes fry for 30 seconds then flip, then another 60 seconds, then flip, then another 40-60 seconds. They will puff up and be golden brown all over.
- Once the donut is just barely cool enough to handle, dip the donut in the glaze and place it back on the wire rack. Dipping a hot donut will give you a nice, even glaze that isn’t too thick or too thin!
- You can store your donuts at room temperature in a container with the corner cracked overnight, but they are best consumed the day they are fried…with coffee.
Video
Notes
Nutrition
Before You Go!
I hope you enjoyed this professional chef tested recipe. Check out our other delicious, chef-developed donut recipes!


These are amazing! I followed the recipe exactly, using Morton kosher salt, and used the metric measurements to weigh out my ingredients. I did double the recipe, using the 2x button on the recipe. I measured my ring cutters to make sure they were the dimensions called for in the recipe. I mixed up the dough and refrigerated it over night, and then worked with the cold dough to cut the donuts and fry them the next morning.
They turned out very good!
But I got 36 donuts! And many, many donut holes. Not that it’s such a bad thing to get MORE than the recipe called for, nobody here complained one bit! but that’s a LOT more! LOL and I do think that a weight for the salt would be nice, that way it wouldn’t matter if someone wants to use coarse or fine salt. But that’s just a fussy detail. They are not too salty as written, at least for our taste. They do need the glaze, though. It balances out the salt/chocolate/sweet.
Hi Megan! Thank you so much for taking the time to comment, they sound incredible! I wonder if there was a tech issue with the recipe block when it was doubled, because it usually works for me. Either way, sounds like a massive success! 🙂
I made these yesterday. I think there may be a typo in the recipe? I thought 4 tsp seemed like a lot of salt, but given the good reviews I went ahead and made them per the instructions.
These were so salty they were not edible. Lots of ingredients and time for very disappointing results.
Hi AK! This recipe calls for Kosher Salt, which is much less salty than table salt. If they turned out too salty, there’s a possibility it wasn’t kosher salt. I’m sorry to hear you had a bad experience, because these donuts are really wonderful, and the salt helps boost the chocolate flavor!
I was a bit worried at how these would turn out because of how sticky the dough was, but they were amazing. My BF has been asking for glazed chocolate donuts which I’m not a fan of, but these were one of the best things I have ever made and I cook / bake A LOT.
He shared them with his family and they said they were the best donuts they have ever had. The best part is that they tasted as good the next day. I am going to try your strawberry donut recipe next for my niece’s birthday. Have you added fruit? Thank you so much for sharing! I appreciated your recipes having the ingredients in grams.
Excited to try more of your recipes.
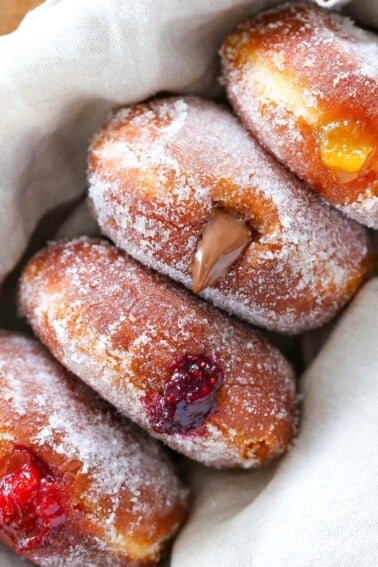
Hi Nancy! Thank you so much for taking the time to leave such a rave review! I’m very pleased you, your boyfriend, and his family all enjoyed. My Strawberry Donut Recipe is a great recipe to go for next and I hope your niece loves them! I also couldn’t recommend enough trying these Jelly Donuts stuffed with my Peach Preserves if you’re feeling fruity 😉
They are so good never did fried donuts just oven ones but the taste awesome
Hi Barbara! Welcome to the fried donuts side! I’m so happy you enjoyed 🙂
These donuts are so soft and fluffy! They taste better than store bought!
Hi Addison! I’m so happy to hear it!
My son’s favorite breakfast. I did it last week, and was a great success, so I will have to repeat the batch soon.
Hi Vladka! Donuts for breakfast, count me in!