This post may contain affiliate links. Please read our disclosure policy.
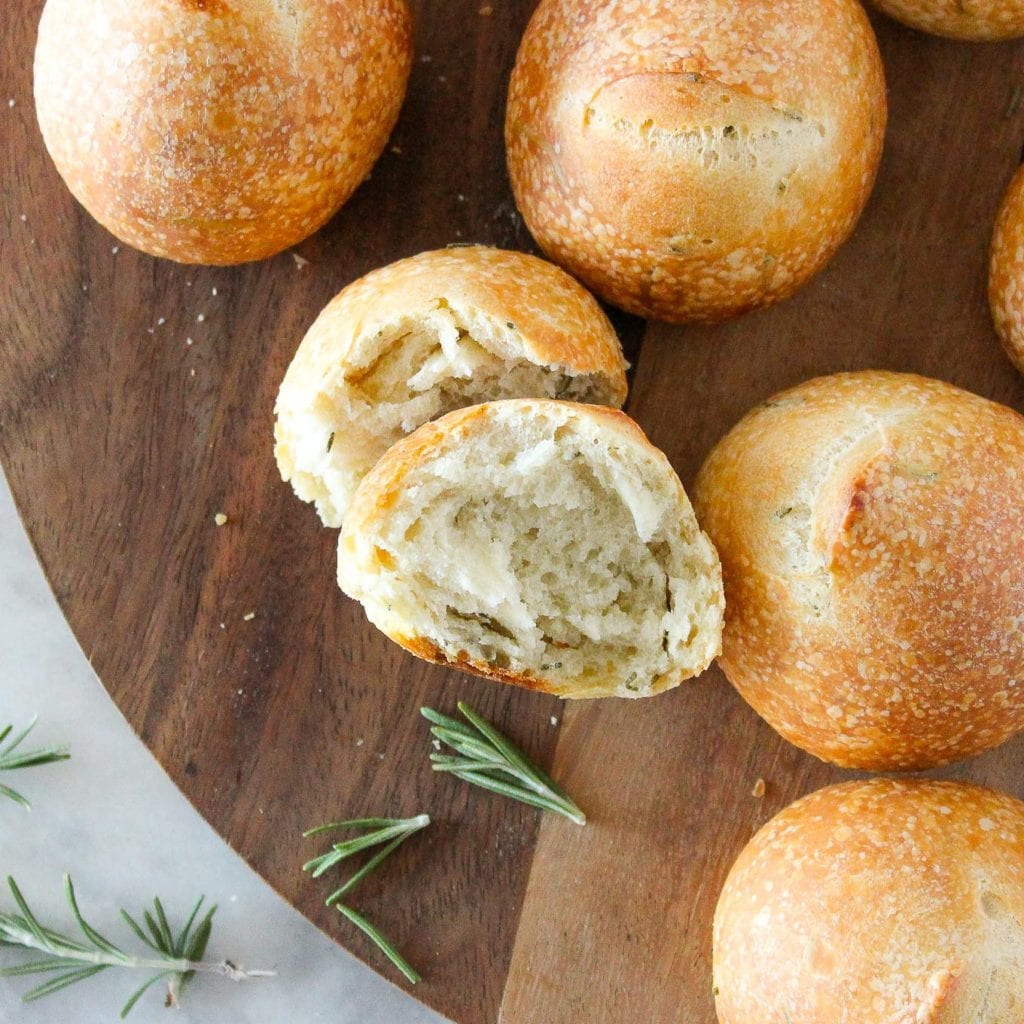
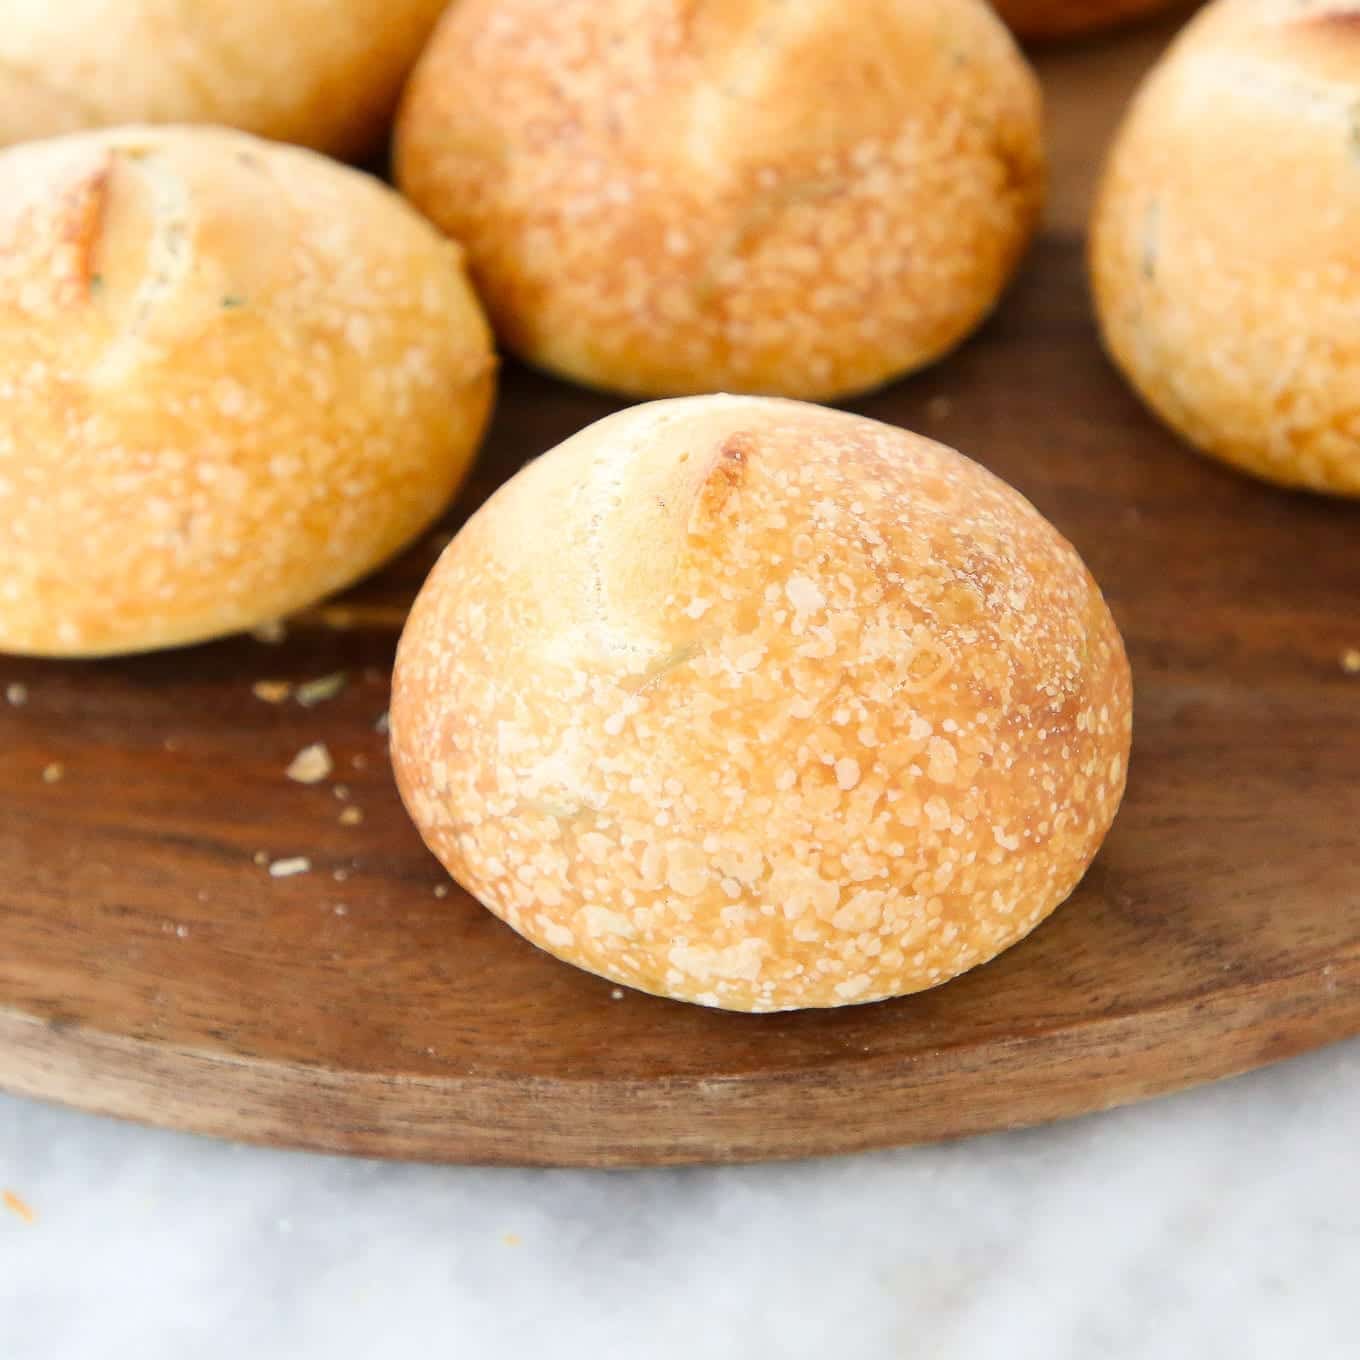
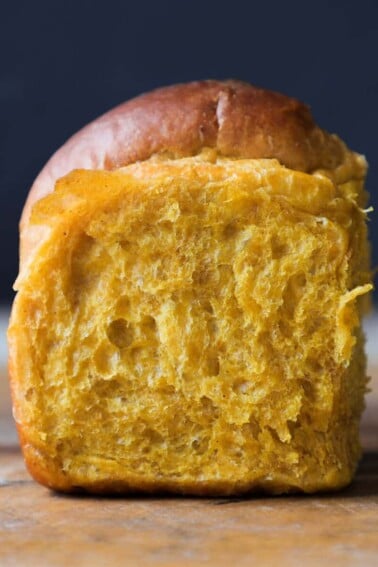
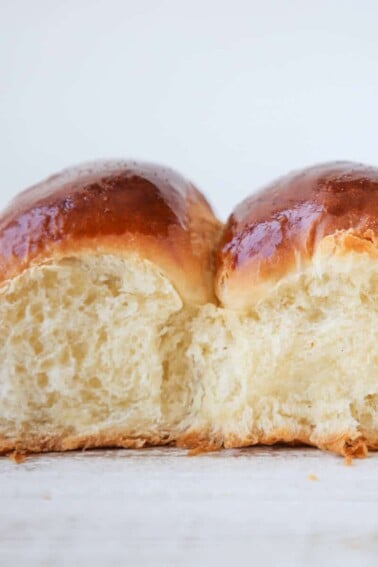
These Rosemary Sourdough Rolls are soft on the inside and crunchy on the outside! They are leavened with sourdough starter and have a perfect rosemary flavor!
All your dinner roll dreams just came true! Or at least mine did! ?
There is very little in this life that I love more than rosemary. If left to my own devices, I would flavor everything with it: steak chili, lamb stew, rosemary chicken, roasted rosemary potatoes, ribeye steak, sweet potatoes for salad!
I make these rolls frequently at the restaurant because they are a favorite accompaniment for savory dishes (see, I am not alone here!). But today I bring them to you with lots of love.


They are pretty easy as far as sourdough goes, but, since they are completely leavened by sourdough starter, they take a bit of patience.
I prefer to make these in large batches and then freeze the leftovers after baking. This way I can pull them out of the freezer, reheat in a 400°F oven until hot, and then serve alongside dinner! Or make a mini deviled egg salad sandwich! They taste just as good as they were the day I made them! The key is the oven reheat. It makes the outside crunchy again and as good as fresh!
I’m going to link to my post on sourdough starter for all your questions about starting and maintaining a starter! This recipe uses fed starter but you can use your discard to make these sourdough crackers.
I use fresh rosemary to flavor these rosemary sourdough rolls but you could use dried. Just cut the weight in half.
All the same rules apply as for my basic sourdough bread, so I am going to copy them below.
Sourdough is a labor of love. The whole process starts several days before you even want to eat your bread! If your starter has been napping in the fridge, then take it out at least 2 days before you want to make your bread. Let her sit at room temperature 12 hours before you feed her. Then start feeding her nightly.
This recipe calls for a liquid levain. All that means is the starter has more water than flour. There is no need to maintain two starters. Simply feed part of your starter a different ratio of water to flour!
The recipe calls for a very specific weight of starter in the levain build, because making bread is all about control, which brings us to our main focus in this tutorial…CONTROL {Can I get a cheer from the fellow control-freaks out there!}
Controlling your Bread: A short(ish) Discussion
- Control your starter: Controlling how the bread will rise starts the night before with your starter. There is only a small amount (10%) of active starter in the levain build because you want it to double and be at its most active 12-16 hours after you mix it. If you use too much starter, the yeast will reach its peak too fast.
- Control your Ingredients: Use a kitchen scale for accuracy! I didn’t include volume measurements for a reason. They are inconsistent and bread is a delicate balance of flour, water, salt and yeast; and adding just an extra tablespoon of one, will change the whole recipe.
- Controlling Temperature: Temperature is one of the most important factors in making bread from scratch. It is also one of the most difficult to control. Controlling temperature starts with the temperature of your water. When I want my dough to go faster, I use warmer water, but when I want it to be a slow and controlled rise (or my apartment is HOT), I use cold water. If I am relying on “a warm place” in the winter, I use warm water. Ain’t got time for that nonsense.
- Controlling the Gluten: You need just enough gluten to create a structure that will support the ingredients of the dough and also trap the gas that is released by the yeast. The perfect balance will give you that tender crumb (inside of the loaf) and also a light and airy bread. You can also develop the dough too much and then the gluten network will begin to break down. This is pretty much the only thing you can’t recover from when making bread.
- Control the Shape: You choose the shape for your final loaf by your needs. This same recipe can be shaped into dinner rolls, tiny bâtards, a loaf or a large boule (round). But a successful crumb is dependent on ensuring the dough stays in the shape you want while it is proofing and baking. You need to organize the gluten strands to trap as much steam and gas as possible so you end up with large beautiful holes in the crumb. This begins with the preshape. Don’t skip it! The preshape allows the gluten to become accustomed to its final shape. Think of it like easing her into her final home. Then the bench rest allows the gluten to relax so that you can final shape without tearing or aggravating the gluten.
- Controlling the Rise: You want a slow and controlled rise with sourdough, so that it has a chance to develop flavor and the gluten needed to support the structure. You can add a bit of commercial yeast to the dough and it will rise faster but you will sacrifice some flavor. Sometimes, tbh, this is totally worth it. Just saying.
- Control the Steam: This is more complicated and important than it seems! The first part is controlling how the steam escapes your bread, and you do this by scoring. Cutting the dough in several places dictates where the steam escapes your bread and will also allow for the maximum volume in your loaf. The score needs to be deep enough and not too close to the top of bottom of the loaf. This continues with controlling the steam in the oven. Steam in the first half of the baking process keeps the crust soft and allow the bread to rise as much as possible in the oven before the yeast die. If the crust forms too soon, then the loaf will never reach its full potential. I don’t stress about steam for rolls but if you wanted you could preheat a pan in the bottom of your oven. After you add your baking trays of rolls pour water into the pan. This will create steam. Quickly close the oven and allow the magic to happen! After about 15 minutes, remove the pan carefully and continue baking.
- Control Yourself: Technically speaking you should let the bread cool so that the crumb completely sets and all the alcohol evaporates, but honestly, I find self-control around sourdough overrated. You do you; I won’t tell. ? If you watched the video, then you know I waited a full minute before tearing into a roll! The very picture of Patience. Lol!
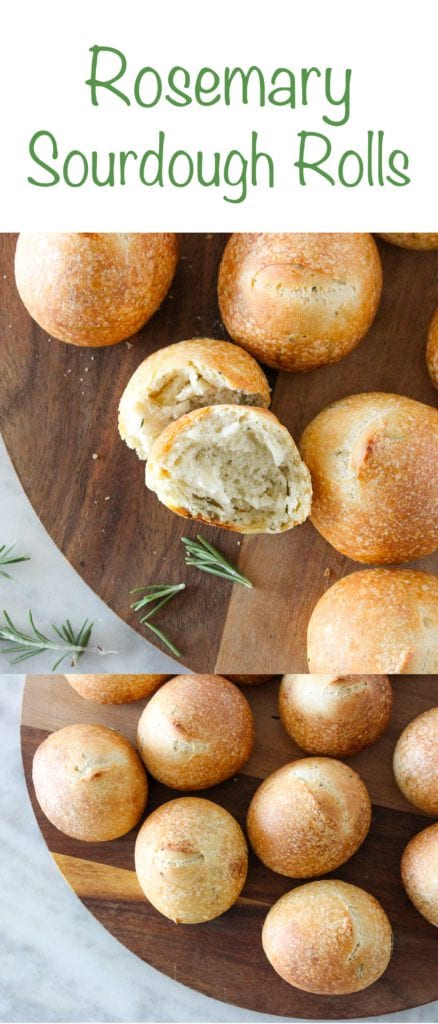
Rosemary Sourdough Rolls
Ingredients
Levain Build:
- 73 g All-Purpose Flour
- 91 g Water
- 8 g Yesterday’s starter
Final Dough:
- 624 g Bread flour All-Purpose such as King Arthur’s will work fine
- 29 g Milk
- 350 g Water
- 15 g Kosher Salt
- 172 g Liquid Levain above
- 57 g Olive Oil
- 6 g Fresh rosemary picked and chopped
Instructions
Mix the Liquid Levain:
- The 12 to 14 hours before you want to mix your dough, build the levain. In a clean container mix the flour, water and starter. Stir with a small spatula until the water has hydrated the flour. With this small of a quantity I find it easier to double the amount of the levain build, so that there is room for waste and you have enough to make your dough and enough to feed for tomorrow!
Make the Final Dough:
- Combine bread flour, water, milk, salt and levain in the bowl of a stand mixer fitted with the paddle attachment. You can also incorporate the ingredients with a dough hook but it will take longer. Once the flour has been completely incorporated, let the dough sit for 15 minutes covered with plastic wrap (autolyze) to develop gluten.
- Switch to the dough hook and turn the mixer up to medium speed to develop the gluten. With a dough that has this amount of water, it will be difficult to develop all the gluten in a home stand mixer, so mix until you see strands forming on the top and the dough looks like it is pulling away from the sides of the bowl. This dough will not form a ball around the hook because it is too wet of a dough (this is what we want!).
- Reduce the mixer to low and slowly add the olive oil and the rosemary. Mix on low until all the oil has been absorbed into the dough. The dough should no longer look greasy. It will be smooth and silky looking.
- Scoop dough into an oiled bowl and cover with plastic wrap.
- Place in a warm spot for 45 minutes.
- Set of folds: Fold each of the four sides into the center, pulling the dough up and allowing it to smack down on top of the remaining dough in the bowl. This is developing more gluten!
- Bulk Proof: Cover the dough and place back into the warm spot to proof. Check the dough every 45 minutes. This will take about 2.5 hours. You want to oil or flour your hand and feel the dough. It should feel light and airy and not stiff or dense.
- Pre-shape: Dust the top of the dough in the bowl with flour. Turn the dough out onto a lightly (I mean lightly!) floured surface.
- Divide the dough into 16 equal pieces (75g each). Take each piece, fold in half and then place seam side down on the counter. Roll in the palm of your hand into a ball. If you have too much flour on your surface the dough will not tuck into itself. Scrap the excess flour away with a bench scraper if needed. I suggest you watch my youtube video. Once you have a round ball with a smooth top, repeat will all the balls. Cover with plastic wrap and allow it to sit and bench rest for 15 minutes.
- Final Shape: Repeat the same process as with the pre-shape. Place the dough on a parchment lined sheet pan or a greased rectangular baking dish. Cover with plastic wrap.
- To bake same day: Place the basket back into the warm spot and allow to rise another 1-2 hours or until it feels light and airy and they have doubled in volume. The volume will be tough to tell if you are proofing it on parchment because it doesn’t contain or control the shape of the sourdough. Proceed to the baking step below.
- To bake next day: Place covered basket into the refrigerator to retard the dough overnight. This will slow the proofing of the yeast and will allow you to bake 12-18 hours later.
Baking:
- Preheat the oven to 425F convection. To easily score rolls, I use kitchen scissor to snip the top. You can also score with a lame or sharp knife.
- Bake rolls in preheated oven for 20-25 minutes or until nice golden brown on the outside.
- Allow to cool completely. This allows the crumb to set.
- Enjoy!


I have been making your sourdough bread recipe several times a week since last spring (always doubling it and often adding cheddar cheese an jalapeños to one of the loafs) – I just love it! It fast, easy and delicious. I wish I had seen these sooner, but but I will make them asap! And then on to the cookies. Thanks so much for sharing!!
Hey Josephine! I’m so happy to hear you’ve mastered the sourdough loaf! I don’t think I could resist the cheddar jalapeño one!
Tis the season!!!! I’m selling Christmas Cookie Tins this year so I am literally baking cookies around the clock!