

Easy Quick Bread Recipes
Favorite Fall Bread Recipes
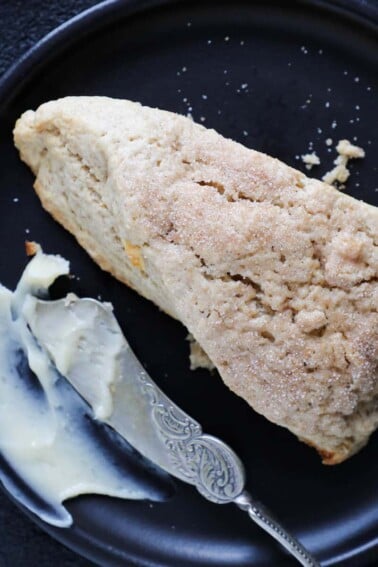
Easy Scone Recipes
Spiced Apple Scones
Breakfast Pastry Recipes
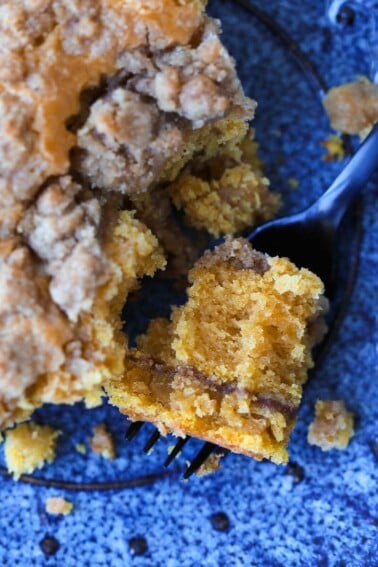
Pumpkin Coffee Cake
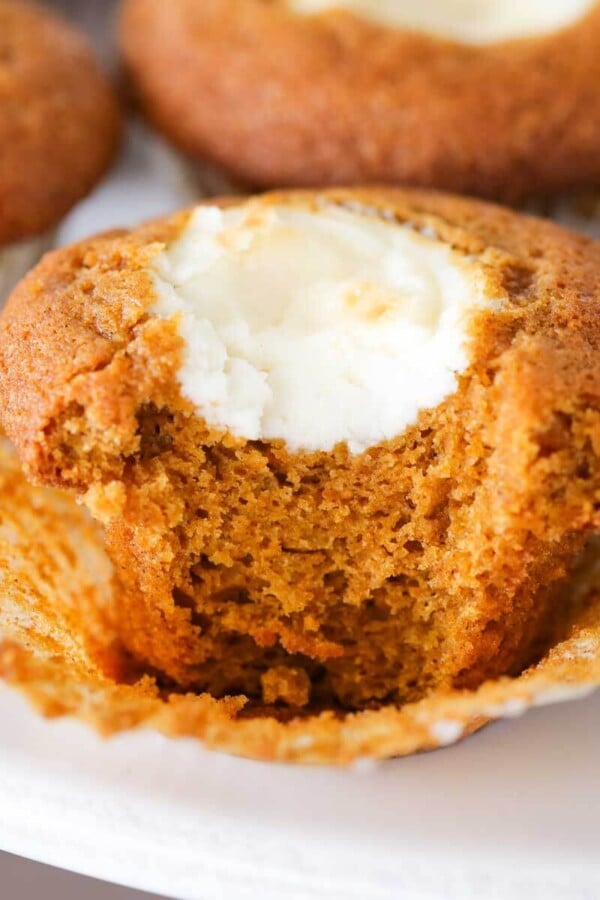
Muffin Recipes
Pumpkin Cream Cheese Muffins
Breakfast Pastry Recipes
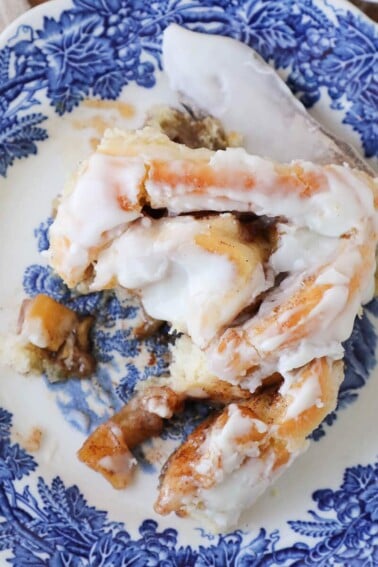
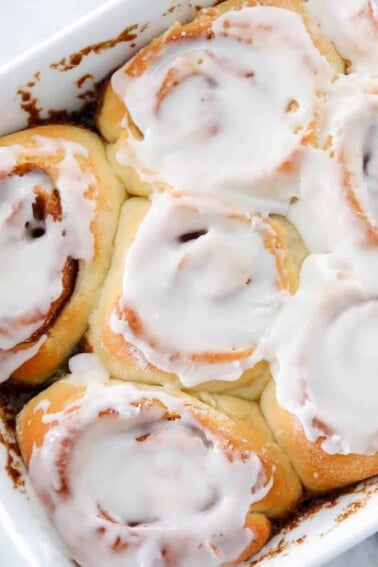
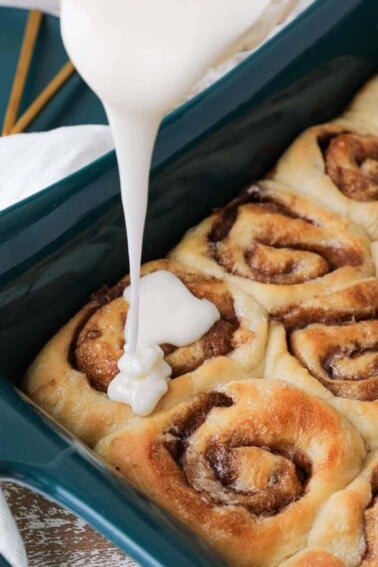
Apple Cinnamon Rolls
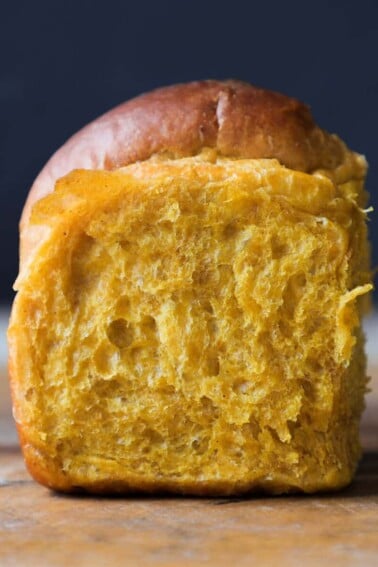
Dinner Roll Recipes
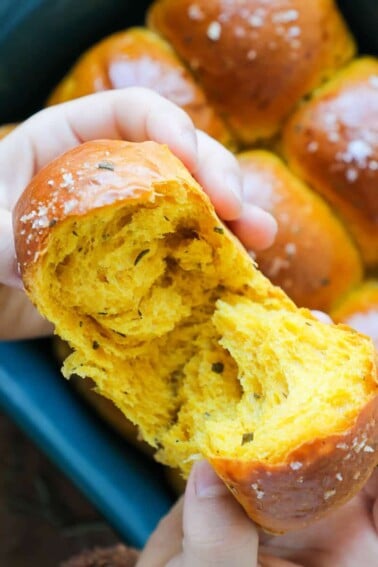
Pumpkin Spice Dinner Rolls
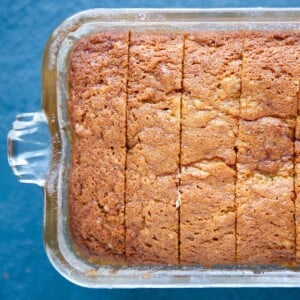
Quick Bread Recipes
Easy, no yeast bread recipes for every day baking! Find banana bread with crumble alongside bakery-style blueberry muffins and the best chocolate chip scones!
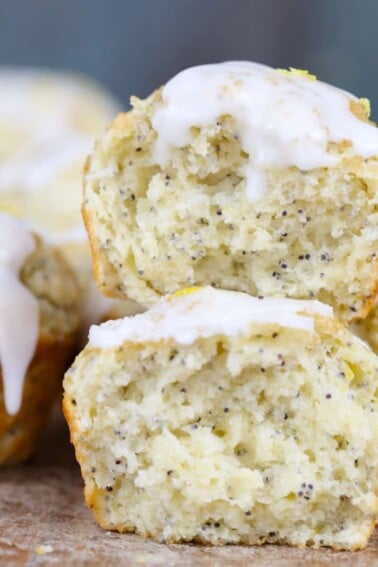
Easy Quick Bread Recipes
Lemon Poppyseed Muffins
Muffin Recipes
Peanut Butter Banana Muffins
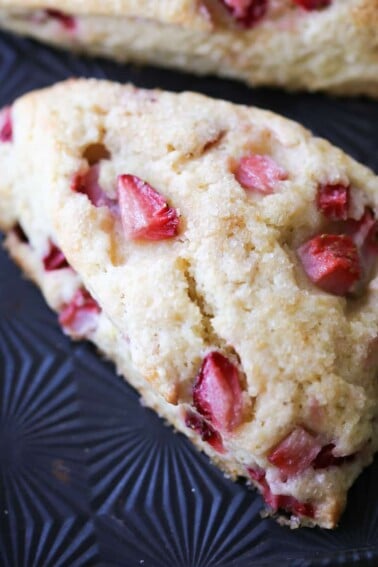
Easy Scone Recipes
Strawberry Lemon Scones
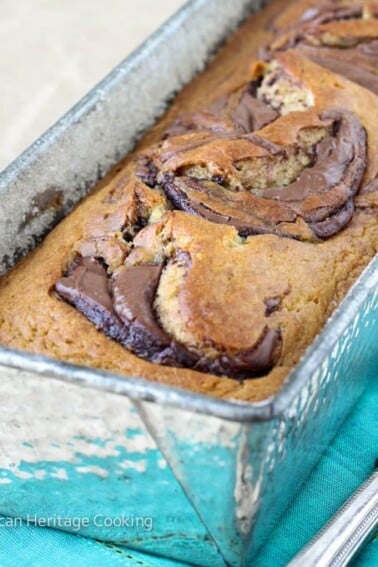
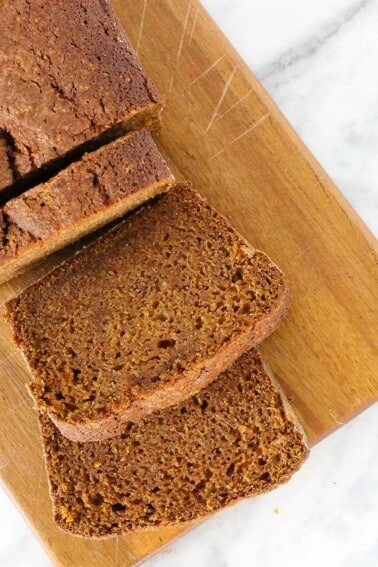
Easy Quick Bread Recipes
Nutella Banana Bread
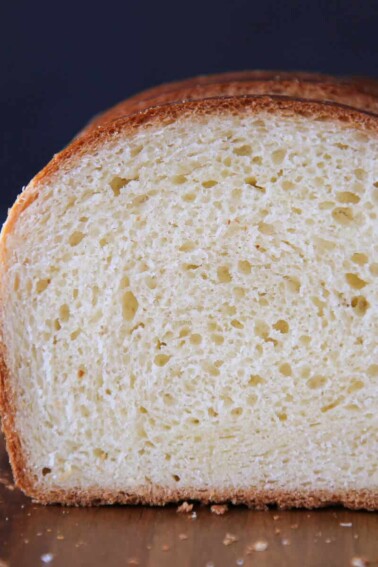
Professional Yeasted Bread Recipes
Chef Lindsey has a degree in Professional Bread Baking from the International Culinary Center in New York, so you can trust that these yeasted bread recipes are tried and true!

The 14 Steps of Bread Making
These are the 14 standard steps of bread making from a professional pastry chef. Some yeasted bread recipes will skip some of these steps but there is always a tradeoff in the finished product. Let’s be honest, I usually skip #13 & 14!
- Selecting Ingredients. You only need 4 ingredients to make a basic yeasted bread: flour, water, salt & yeast. Technically you don’t need salt, but bread baked without salt is unappetizing. Each of these ingredients and their ratio to the flour will determine the bread’s taste, texture and crumb.
- Scaling Ingredients. For the most precise measurement you must measure your ingredients by weight. This is especially true in larger quantities. Professional bakers use grams because ingredients can be measured in smaller increments. 1 oz = 28.55 grams
- Mixing the ingredients. There are two stages of mixing. Stage 1 is the incorporation phase and it is when all the ingredients are mixed together at a low speed to incorporate everything evenly. Stage 2 is the development phase when the dough is mixed at a higher to speed to develop the gluten.
- Bulk fermentation is when the dough is proofed in one large mass. The bulk proofing step is important because the yeast has access to all the food, the temperature is more easily controlled prior to dividing, and gluten can continue to form.
- Folding the dough. In the middle of the bulk proof you fold the dough to develop more structure (gluten), de-gas, redistribute the food (sugar) to the yeast, and evens out the temperature of the dough.
- Dividing the dough into desired portions. This can be into smaller portions for rolls, strands of challah, or bagels, or into larger portions for boules or loaves.
- Pre-shape the dough. This gently and gradually works the dough towards its final shape. It also allows for a more uniform final shape. There are two types of pre-shapes no matter the final shape of the dough: a log or a round.
- Bench rest the pre-shaped dough. This is only 10 minutes but it allows the gluten to relax, which helps the dough achieve its final shape without shrinking or tearing.
- Final shaping. Shape the dough into it’s final shape whether that is into a baguette, bâtard, boule or a complicated braid!
- Final proof. This allows the gluten to relax, the dough to develp more flavor and to ferment (rise). You want to final proof just until the dough feels light and airy to the touch.
- Scoring the bread. Scoring is a series of cuts that allow the dough to expand properly before the crust is set. This step can be optional depending on the type of bread you are making. Challah, some rolls, loaves baked in a loaf pan, and more don’t need to be scored. Sourdough and baguettes do well with a deeper score.
- Baking the bread! We’re finally ready to bake our bread! This is where the yeast have their last hurrah, called “oven spring.” The bread expands, the crust is forms and caramelizes, and the crumb is set!
- Cooling. I know, this is the hardest part! Of course I would never admonish you for tearing into that hot bread straight from the oven, but there is a reason to let it cool properly. Cooling bread allows the gluten structure and starches to set. If you don’t then it will still be a little dough, gassy and taste of yeast.
- Storage. If there is any left, then properly storing is imperative. For longer term storage the freezer is best.
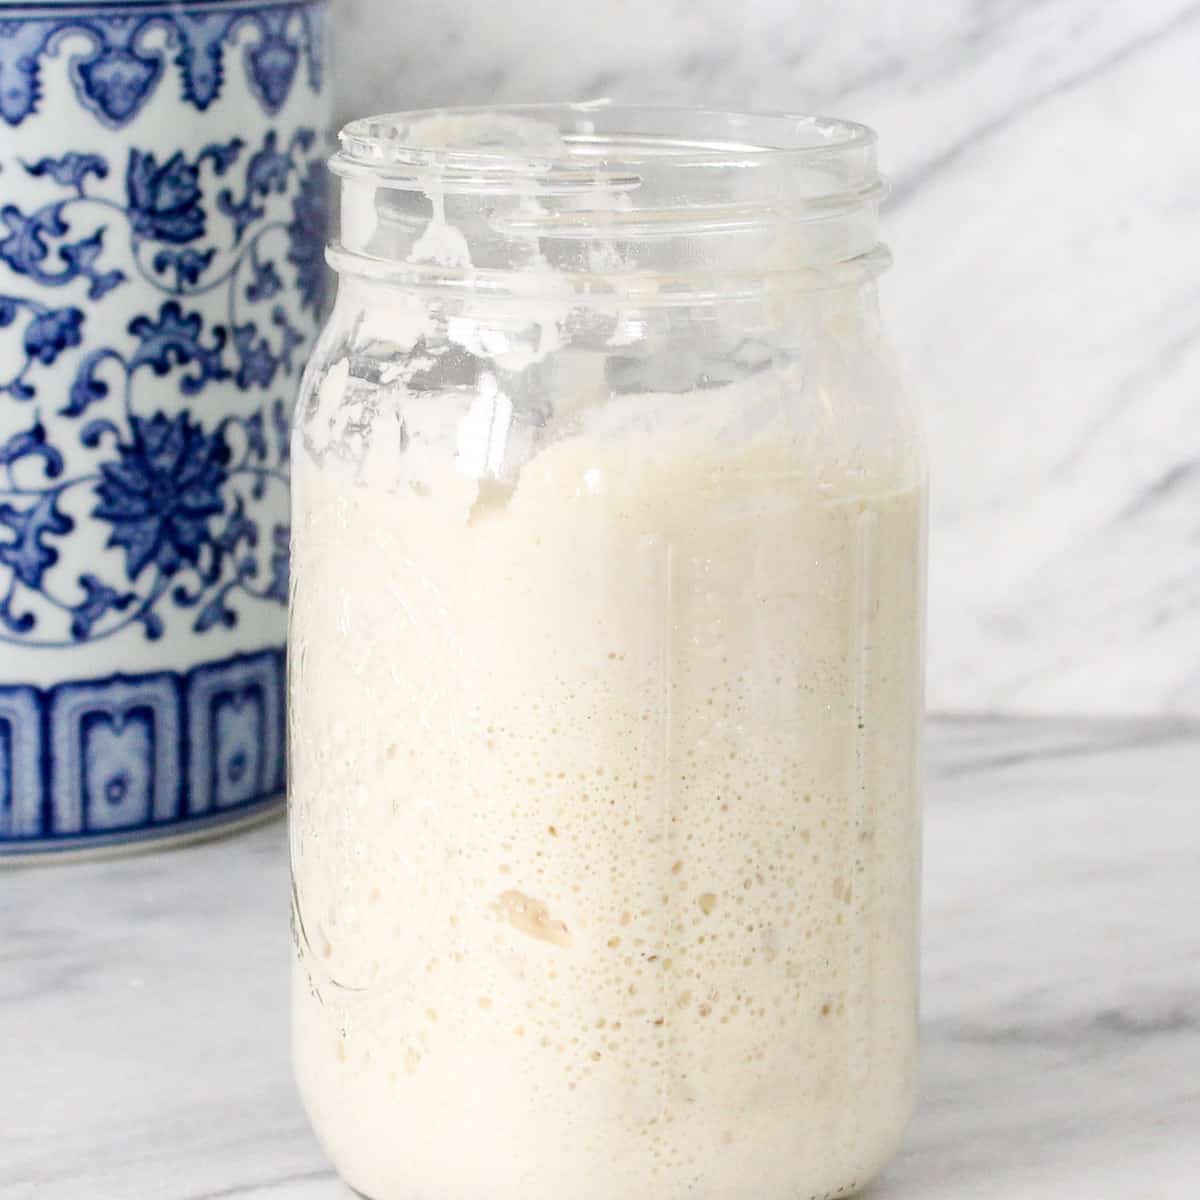
Your Ultimate Sourdough Guide!
If you haven’t already, it’s time to make your own sourdough starter recipe! Anyone who has made a starter knows the tricky part is keeping it alive! Follow Chef Lindsey’s 10 Tips for Maintaining a Sourdough Starter to ensure yours is happy and healthy forever!
Sourdough Bread Recipes
Sourdough Starter Recipe
With an easy-to-follow sourdough starter recipe, you can be making fresh sourdough bread from your own starter in just five days!
Now you’re ready to get baking!
I can smell the bread in your kitchen already! Each recipe is packed full of professional tips to make you a success whether you are a sourdough novice or professional!
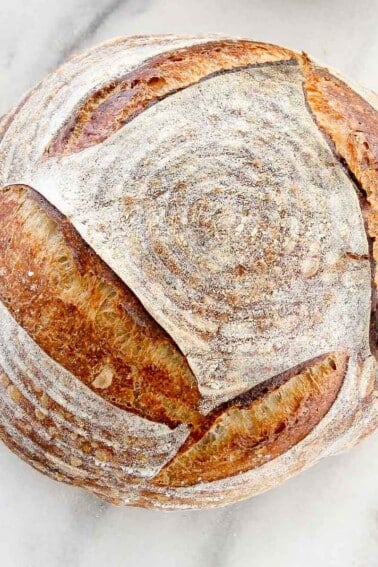
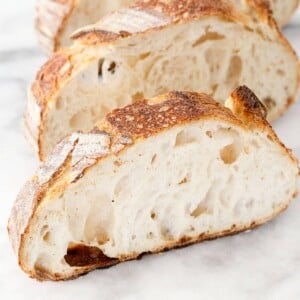
Sourdough Bread Recipes
Basic Sourdough Bread Recipe
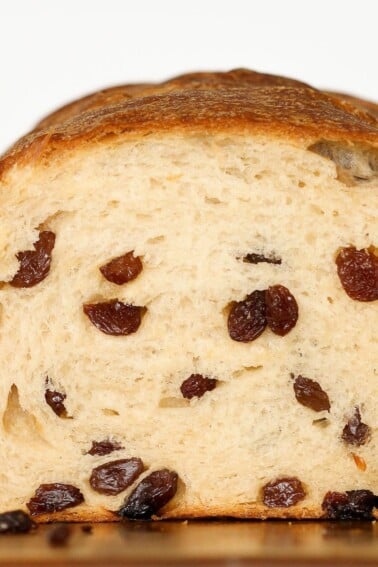
Sourdough Bread Recipes
Sourdough Raisin Bread
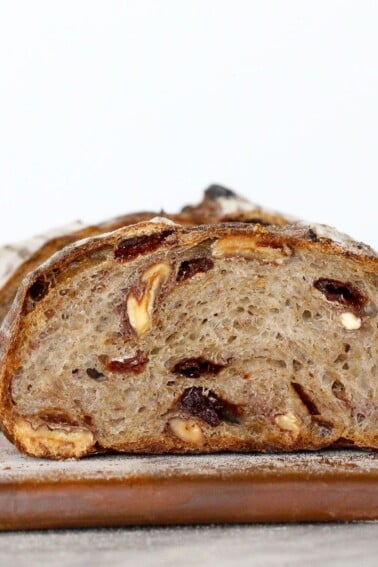
Sourdough Bread Recipes
Cherry Pecan Sourdough Bread
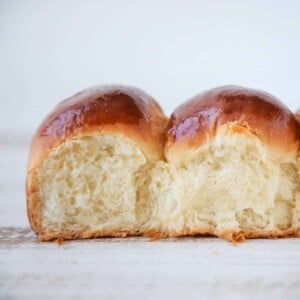
Breakfast Pastry Recipes
Sourdough Cinnamon Rolls
Frequently Asked Questions
How do you store homemade bread?
Allow the bread to cool to room temperature before wrapping. To store homemade bread for up to 3 months, wrap well in plastic wrap and freeze. To store soft bread like brioche, store in a bag or plastic wrap and leave at room temperature. Crusty bread like basic sourdough bread needs air circulation, so store it unwrapped with the cut side down on a flat surface like a bread board.
What is the best flour for bread making?
The best flour for bread making is all-purpose flour. All-purpose flour has a gluten content between 9.5%-11%. It has the perfect amount of gluten for structure and to trap the air created by yeast fermentation, and also be tender with the right amount of chew. The more gluten, the tougher and chewier the resulting bread will be. I prefer to reserve bread or hi-gluten flour for those breads where I want that extra chew, like bagels!
What is the best yeast for bread making?
Fresh yeast is the best yeast for bread making because it does not need the extra step of hydration (blooming) like dry active yeast. Dry active yeast is the best for home bakers because it delivers a consistent, steady rise like fresh yeast. I rarely use instant yeast because it is too inconsistent and doesn’t allow for a even, flavorful proof. If you don’t give your bread enough time to proof, you are missing out on the natural flavors that develop over time!
All Homemade Bread Recipes
Breakfast Pastry Recipes
Apple Cinnamon Rolls
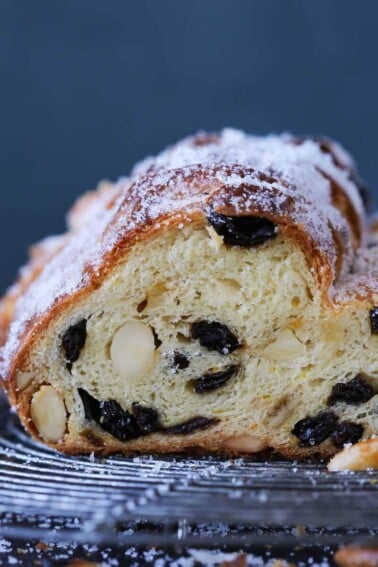
Yeasted Bread Recipes
The Best Stollen Recipe
Dinner Roll Recipes
Pumpkin Herb Dinner Rolls
Breakfast Pastry Recipes
Pumpkin Coffee Cake
Dinner Roll Recipes
Pumpkin Spice Dinner Rolls
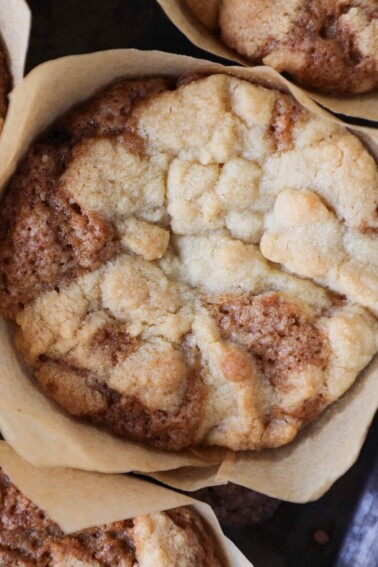
Easy Scone Recipes
Spiced Apple Scones
Breakfast Pastry Recipes
The Best Cinnamon Rolls
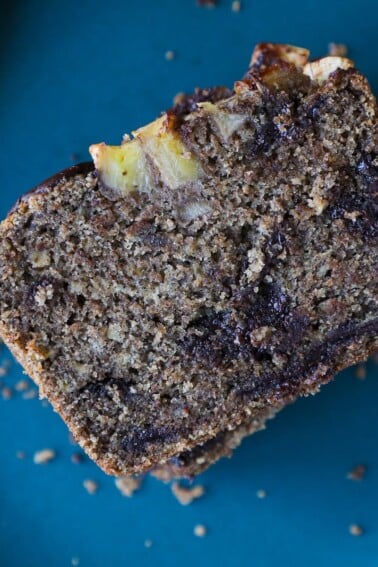
Breakfast Pastry Recipes
Vegan Chocolate Chip Banana Bread
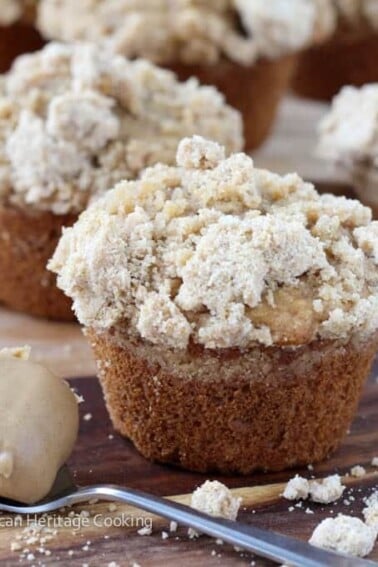
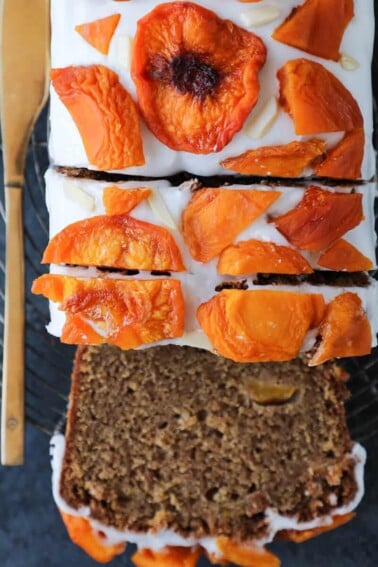
Muffin Recipes
Peach Streusel Muffins
Cake Recipes
Easy Peach Cake
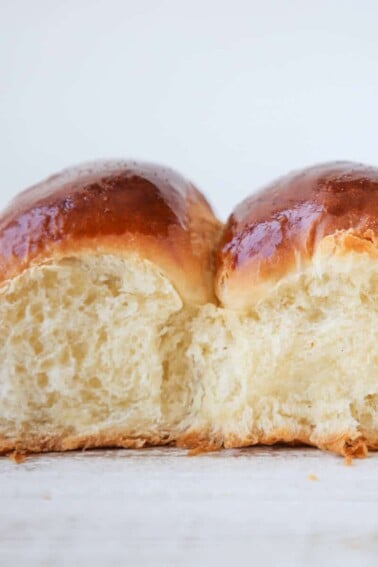
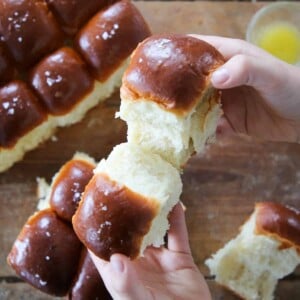
Dinner Roll Recipes
Easy Dinner Rolls
Yeasted Bread Recipes


