This post may contain affiliate links. Please read our disclosure policy.
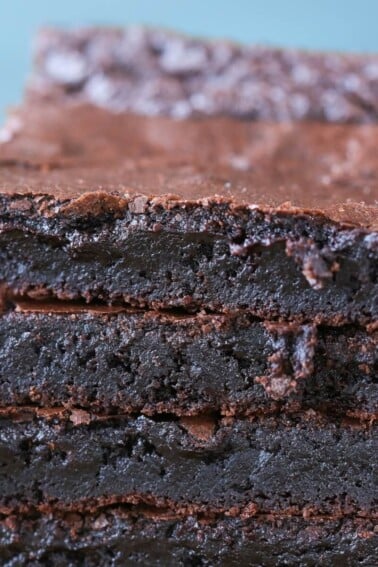
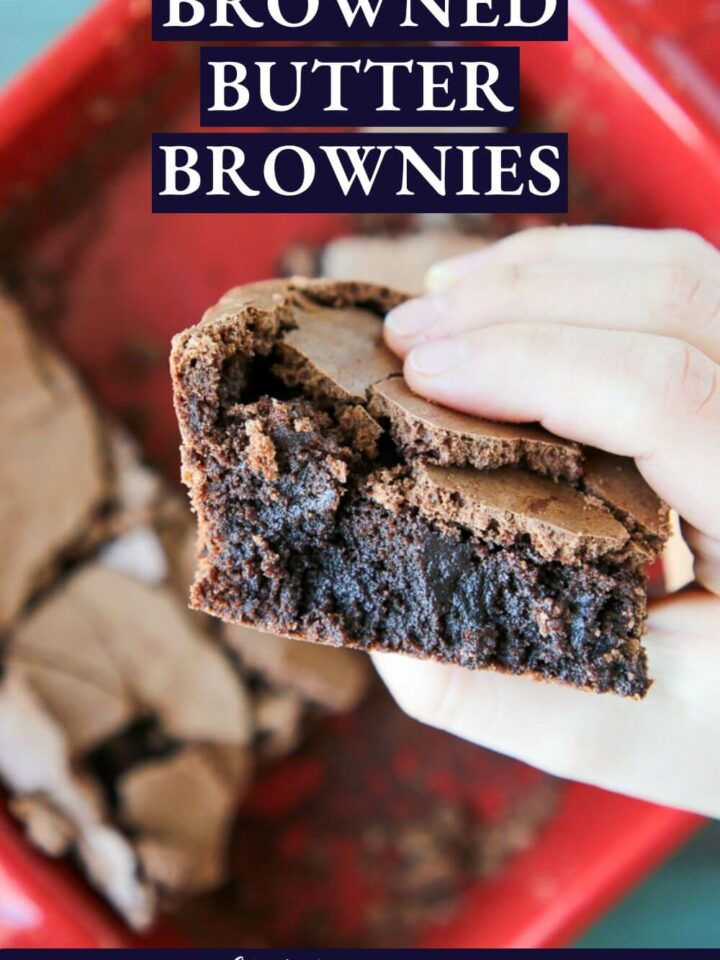
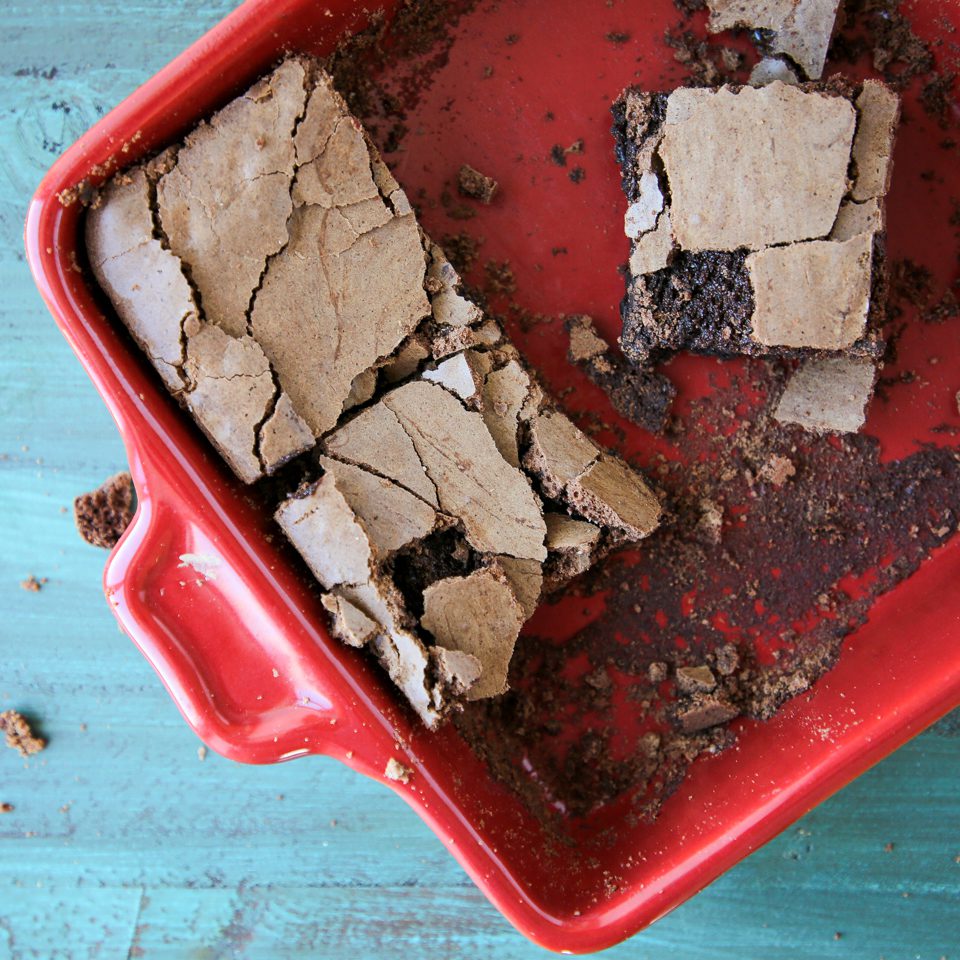
Looking to elevate your brownie experience? Look no further than these brown butter brownies; they are chewy and fudgy and have a hit of a nutty flavor from the beurre noisette!
Sometimes, the best takes a little work! These brownies have a few more steps than our easy one bowl brownies, but I promise they will be worth it! Browning the butter adds a wonderful nutty flavor that enhances but doesn’t overpower. The whole egg mixing method is a foolproof pastry method for rich and fudgy brownies.
Once you master these brownies, my milk chocolate brownies will be a walk in the park! And if you are looking to add to your brown butter repertoire, try these fresh takes on some other classics like my brown butter chocolate chip cookies or brown butter cardamom snickerdoodles!
Why you will love these brown butter brownies!
- Brown Butter! The brown butter elevates the flavor of the brownie. The slight hazelnut flavor complements the chocolate but does not overwhelm it.
- Pastry chef tips and tricks for a full-proof brownie. I have made these brownies hundreds if not thousands of times. So, I will share all the knowledge I have acquired over the years.
- As large a batch as you want! These brownies have been made in an 80-quart mixer! You can scale these brownies up and down without worrying.
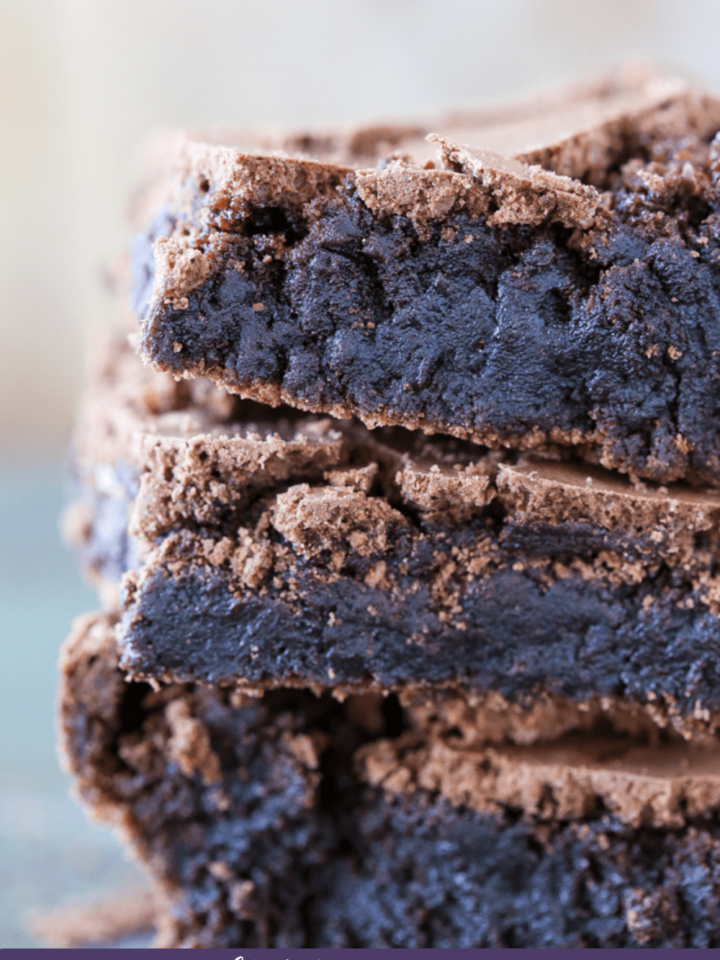
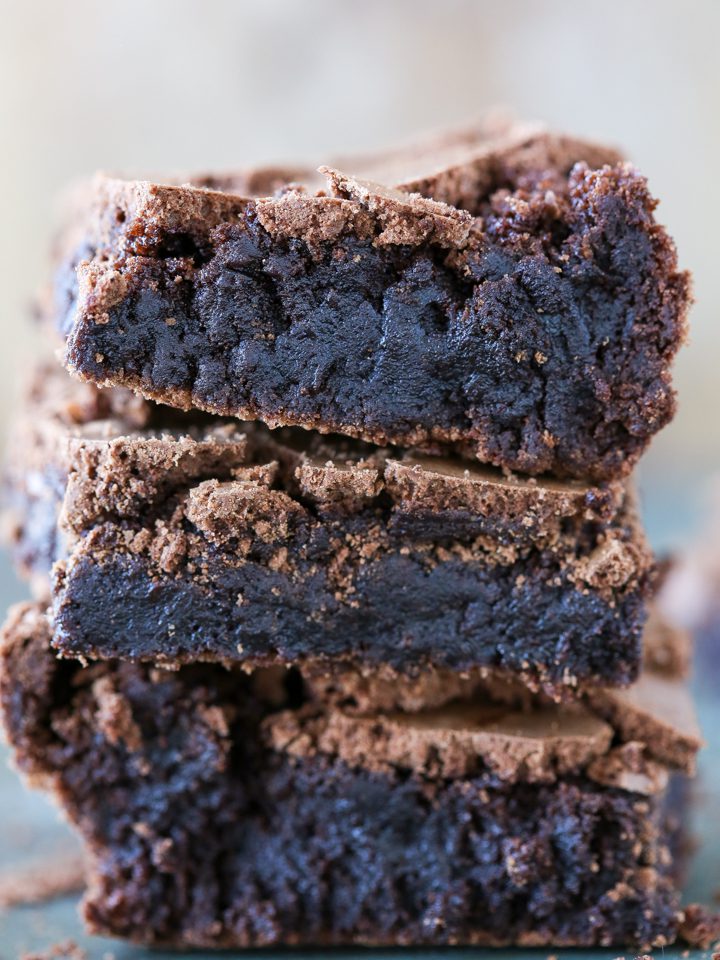
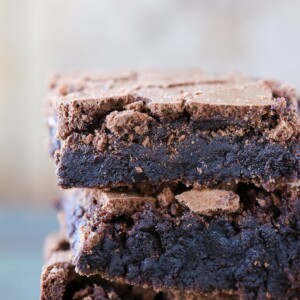
- The texture. Using whole egg foam as the leavening makes the brownies light and fudgy. The melted butter makes them chewy and seem to melt in your mouth.
Professional Tips for Making Brown Butter Brownies
- Brown your butter before scaling the rest of your ingredients. It gives you the time to pay full attention to the brown butter and allows the chocolate and butter to cool slightly before adding it to your eggs.
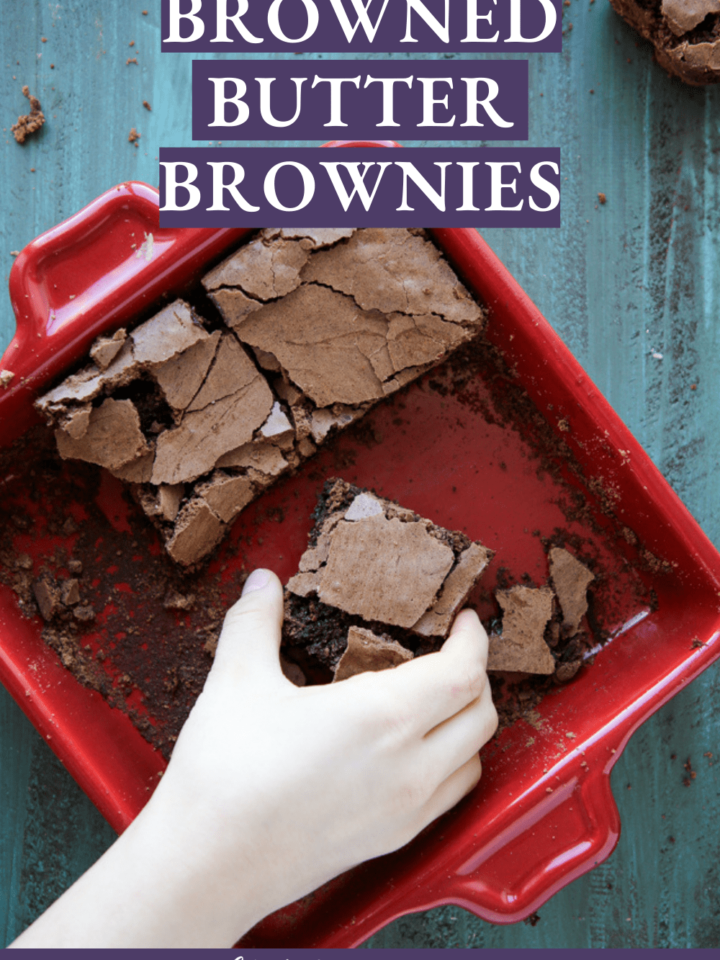
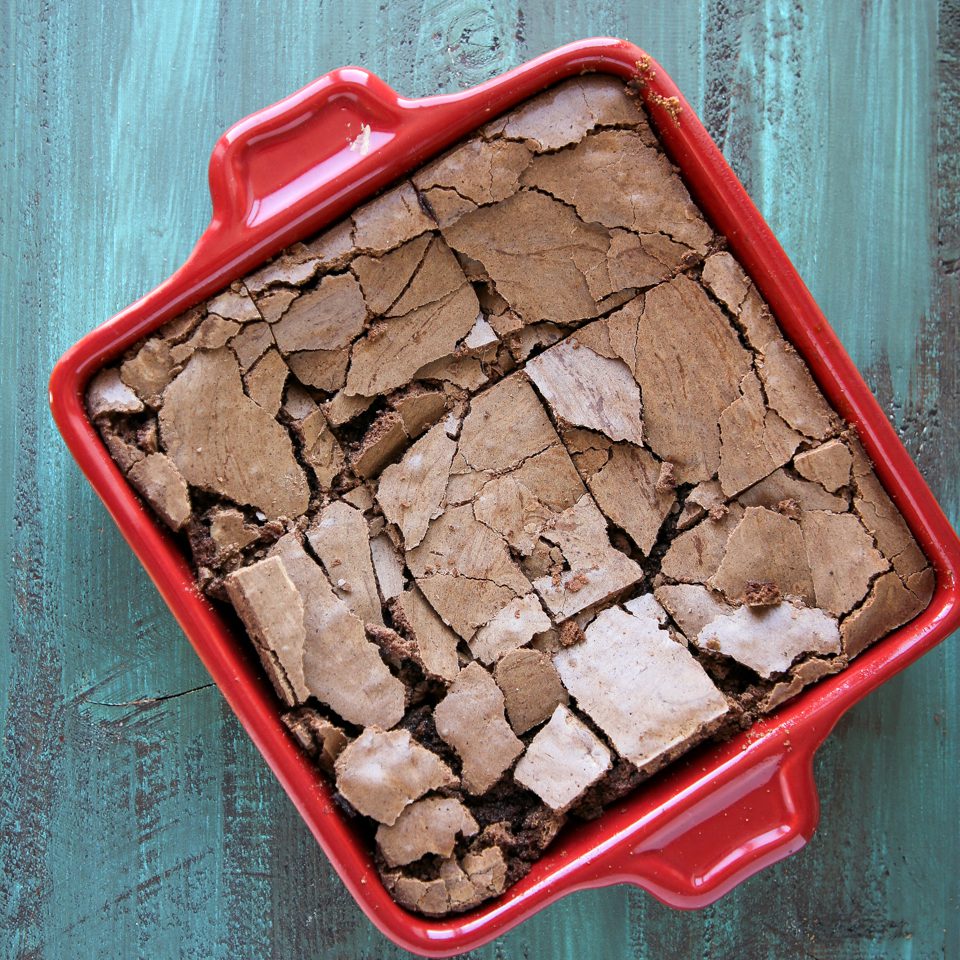
- They bake best in metal baking dishes. The brownies will bake delightfully in any baking dish of your choosing, but they will have a more delightful chewy texture from a metal baking dish, and it will help create that iconic crinkle top.
- Make sure to sift the dry ingredients. Cocoa powder has a tendency to clump. Once in the batter, the clumps can be a hassle to deal with, and you will risk over mixing the brownie.
Ingredients
- Butter: Unsalted butter allows you to control the salt in the brownie. Every brand has a different amount, which makes adjusting the recipe difficult.
- Dark Chocolate: I like to use chocolate that has at least 54% cocoa solids but up to 65% to balance the sweetness of the brownie. A chocolate bar or pistoles will melt better and help create a fudgier brownie.
- Granulated Sugar: The sugar is here for sweetness, but the sugar ratio is also essential for texture and that signature crinkly top.
- Light Brown Sugar: The light brown sugar is here to assist in the flavor and complement the warm, nutty flavor of the brown butter.
- Kosher Salt
- Whole Eggs: The eggs are the leavening in the brownie. Whisking them with the sugar to create a whole egg foam.
- Vanilla Extract
- All-Purpose Flour: There is just enough flour in these brownies to pull together a batter. This ratio helps to create the perfect brownie texture.
- Cocoa Powder: I like to use Dutch-processed cocoa powder to add a more robust and round chocolate flavor.
See the recipe card for full information on ingredients and quantities.
Variations
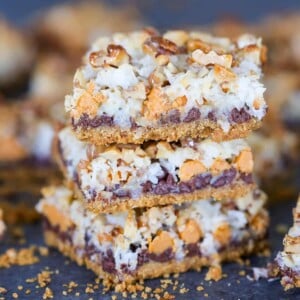
- Make it a S’mores! Make my no-bake graham cracker crust, put it on the bottom of your baking dish, pour the batter over, and add more on top! And if you’re feeling a little extra, make some marshmallow frosting, layer it on top, and toast it! Now you have a fresh new take on two classics!
- Did anyone say SWIRL? Try adding Salted Caramel Sauce, Nutella, or a jam of your choosing. Pipe or dollop them on top of your brownie batter and swirl them in with a toothpick or butter knife. That’s also an excellent approach to some Brown Butter Rum Raisin Banana Bread…
- Any mix-ins or toppings you want. We have made these brownies with M&M’s, additional chocolate chips, peanut butter chips, chopped Reese’s, Reese’s pieces, walnuts, and pecans. You can add them into the batter before baking or sprinkle them over the top! Use my Caramel Stuffed Brown Butter Snickers Chocolate Chip Cookies as inspiration!
- Top with frosting! The frosting pairings are endless. I suggest a cream cheese frosting or a cherry mascarpone frosting from my double chocolate cupcakes.
What is Brown Butter?
Brown butter, also known as beurre noisette in French (the literal translation is hazelnut butter). It is made by heating unsalted butter on medium heat until the water evaporates from the butter. Then, the milk solids separate and sink to the bottom of the pot. Here, they start to caramelize and turn golden brown. This gives the butter that nutty flavor and aroma similar to that of a hazelnut.
How to Make Brown Butter Brownies
Follow these instructions to make fudgy brownies every time! Further details and measurements can be found in the recipe card below.
Brown the butter:
Step 1: Heat the butter over medium heat in a saucepot. Cutting the butter into small cubes will help the process move faster.
Step 2: While the butter is melting, measure the dark chocolate and salt into a heat safe bowl and set aside.
Step 3: The melted butter will change from an opaque to a more translucent color. The butter will also start foaming. At this point, you will want a rubber spatula to scrape the bottom of the pot while the butter continues to cook. The butter is done when it smells nutty and has a light golden brown color.
You can also test to ensure your butter is properly browned by taking your spatula and scraping the bottom. Once you see brown specks, you are ready. These are the caramelized milk solids.
Step 4: Pour the butter over the chocolate and salt. Make sure to scrape the bottom of the pot to get as many brown bits as possible, as this is where most of the nutty flavor comes from. Let the butter sit over the chocolate for a few minutes before whisking to combine. You want to ensure the butter has melted all the chocolate.
Step 5: Whisk the chocolate butter mixture to distribute the melted chocolate. It will emulsify but if it separates, that’s fine. Set it aside to cool slightly while you measure the rest of the ingredients.
Making the Batter:
Step 6: Preheat the oven to 350°F conventional (no fan) or 325°F convection. Prepare your desired baking dish with two pieces of parchment paper criss-crossed in the middle so they come up all sides.
Step 7: Add the eggs, vanilla, and sugars to your stand mixer with a whisk attachment. Mix on medium to combine all the ingredients. Once combined, mix on high until the eggs reach “Ribbon Stage.”
Three tests for ribbon stage. First, you will see that the mixture has tripled in volume and become a pale yellow. Second, take the whisk and allow the egg foam to fall on top of the mixture. It should sit on top for a few seconds before falling back in. The third test is to poke your finger into the mixture and feel for sugar granules. The sugar should be dissolved completely.
Step 8: Check and make sure the butter chocolate mixture isn’t too hot. It should be about body temperature. You can actively cool it over an ice bath if needed. Slowly pour the chocolate mixer down the side of the bowl with your mixer on medium speed. Be careful not to hit the whisk; otherwise, the chocolate will get everywhere.
Step 9: Remove the bowl from the mixer once the chocolate is fully incorporated. With a rubber spatula, fold a few times to ensure the eggs and chocolate are fully combined. Sometimes, the whisk doesn’t reach the bottom of the mixing bowl. Sift in the cocoa powder and flour. Fold to incorporate.
If adding mix-ins, now is the time to add. You will want to add them before the flour and cocoa powder are fully folded in. To keep from overmixing the brownie and losing all the volume you worked so hard for.
Baking and cooling:
Step 10: Pour the batter into your prepared dish. Use an offset spatula or rubber spatula to spread the batter evenly.
Step 11: Bake in a preheated oven for about 20 minutes. The best way to know the brownie is finished baking is the crackle top, the cracks should reach the middle of the brownie and be fully puffed in the middle.
Step 12: Remove from the oven and allow to cool before cutting. If you can wait that long!
Chef Lindsey’s Recipe Tip
For the cleanest cut, allow the brownies to cool to room temperature, place them in the fridge or freezer, and chill completely! Once chilled, run your knife under hot water, wipe off the excess water, and cut. Wipe the knife off in between cuts and repeat. If I’m feeling a little extra that day, I will break out my clear ruler and mark the brownies on all four sides to ensure equal squares or rectangles.
Frequently Asked Questions
Store well wrapped at room temperature for 3 days or a week in the fridge.
For longer storage freeze the brownies, well-wrapped or in an airtight container for up to 2 months.
Yes, if you have a large mixing bowl and the baking dishes to match! Be careful since the eggs are whipped, and the chocolate is poured into the eggs while whisking. You want enough room in your bowl to keep from having eggs and chocolate all over your walls.
You can make a smaller batch with less than two eggs, but you will have to do it by hand or with a handheld mixer. The whisk may not reach the bottom of the bowl of a stand mixer at that point. I would recommend making them by hand to avoid chocolate and egg getting everywhere.
You can make my creme anglaise or chocolate fudge sauce to serve on the side. No one can resist a warm brownie with a big scoop of vanilla bean ice cream on top!
If you tried this recipe and loved it please leave a 🌟 star rating and let me know how it goes in the comments below. I love hearing from you; your comments make my day!
Brown Butter Brownies
Ingredients
- ½ cup all-purpose flour
- ½ cup cocoa powder
- ½ cup chopped chocolate
- ¾ cup unsalted butter
- 1 cup sugar
- 2 tablespoons light brown sugar
- ¾ teaspoon kosher salt
- 3 eggs cold
- ½ tablespoon vanilla extract
Instructions
Brown the butter:
- Heat the butter over medium heat in a saucepot. Cutting the butter into small cubes will help the process move faster.
- While the butter is melting, measure the dark chocolate and salt into a heat safe bowl and set aside.
- The melted butter will change from an opaque to a more translucent color. The butter will also start foaming. At this point, you will want a rubber spatula to scrape the bottom of the pot while the butter continues to cook. The butter is done when it smells nutty and has a light golden brown color.
- Pour the butter over the chocolate and salt. Make sure to scrape the bottom of the pot to get as many brown bits as possible, as this is where most of the nutty flavor comes from. Let the butter sit over the chocolate for a few minutes before whisking to combine. You want to ensure the butter has melted all the chocolate.
- Whisk the chocolate butter mixture to distribute the melted chocolate. It will emulsify but if it separates, that’s fine. Set it aside to cool slightly while you measure the rest of the ingredients.
Making the Batter:
- Preheat the oven to 350°F conventional (no fan) or 325°F convection. Prepare your desired baking dish with two pieces of parchment paper criss-crossed in the middle so they come up all sides.
- Add the eggs, vanilla, and sugars to your stand mixer with a whisk attachment. Mix on medium to combine all the ingredients. Once combined, mix on high until the eggs reach “Ribbon Stage.”
- Check and make sure the butter chocolate mixture isn’t too hot. It should be about body temperature. You can actively cool it over an ice bath if needed. Slowly pour the chocolate mixer down the side of the bowl with your mixer on medium speed. Be careful not to hit the whisk; otherwise, the chocolate will get everywhere.
- Remove the bowl from the mixer once the chocolate is fully incorporated. With a rubber spatula, fold a few times to ensure the eggs and chocolate are fully combined. Sometimes, the whisk doesn’t reach the bottom of the mixing bowl. Sift in the cocoa powder and flour. Fold to incorporate.
Baking and cooling:
- Pour the batter into your prepared dish. Use an offset spatula or rubber spatula to spread the batter evenly.
- Bake in a preheated oven for about 20 minutes. The best way to know the brownie is finished baking is the crackle top, the cracks should reach the middle of the brownie and be fully puffed in the middle.
- Remove from the oven and allow to cool before cutting. If you can wait that long!
Video
Notes
Nutrition
Before You Go
I hope you enjoyed this professional chef tested recipe. Check out our other delicious, chef-developed bar recipes, or use your browned butter skills for the icing on these Chewy Chocolate Chip Pumpkin Cookies!