This post may contain affiliate links. Please read our disclosure policy.
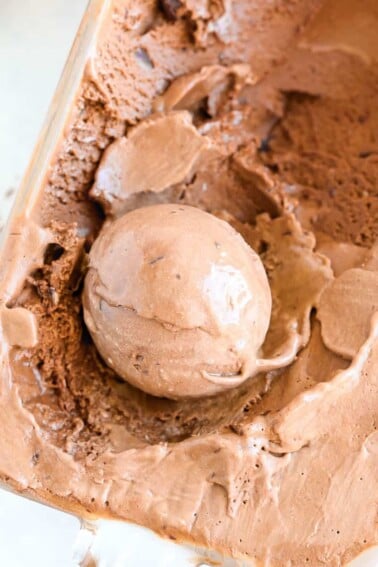
A chocolate ice cream recipe that is rich, creamy, and perfectly sweetened. Using ingredients already in your kitchen, you can have restaurant level ice cream at home!
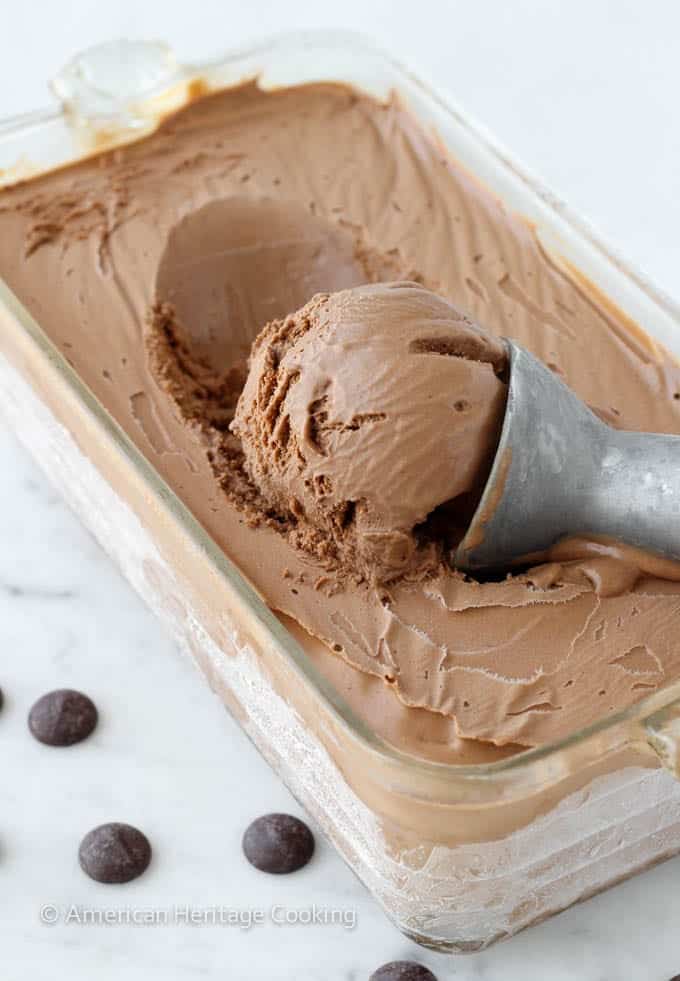
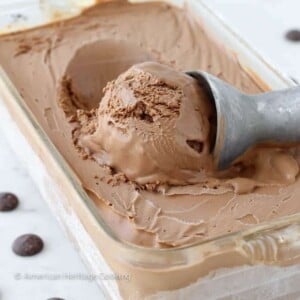
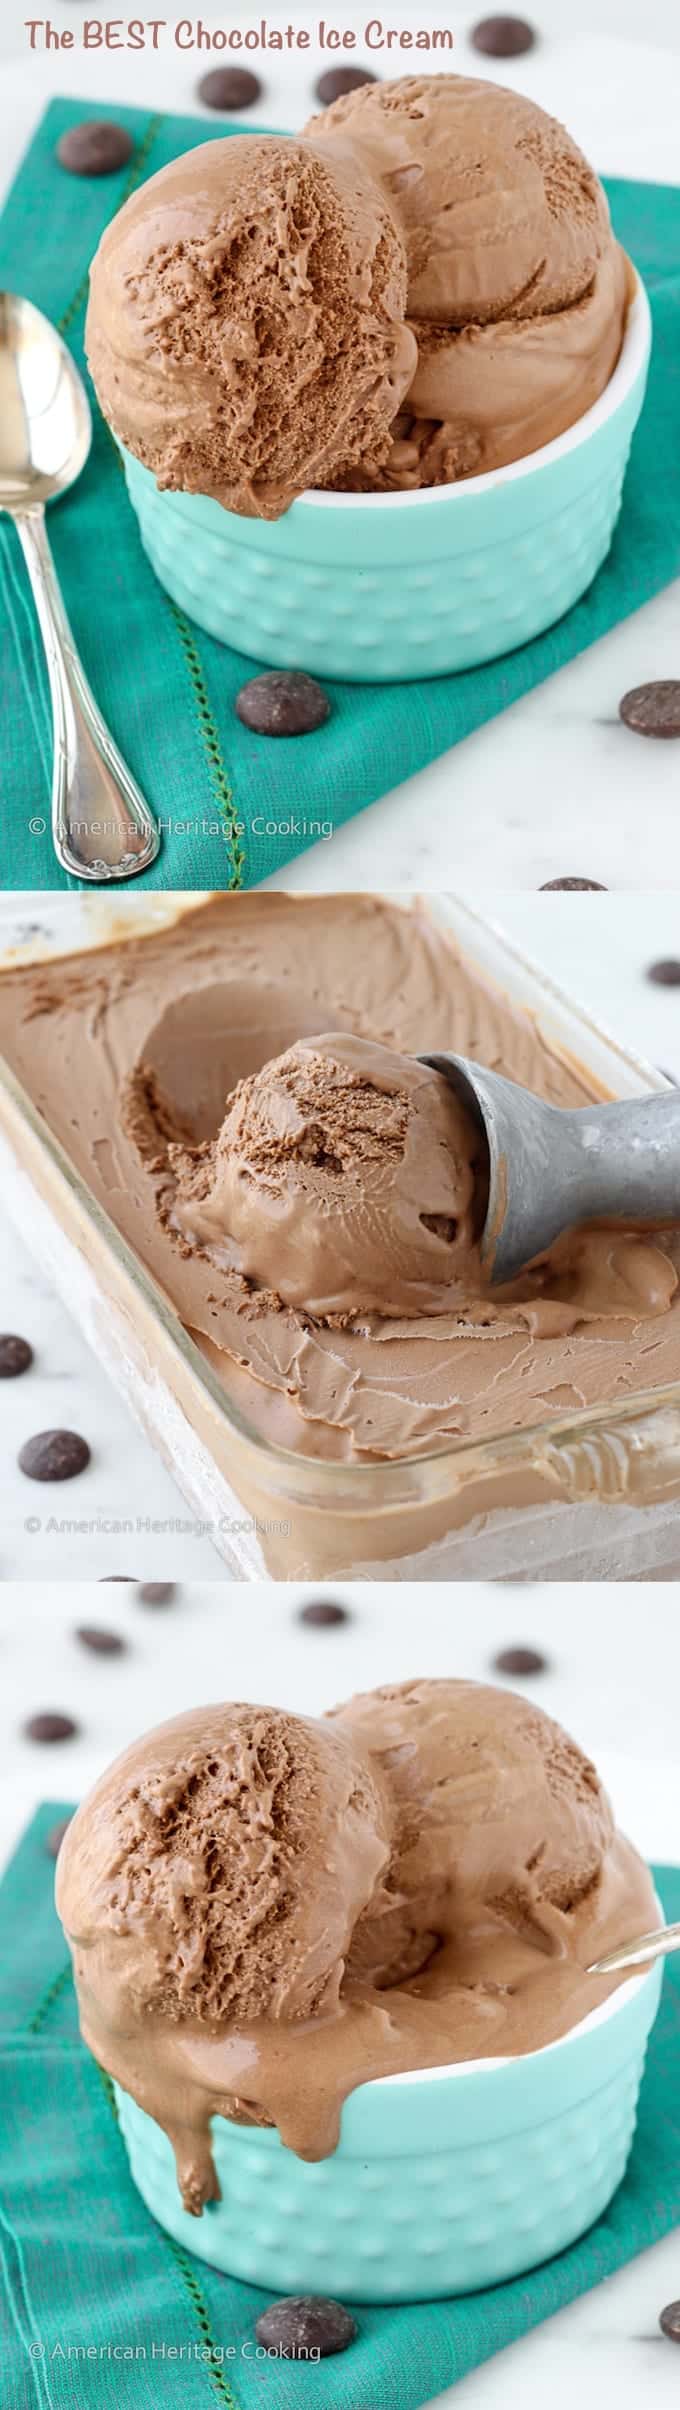
Some may call me a chocolate ice cream enthusiast. I have been ordering chocolate ice cream at every ice cream shop I’ve entered since I was 1 ½. This in addition to being a pastry chef makes me 100% qualified to call this ice cream the BEST chocolate ice cream! It’s smooth, creamy, and has unparalleled chocolate flavor.
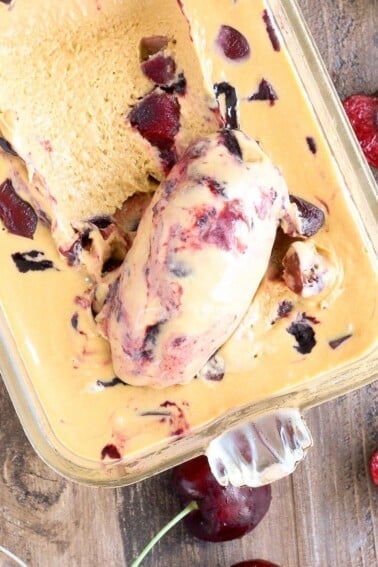
Try serving the classic custard based ice cream with a classic yellow cake or cherry almond tart! If you want to level up this ice cream, try my double chocolate caramel ice cream! And if you want a break from chocolate (I know, crazy), you can try my bourbon cherry caramel ice cream.
Why This is the Best Chocolate Ice Cream
- Rich and creamy texture. While working in restaurants, I spent years perfecting the texture of my ice creams. The secret is adding extra fat with egg yolks instead of cream to add another layer of silkiness.
- Step-by-step instructions from a pastry chef. We made ice cream once a week in the restaurants, and I am here to share all my tips and tricks with you for a full-proof restaurant quality ice cream.
- Use just melted chocolate for the best texture. Using melted chocolate creates a rich chocolate ice cream with that characteristic chewy texture. Cocoa powder is best saved for flourless chocolate cake and glazed chocolate donuts!
- Perfectly balanced flavor. The ratios in this recipe are perfectly balanced, from the chocolate to the sugar and the egg yolks. They all come together to create a balance of bittersweet and sweet.
Professional Tips for Making Homemade Chocolate Ice Cream
- Use quality chocolate. Not only will a higher quality, bittersweet chocolate help with the flavor, but it will also add to the texture. Lower quality chocolates can have more fillers and less cocoa butter, which can take away from the desired smooth, silky texture.
- Be sure not to under or over-churn. If you under-churn your ice cream, it won’t hold its shape and it will become icy when you freeze it. If you over-churn, it will freeze too hard and the cream can separate, which leaves a fatty coating in your mouth.
- Let your base chill completely. Churning a cold ice cream base can help prevent ice crystals from forming. Using an ice bath and actively cooling your base before placing it in your fridge will speed up the process.
- Split the sugar between the cream and the egg yolks. Dividing the sugar helps keep the milk from scorching and protects the eggs from cooking during the tempering process.
Ingredients
- Whole Milk: I use whole milk for all custards, including ice cream, because it stands up to heating better and has a richer taste. The additional fat and lower water content, makes a less-icy ice cream.
- Heavy Cream: Heavy cream adds fat to the custard, making it rich and creamy.
- Vanilla Extract: The vanilla extract and kosher salt enhance the chocolate flavor without adding sweetness just like in the best chocolate pound cake.
- Kosher Salt
- Granulated Sugar: Granulated sugar adds sweetness but also helps protect the milk from burning and the eggs from scrambling during the tempering process.
- Egg Yolks: The egg yolks are here for the thickening power and to add more fat to the custard. This will add to the creamy texture of the ice cream. You can either buy just egg yolks or separate the eggs and save the egg whites for vanilla bean marshmallows or an angel food cake.
- Bittersweet Chocolate: I use bittersweet chocolate to control the sweetness of the ice cream. Be sure to use a high quality chocolate or chocolate that you enjoy since it is the main flavor!
See the recipe card for full information on ingredients and quantities.
Variations
- Add a mix in or two! Let your imagination run wild here! If you want more chocolate, swirl in chocolate chips, hot fudge sauce or chopped one bowl brownies. Chopped nuts, easy strawberry jam, or candies are also fun.
- Add a swirl! Add salted caramel sauce like I did in this chocolate caramel ice cream or strawberry caramel cookie ice cream. In the restaurants we added marshmallow fluff to make all sorts of fun flavor combinations like with graham cracker pie crust crumbles for s’mores!
- Ice cream sandwiches. Make my Nutella cookies or my mini chocolate chip cookies and freeze them. Pipe or scoop this ice cream between the cookies and have the perfect dessert for summer or a random Tuesday. 🥳
How to Make Chocolate Ice Cream
Use these instructions to make creamy chocolate ice cream every time! Further details and measurements can be found in the recipe card below.
Make the custard ice cream base:
Step 1: Pre-freeze your ice cream machine canister along with the container you are going to put the ice cream in. It should hold at least a quart. A standard loaf pan works great!
Step 2: Melt your chocolate in the microwave in a heat-safe bowl and set aside. Be sure it isn’t too hot!
Step 3: In a large pot, combine milk, cream, salt, vanilla, and half the sugar. Heat the mixture on medium-high heat until it comes to a boil.
Step 4: While you are waiting for the cream mixture to come to a boil, whisk the egg yolks and the remaining sugar together in a large bowl until pale yellow. Add your melted but not hot chocolate and whisk to combine. (The mixture will be thick.)
It is best to wait until the cream mixture begins steaming before you add the sugar to the egg yolks. If the sugar sits with the egg yolks for too long, it will start to denature the proteins and you’ll get hard pieces of yolk that look like scrambled eggs. If this does happen, you can strain the whole custard before cooling.
Step 5: Once the cream mixture comes to a boil slowly pour it into the eggs while whisking constantly.
Place a hand or kitchen towel under the bowl with your eggs. It will help keep the bowl stationary and give you both hands to pour and whisk at the same time.
Step 6: Return to the pot and cook until the base reaches 85°C or 180°F, stirring constantly with a rubber spatula, making sure the spatula is touching the bottom of the pot at all times. Don’t forget about the corners of the pot! Custard loves to burn there.
Cooling and Churning:
Step 7: Pour the mixture through a strainer into a bowl. Set the bowl in an ice bath, you can actively cool the base with your spatula. I like to cool it till about room temperature before I place it in the refrigerator (this is optional). Cover the base with plastic wrap and poke a few holes before placing it in the fridge.
You will get the thickest base and creamiest ice cream if you cool it overnight. It is not necessary you can spin the base as long as it is cool to the touch. It doesn’t hurt to check in with the manufacturer’s instructions!
Step 8: This base is going to be thick like pudding. If you let it sit overnight, you may need to scoop the base into your ice cream machine. You want to add the base with the machine already running to avoid it freezing on the sides.
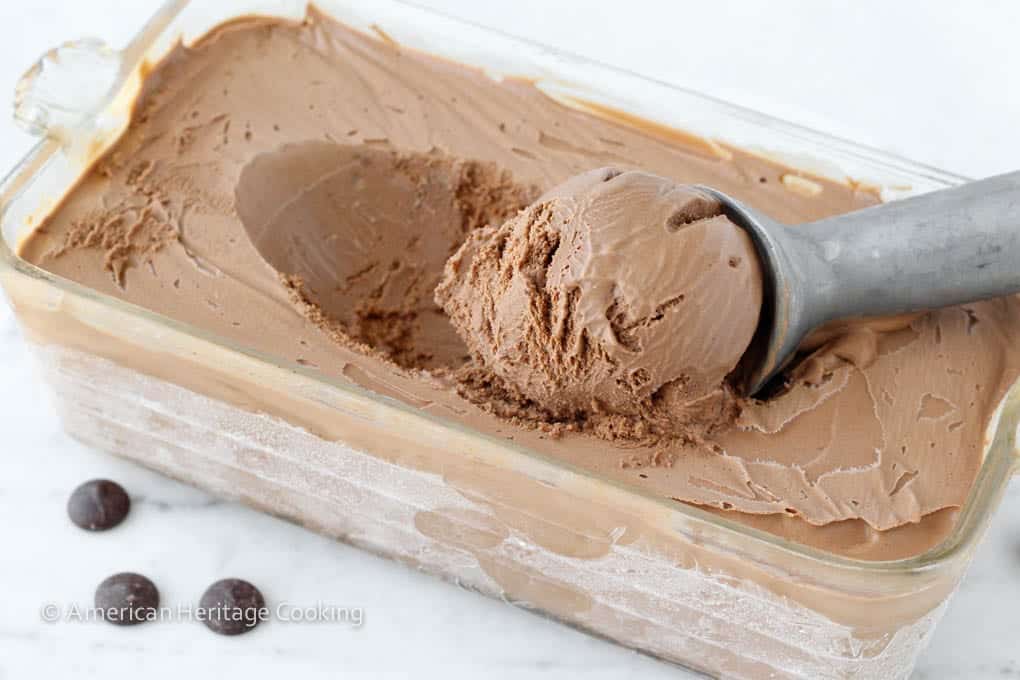
Step 9: Continue churning until the volume increases about ⅓ and the ice cream pulls away from the sides and holds its shape when scooped out. It will take about 20-30 minutes.
Step 10: Pour into a pre-frozen container, and place plastic wrap directly on the surface of the ice cream to avoid it taking on flavors from the freezer and to avoid ice crystals from forming. Freeze for at least 4 hours but preferably overnight.
Chef Lindsey’s Recipe Tip
Make sure your thermometer is reading correctly. You can test with boiling water and leave your thermometer in the water for 15 seconds. It should read 212°F or 100°C. You can also test with ice water (with lots of ice) where the temperature should read 32°F or 0°C.
What to serve with chocolate ice cream?
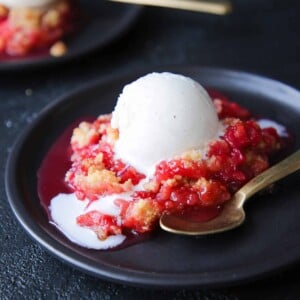
- How about a sundae? Layer the ice cream with cherry compote and some sour cream pound cake (maybe soaked with some kirsch liquor?). Top with slightly sweetened whipped cream, and you have yourself a black forest sundae.
- On top of a brownie or cookie bar. Whether it’s a fudgy brownie or a carmelita this chocolate ice cream will pair perfectly! Try it with some of our other bar cookie recipes.
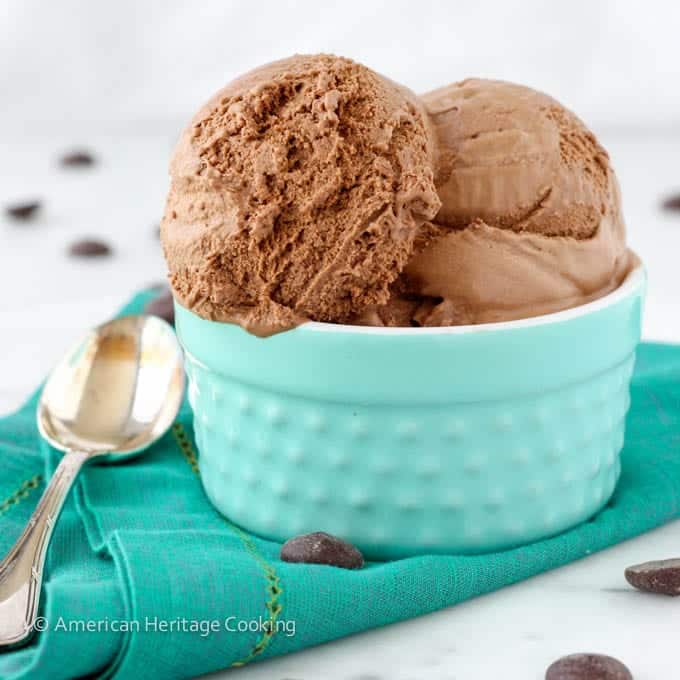
- Let the ice cream shine! Let the ice cream be the star of the show, and top it with hot fudge sauce, caramel sauce, or a quick jam. Add some texture with orange chocolate shortbread cookies, pizzelle cookies, or streusel topping.
Frequently Asked Questions
Store homemade ice cream in the freezer in a sealed container or with plastic wrap on the surface for up to 2 months.
Yes, this recipe was created to be used with an ice cream maker; it is not a no-churn recipe.
Ice cream stabilizer needs to be heated to activate and will clump like cornstarch if added to hot liquid. I like to mix the stabilizer with half the sugar and then add it to the cream and milk mixture before heating. And following the same process for xanthan gum. I would use 1 teaspoon stabilizer or ½ teaspoon xanthan gum per 3 cups of liquid.
If you tried this recipe and loved it please leave a 🌟 star rating and let me know how it goes in the comments below. I love hearing from you; your comments make my day!
Chocolate Ice Cream
Ingredients
- 2 cups whole milk
- 1 ½ cups heavy cream
- 1 ½ teaspoons vanilla
- pinch kosher salt
- 1 cup sugar
- 6 egg yolks
- 8 oz bittersweet chocolate melted & cooled, I used Ghirardelli 60%
Instructions
Make the custard ice cream base:
- Pre-freeze your ice cream machine canister along with the container you are going to put the ice cream in. It should hold at least a quart. A standard loaf pan works great!
- Melt your chocolate in the microwave in a heat-safe bowl and set aside. Be sure it isn't too hot!
- In a large pot, combine milk, cream, salt, vanilla, and half the sugar. Heat the mixture on medium-high heat until it comes to a boil.
- While you are waiting for the cream mixture to come to a boil, whisk the egg yolks and the remaining sugar together in a large bowl until pale yellow. Add your melted but not hot chocolate and whisk to combine. (The mixture will be thick.)
- Once the cream mixture comes to a boil slowly pour it into the eggs while whisking constantly.
- Return to the pot and cook until the base reaches 85°C or 180°F, stirring constantly with a rubber spatula, making sure the spatula is touching the bottom of the pot at all times. Don’t forget about the corners of the pot! Custard loves to burn there.
Cooling and Churning:
- Pour the mixture through a strainer into a bowl. Set the bowl in an ice bath, you can actively cool the base with your spatula. I like to cool it till about room temperature before I place it in the refrigerator (this is optional). Cover the base with plastic wrap and poke a few holes before placing it in the fridge.
- This base is going to be thick like pudding. If you let it sit overnight, you may need to scoop the base into your ice cream machine. You want to add the base with the machine already running to avoid it freezing on the sides.
- Continue churning until the volume increases about ⅓ and the ice cream pulls away from the sides and holds its shape when scooped out. It will take about 20-30 minutes.
- Pour into a pre-frozen container, and place plastic wrap directly on the surface of the ice cream to avoid it taking on flavors from the freezer and to avoid ice crystals from forming. Freeze for at least 4 hours but preferably overnight.
Notes
Nutrition
Before You Go
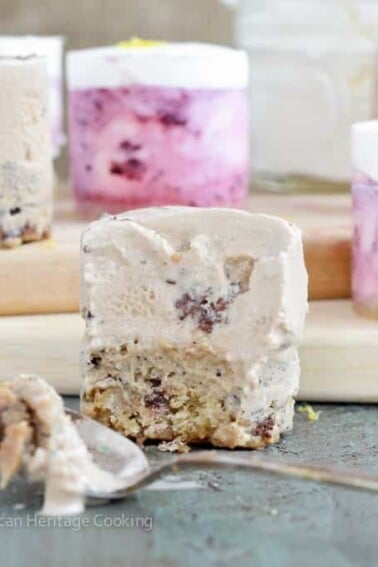
I hope you enjoyed this professional chef tested recipe. Check out our other delicious, chef-developed ice cream recipes!


Super creamy and taste delicious!!
Thanks, Yvette! I could eat the whole quart!
Thanks for sharing this amazing recipe and good information. It’s really good and I would like to make this.
So this is the very first ice cream recipe I made. I just got a nice machine and I love chocolate ice cream. This recipe is as if chocolate fronting and ice cream had a baby. Good lord it is good and I feel like I’m a connoisseur myself. Thanks so much for sharing!
HAHAH! Thanks Kim! I couldn’t agree more! Happy ice cream making!
thanks for great recipe. i will try to make it. its look very delicious.
I wonder if it would work to put a couple tablespoons of strong coffee in and add some almonds to make a Swiss mocha almond ice cream?
That sounds phenomenal! You could also infuse the base (the cream and sugar, etc) with coffee grounds and then strain them out, which will not affect the final texture of the ice cream as brewed coffee might.
Not my intention to submit a review that could be perceived as negative or grouchy, but I wish more reviews would actually be about how the recipe tastes. I agree with everyone…it definitely looks delicious, but before I run the risk of wasting ingredients on a delicious *looking* recipe that may taste awful (absolutely not suggesting that is the case here), it would be nice to get a sense for the finished product rather than sifting through the first 30 reviews which all comment on appearance. Again, I’m commenting about the collective and not this specific recipe, it just kinda came out in this arena. Haven’t decided if I will chance it but if I do, you will see an honest review about how this ice cream tastes, cuz there appears to be no argument about how amazing it looks. I actually chose this recipe from a broad google search based solely on looks (cuz no reviews on taste were offered in google) over many other highly rated choco ice cream recipes!
*It’s worth noting that I wrote this review after sifting through the first 25 reviews or so and not finding any about finished product/taste. I did not read them all so apologies if there were some after the ones I looked through.
Well I completely understand your frustration but there are several reviews about the taste, you just have to get past my blogging friends and family’s comments. I also make this recipe with variations for the restaurant where I am the pastry chef and people go absolutely crazy for it. See comments: Sharron on 9/12/2015; Laurie 5/28/2016; Cindie 5/5/2016; and then all the comments there after. You should make it 😉
Seriously, the BEST chocolate ice cream I have made. I am fortunate enough to use eggs just laid THE VERY SAME DAY from my happy hens, so I’m sure that made it even better! I’m making it again today for company tonight. Thanks!
Hi Susie! Fresh eggs from happy hens is the very definition of baking with love! I am sure the ice cream was exquisite! You are most welcome!
I never make comments on recipes I’ve tried but I just had to comment on this one. This is THE BEST homemade chocolate ice cream EVER. It’s rich, thick, creamy, smooth. Absolute heaven!
Thank you for sharing! ????
You are most welcome, Amy! I’m so glad you agree! I use this chocolate ice cream recipe at the restaurant where I am the pastry chef and it is ALWAYS a hit! Thanks for commenting! Happy baking (and ice cream making)